Replacing the System Battery

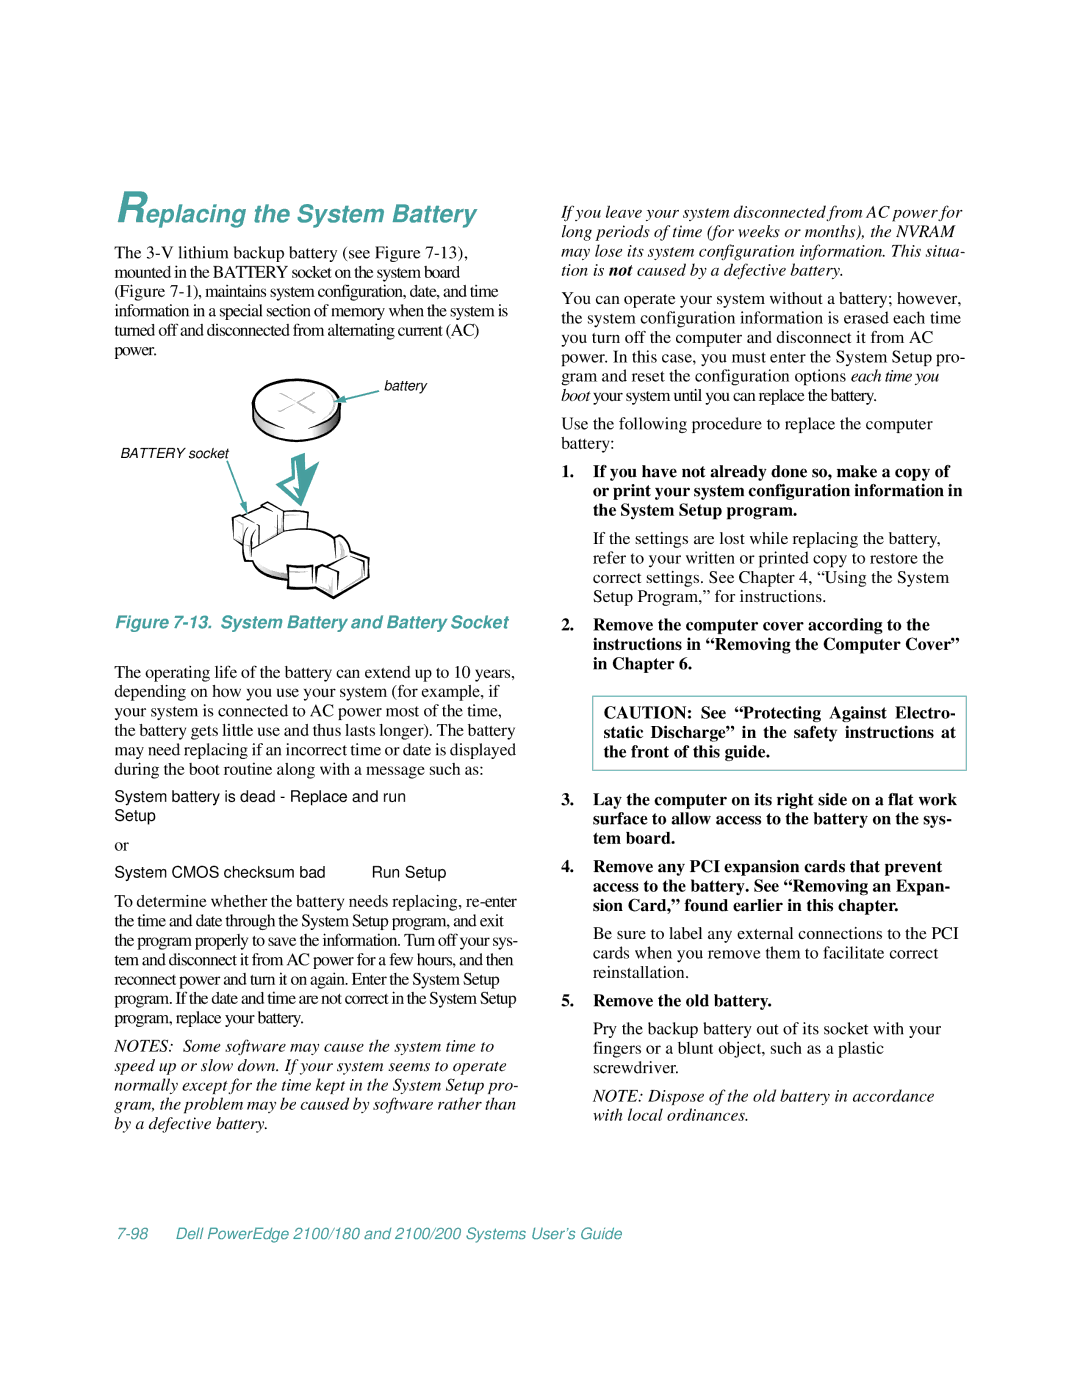
The 3-V lithium backup battery (see Figure 7-13), mounted in the BATTERY socket on the system board (Figure 7-1), maintains system configuration, date, and time information in a special section of memory when the system is turned off and disconnected from alternating current (AC) power.

battery

BATTERY socket

Figure 7-13. System Battery and Battery Socket

The operating life of the battery can extend up to 10 years, depending on how you use your system (for example, if your system is connected to AC power most of the time, the battery gets little use and thus lasts longer). The battery may need replacing if an incorrect time or date is displayed during the boot routine along with a message such as:

System battery is dead - Replace and run Setup

or

System CMOS checksum bad — Run Setup

To determine whether the battery needs replacing, re-enter the time and date through the System Setup program, and exit the program properly to save the information. Turn off your sys- tem and disconnect it from AC power for a few hours, and then reconnect power and turn it on again. Enter the System Setup program. If the date and time are not correct in the System Setup program, replace your battery.

NOTES: Some software may cause the system time to speed up or slow down. If your system seems to operate normally except for the time kept in the System Setup pro- gram, the problem may be caused by software rather than by a defective battery.

If you leave your system disconnected from AC power for long periods of time (for weeks or months), the NVRAM may lose its system configuration information. This situa- tion is not caused by a defective battery.

You can operate your system without a battery; however, the system configuration information is erased each time you turn off the computer and disconnect it from AC power. In this case, you must enter the System Setup pro- gram and reset the configuration options each time you boot your system until you can replace the battery.

Use the following procedure to replace the computer battery:

1.If you have not already done so, make a copy of or print your system configuration information in the System Setup program.

If the settings are lost while replacing the battery, refer to your written or printed copy to restore the correct settings. See Chapter 4, “Using the System Setup Program,” for instructions.

2.Remove the computer cover according to the instructions in “Removing the Computer Cover” in Chapter 6.

CAUTION: See “Protecting Against Electro- static Discharge” in the safety instructions at the front of this guide.

3.Lay the computer on its right side on a flat work surface to allow access to the battery on the sys- tem board.

4.Remove any PCI expansion cards that prevent access to the battery. See “Removing an Expan- sion Card,” found earlier in this chapter.

Be sure to label any external connections to the PCI cards when you remove them to facilitate correct reinstallation.

5.Remove the old battery.

Pry the backup battery out of its socket with your fingers or a blunt object, such as a plastic screwdriver.

NOTE: Dispose of the old battery in accordance with local ordinances.

7-98 Dell PowerEdge 2100/180 and 2100/200 Systems User’s Guide

Page 98
Image 98
Dell 2100/180, 2100/200 manual Replacing the System Battery, Remove the old battery

2100/180, 2100/200 specifications

The Dell 2100/200 and Dell 2100/180 are innovative offerings from Dell that cater to the demands of a variety of users, ranging from small businesses to larger enterprises. Both models are designed to deliver high performance and reliability, making them indispensable tools in the modern computing environment.

The Dell 2100/200 features an impressive Intel processor that ensures fast and efficient performance, making it suitable for multitasking and handling complex applications. Coupled with a generous RAM configuration, this model can easily manage demanding workloads, resulting in smoother performance and faster processing times. In contrast, the Dell 2100/180, while slightly less powerful, still maintains robust performance levels that are well-suited for general productivity tasks and everyday use.

Both models come equipped with ample storage options, featuring hard disk drives that provide significant space for data and application storage. Users can choose between traditional HDDs and solid-state drives (SSDs), allowing them to prioritize speed and performance based on their specific needs. The flexibility in storage options ensures that users can customize their systems according to their requirements, enhancing the overall user experience.

Connectivity is another area where the Dell 2100 series excels. Both models come with a range of ports including USB, HDMI, and Ethernet, allowing for seamless connectivity with various peripherals and networks. This versatility makes the machines ideal for environments where multiple devices need to be connected simultaneously, whether for presentations, data transfer, or internet access.

In terms of energy efficiency, both the Dell 2100/200 and Dell 2100/180 incorporate advanced cooling technologies that minimize energy consumption while maximizing performance. This not only helps reduce operational costs but also contributes to a more sustainable computing environment.

The design of these models is another distinguishing feature. With a compact form factor, they fit easily into office spaces while maintaining a professional appearance. Their durable build quality ensures longevity, making them a worthwhile investment for businesses.

Overall, the Dell 2100/200 and Dell 2100/180 serve as powerful and reliable machines that combine advanced technologies and user-centric designs. Whether for business or personal use, these models provide a solid foundation for effective computing, ensuring that users can achieve their goals efficiently and effectively.