Back to Removing and Replacing Parts
System Board
Dell™ Latitude™ E6410/E6410 ATG Service Manual
WARNING: Before working inside your computer, read the safety information that shipped with your computer. For additional safety best practices information, see the Regulatory Compliance Homepage at www.dell.com/regulatory_compliance.
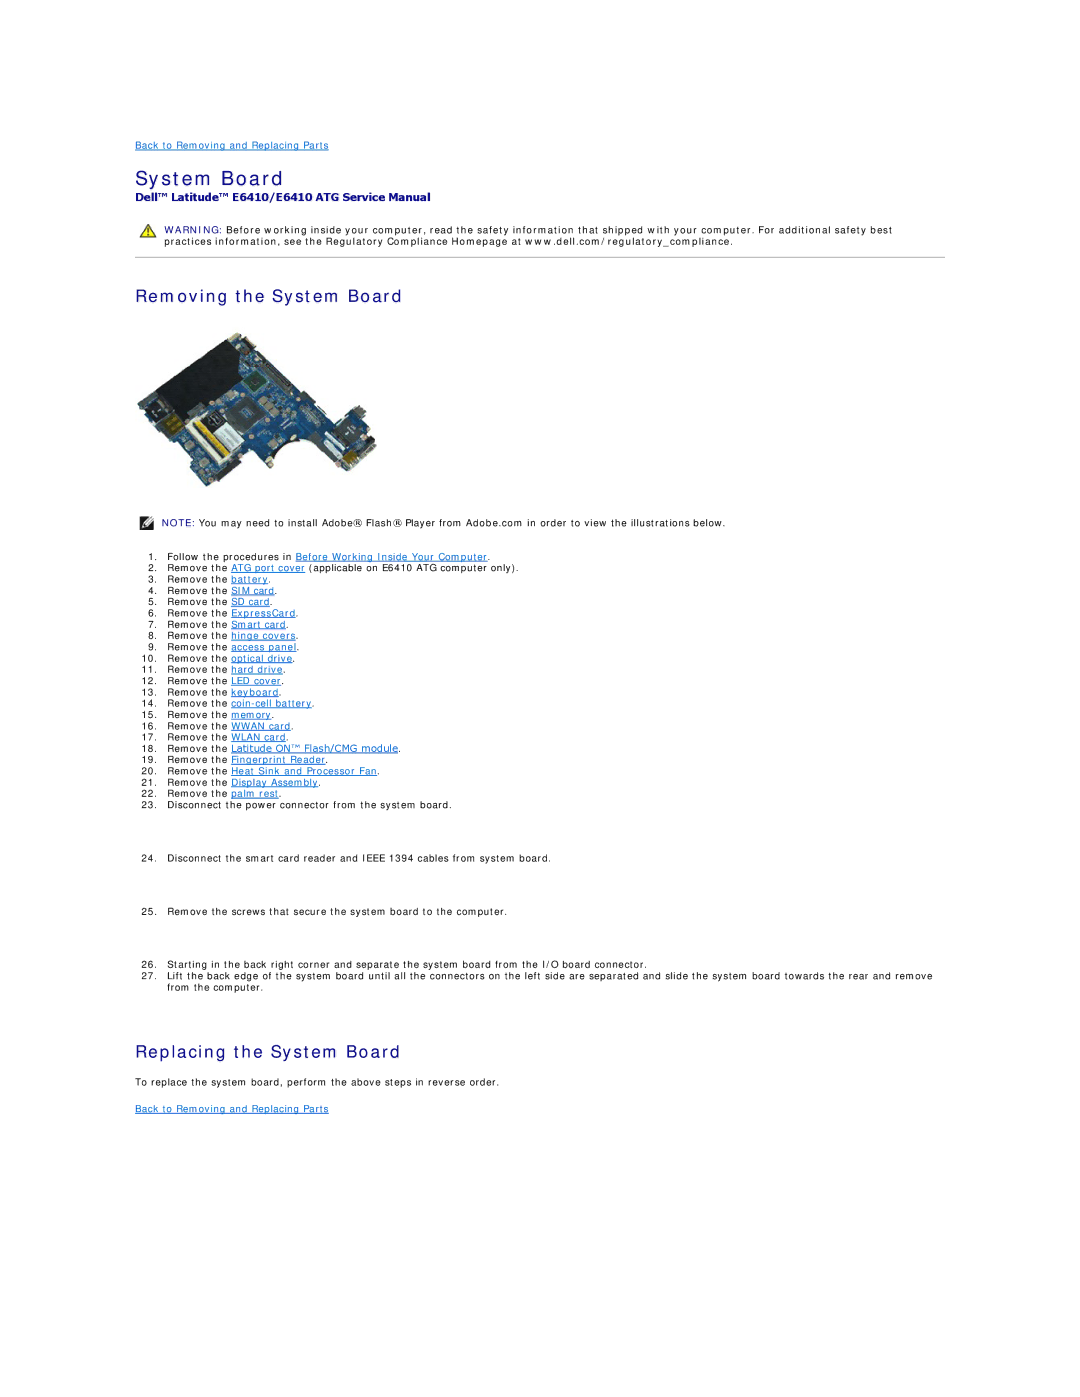
Removing the System Board
NOTE: You may need to install Adobe® Flash® Player from Adobe.com in order to view the illustrations below.
1.Follow the procedures in Before Working Inside Your Computer.
2.Remove the ATG port cover (applicable on E6410 ATG computer only).
3.Remove the battery.
4.Remove the SIM card.
5.Remove the SD card.
6.Remove the ExpressCard.
7.Remove the Smart card.
8.Remove the hinge covers.
9.Remove the access panel.
10.Remove the optical drive.
11.Remove the hard drive.
12.Remove the LED cover.
13.Remove the keyboard.
14.Remove the
15.Remove the memory.
16.Remove the WWAN card.
17.Remove the WLAN card.
18.Remove the Latitude ON™ Flash/CMG module.
19.Remove the Fingerprint Reader.
20.Remove the Heat Sink and Processor Fan.
21.Remove the Display Assembly.
22.Remove the palm rest.
23.Disconnect the power connector from the system board.
24.Disconnect the smart card reader and IEEE 1394 cables from system board.
25.Remove the screws that secure the system board to the computer.
26.Starting in the back right corner and separate the system board from the I/O board connector.
27.Lift the back edge of the system board until all the connectors on the left side are separated and slide the system board towards the rear and remove from the computer.
Replacing the System Board
To replace the system board, perform the above steps in reverse order.
Back to Removing and Replacing Parts