Manuals
/
Dell
/
Computer Equipment
/
Laptop
Dell
P14E Using the Optical Drive, Using the Emergency Eject Hole, Using Your Inspiron Laptop
Models:
P14E
1
42
100
100
Download
100 pages
3.29 Kb
39
40
41
42
43
44
45
46
Page 42
Image 42
Page 41
Page 43
Page 42
Image 42
Page 41
Page 43
Contents
INSPIRON
SETUP GUIDE
Page
SETUP GUIDE
Regulatory model P14E Regulatory type P14E001
Notes, Cautions, and Warnings
Contents
Setting Up Your Inspiron Laptop
Using Your Inspiron Laptop
Finding More Information and Resources Specifications Appendix
Solving Problems
Using Support Tools
Contents
Setting Up Your Inspiron Laptop
Before Setting Up Your Computer
INSPIRON
Setting Up Your Inspiron Laptop
Connect the AC Adapter
Connect the Network Cable Optional
To use a wired network connection, connect the network cable
Press the Power Button
Set Up the Operating System
Set Up Microsoft Windows
Set Up Ubuntu
Create System Recovery Media Recommended
To create system recovery media
Enable or Disable Wireless Optional
To enable or disable wireless
Set Up Wireless Display Optional
To set up wireless display 1. Turn on your computer
Setting Up a Wired Connection
Setting Up a Wireless Connection
Connect to the Internet Optional
Setting Up Your Internet Connection
Using Your Inspiron Laptop
Right View Features
INSPIRON
Using Your Inspiron Laptop
3 Optical drive eject button - Press to open the optical-drive tray
Left View Features
1 eSATA/USB combo connector with USB PowerShare - Connects to eSATA compatible storage devices such as external hard drives or optical drives or USB devices such as a mouse, keyboard, printer, external drive, or MP3 player. The USB PowerShare feature allows you to charge USB devices when the computer is powered on/off or in sleep state
Using Your Inspiron Laptop
5 8-in-1 Media Card Reader - Provides a fast and convenient way to view and share digital photos, music, videos, and documents stored on memory cards. For more information on the supported memory cards, see “Specifications” on page
Back View Features
2 VGA connector - Connects to a monitor or projector
Front View Features
1 Power indicator light - Indicates the power states. For more information on the power indicator light, see “Status Lights and Indicators” on page
Status Lights and Indicators
Battery Status Light
Power Button Light/Power Indicator Light
Disabling Battery Charging
Using Your Inspiron Laptop
Computer Base and Keyboard Features
decrease keys, and the multimedia keys are located in this row
Using Your Inspiron Laptop
Display On/Off button - Press to turn on or turn off the display
Touch Pad Gestures
Scroll
Zoom
Flick
System Setup
Multimedia Control Keys
Windows Mobility Center
Decrease the volume level Increase the volume level Mute the sound
Play the previous track or chapter Play or pause
Play the next track or chapter
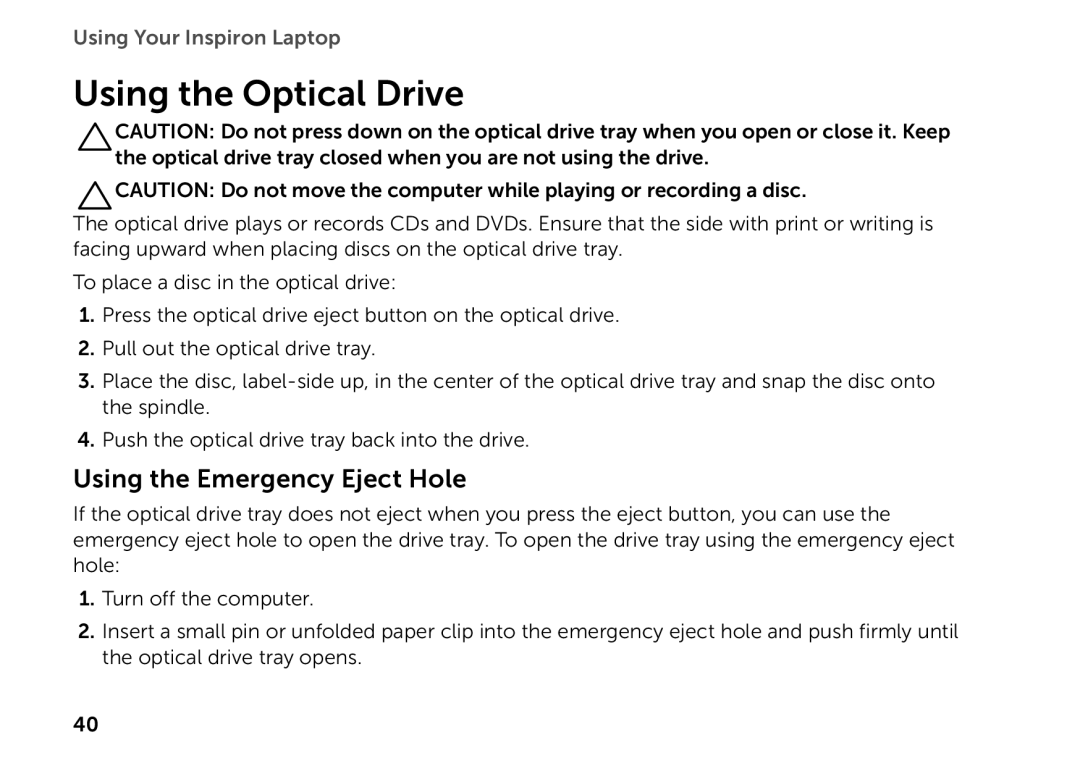
Using the Optical Drive
Using the Emergency Eject Hole
1 disc 2 spindle 3 optical drive tray 4 emergency eject hole
5 optical drive eject button
Display Features
2 Camera - Built-in camera for video capture, conferencing, and chat
Removing and Replacing the Top Cover Optional
1 top cover 2 release button 3 back of the computer
To replace the top cover
1. Align the top cover on the display back
Using Your Inspiron Laptop
Removing and Replacing the Battery
1 battery release latch 2 battery 3 battery lock latch
Productivity and Communication
Software Features
FastAccess Facial Recognition
Entertainment and Multimedia
Dell DataSafe Online Backup
Dell Stage
Shortcuts - Provides quick access to your frequently-used programs
Solving Problems
Beep Codes
Wireless Connections
Network Problems
Power Problems
Wired Connections
If the problem persists, contact Dell see “Contacting Dell” on page
Memory Problems
Lockups and Software Problems
If the computer stops responding or a solid blue screen appears
If you have other software problems Back up your files immediately
Using Support Tools
Dell Support Center
Using Support Tools
My Dell Downloads
Dell Diagnostics
Starting Dell Diagnostics
Hardware Troubleshooter
3. Select Diagnostics from the boot menu and press Enter
Restoring Your Operating System
Operating System disc
System Restore
Starting System Restore
Restoring Your Operating System
Dell DataSafe Local Backup
Undoing the Last System Restore
Dell DataSafe Local Backup Basic
Upgrading to Dell DataSafe Local Backup Professional
System Recovery Media
Dell Factory Image Restore
Starting Dell Factory Image Restore
3. Select Repair Your Computer
Getting Help
Technical Support and Customer Service
DellConnect
Getting Help
Dell Support E-mail Addresses
Online Services
Dell Support Websites
Dell Marketing and Sales E-mail Addresses
Automated Order-Status Service
Product Information
Returning Items for Repair Under Warranty or for Credit
5. Pack the equipment to be returned in the original or equivalent packing materials
Locating Your Service Tag and Express Service Code
Before You Call
Diagnostic Checklist Name Date Address Phone number
Contacting Dell
Getting Help
the Service Manual at
Finding More Information and Resources
If you need to
Finding More Information and Resources
Computer Information
Specifications
Computer Model
Memory
Connectors
Specifications
Communications
Media Card Reader
Keyboard
Audio
Display
Video
Camera
widescreen HD
Battery
Touch Pad
Physical
AC Adapter
1.5 A/1.6 A/1.7 A
Computer Environment
G2 or lower as defined
Appendix
Information for NOM, or Official Mexican Standard Only for Mexico
Index
Index
Index
wired network network cable, connecting 7 problems
wireless network connecting 12 problems
Index
Page
Printed in the U.S.A
Top
Page
Image
Contents