Faxing

82

Tips:

If the printer is sharing the line with other analog devices (telephone, answering machine), then set the printer to pick up calls two rings after the answering machine. For example, if the answering machine picks up calls after four rings, then set the printer to pick up after six rings. This way, the answering machine picks up calls first and your voice calls are received. If the call is a fax, then the printer detects the fax signal on the line and takes over the call. If the printer is on a dedicated fax line, then you may set the printer to pick up on any number of rings.

If you have multiple numbers on a single line, or if you subscribe to a distinctive ring service provided by your telephone company, then make sure that you set the correct ring pattern for the printer. Otherwise, the printer will not receive faxes even if you have set it to receive faxes automatically.

Receiving faxes manually

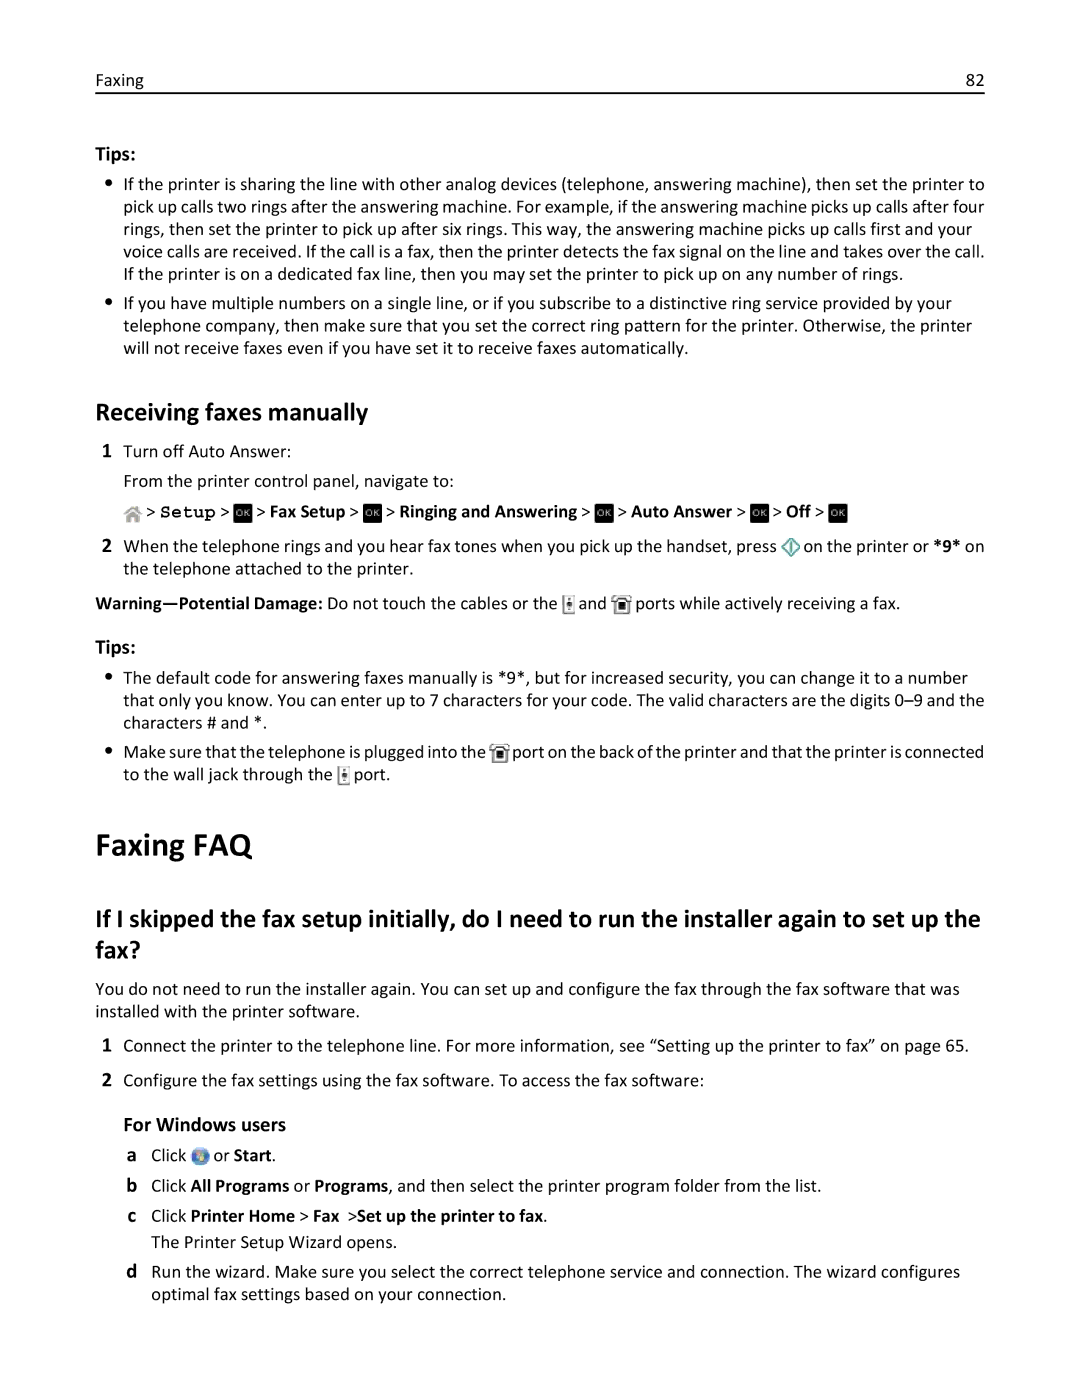
1Turn off Auto Answer:

From the printer control panel, navigate to:

> Setup > > Fax Setup > > Ringing and Answering > > Auto Answer > > Off >

2When the telephone rings and you hear fax tones when you pick up the handset, press on the printer or *9* on the telephone attached to the printer.

Warning—Potential Damage: Do not touch the cables or the and ports while actively receiving a fax.

Tips:

The default code for answering faxes manually is *9*, but for increased security, you can change it to a number that only you know. You can enter up to 7 characters for your code. The valid characters are the digits 0–9 and the characters # and *.

Make sure that the telephone is plugged into the port on the back of the printer and that the printer is connected to the wall jack through the port.

Faxing FAQ

If I skipped the fax setup initially, do I need to run the installer again to set up the fax?

You do not need to run the installer again. You can set up and configure the fax through the fax software that was installed with the printer software.

1Connect the printer to the telephone line. For more information, see “Setting up the printer to fax” on page 65.

2Configure the fax settings using the fax software. To access the fax software:

For Windows users a Click or Start.

bClick All Programs or Programs, and then select the printer program folder from the list.

cClick Printer Home > Fax >Set up the printer to fax. The Printer Setup Wizard opens.

dRun the wizard. Make sure you select the correct telephone service and connection. The wizard configures optimal fax settings based on your connection.

Page 82
Image 82
Dell V525W Faxing FAQ, Receiving faxes manually, Tips, Setup Fax Setup Ringing and Answering Auto Answer Off

V525W specifications

The Dell V525W is a versatile all-in-one printer designed for small to medium-sized businesses, delivering high-quality prints and a range of features that cater to various printing needs. One of its standout characteristics is its multifunctionality, as it combines printing, scanning, copying, and faxing capabilities into a single device. This makes it a practical choice for businesses looking to save space and streamline their office operations.

A key feature of the V525W is its printing speed. With a print speed of up to 15 pages per minute (ppm) for black and white documents and 10 ppm for color, users can expect efficient performance even during high-volume printing tasks. The printer supports a variety of media types and sizes, accommodating different professional printing needs.

The V525W utilizes wireless connectivity, allowing users to print from various devices without the hassle of cords. It supports Wi-Fi Direct, enabling direct peer-to-peer printing from compatible smartphones and tablets, and is compatible with Apple AirPrint and Google Cloud Print. The ability to print from mobile devices enhances the printer’s usability, creating a more flexible work environment.

Another significant aspect of the Dell V525W is its print quality. It boasts a print resolution of up to 4800 x 1200 dpi, ensuring sharp text and vivid colors in every document. The printer employs Dell's proprietary ColorTrack technology, which improves color quality and consistency, making it ideal for businesses that require professional-grade documents.

The V525W also incorporates a user-friendly interface with a graphical LCD panel, allowing for easy navigation through the printer's various functions and options. Additionally, it features automatic duplex printing, which helps save paper and reduces overall printing costs.

In terms of maintenance, the V525W is designed with replaceable ink cartridges that provide cost-efficiency. Users can choose between high-yield and standard cartridges, enabling them to select options that best fit their printing volume.

Overall, the Dell V525W stands out for its combination of speed, quality, and functionality, making it a solid choice for businesses seeking a reliable all-in-one printing solution that can handle diverse tasks efficiently while delivering professional results.