
10.13, ECAM28.46X, DE, GB specifications
The DeLonghi ECAM 28.46X is a compact and efficient automatic coffee machine designed to elevate your home brewing experience. With its sleek stainless steel exterior, this model not only looks stylish in any kitchen but also delivers exceptional performance. One of its standout features is the ability to brew a variety of coffee drinks, ranging from espresso to cappuccino, all at the push of a button.Equipped with DeLonghi's advanced brewing technology, the ECAM 28.46X boasts a unique brewing system that ensures optimal extraction of flavors and aromas. The machine's 15-bar pressure pump guarantees that every cup of coffee is brewed to perfection, allowing for rich, full-bodied beverages. Additionally, the integrated milk frother allows users to create creamy, frothy milk for those classic cappuccinos and lattes, providing a café-like experience at home.
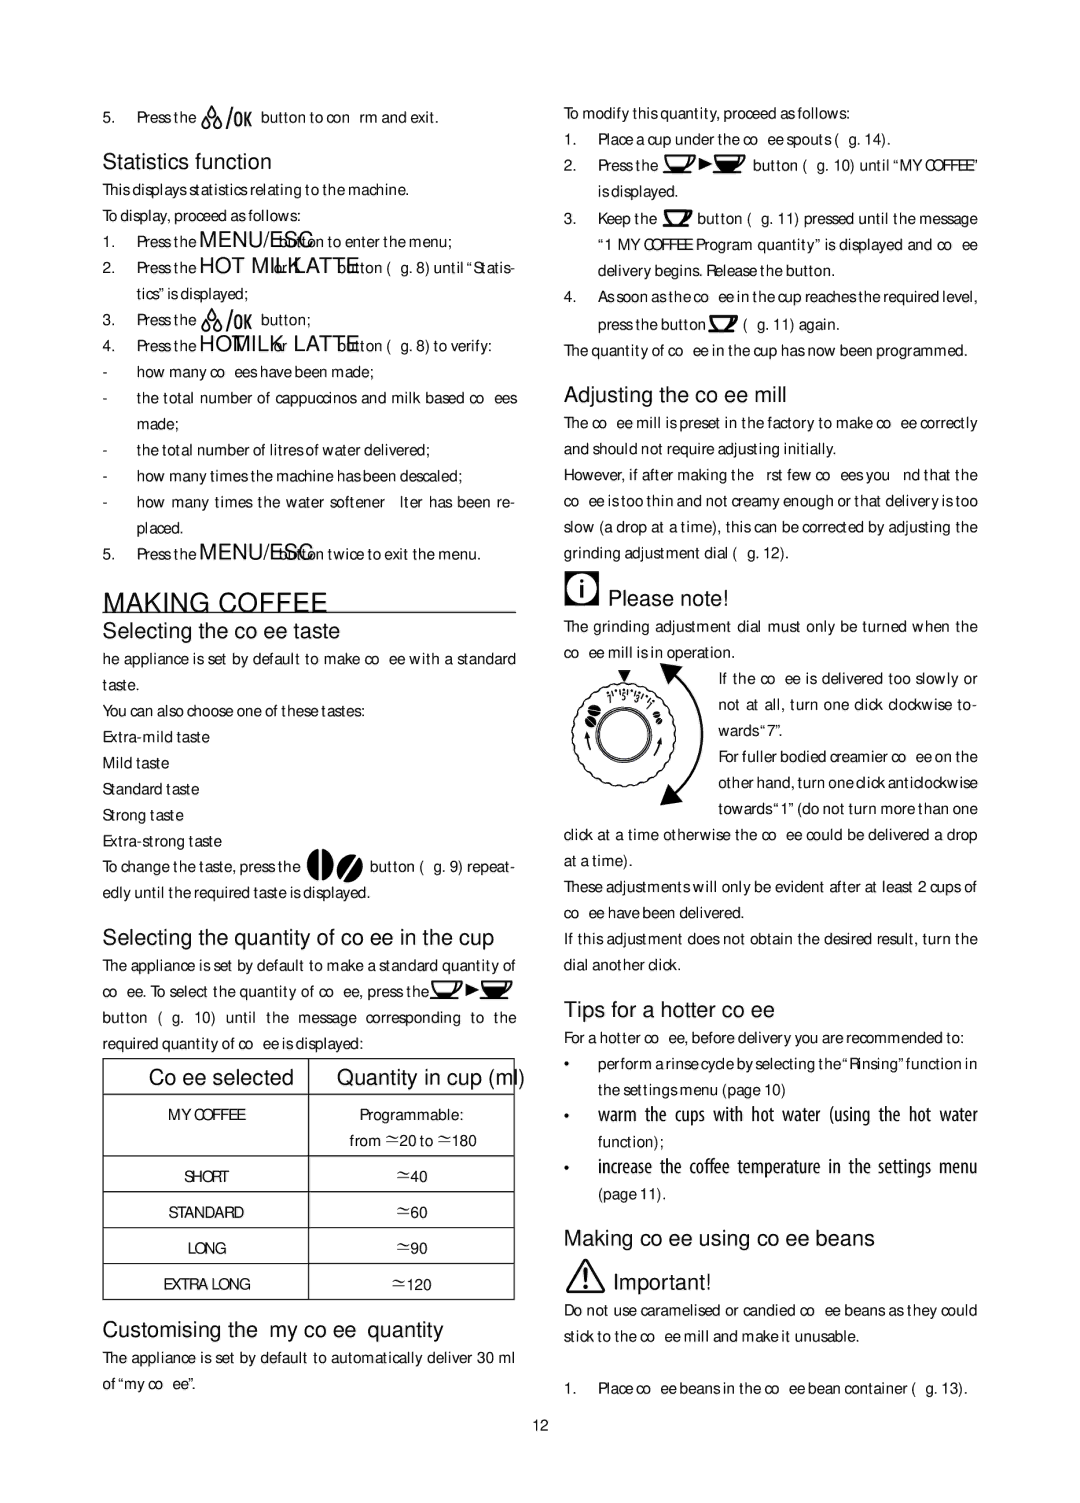
Another remarkable characteristic of the ECAM 28.46X is its customizable settings. The machine features an intuitive control panel with a user-friendly display, allowing users to adjust the strength, temperature, and size of their coffee. This personalized approach to brewing means that each cup can be tailored to your individual taste preferences.
The ECAM 28.46X is also designed with convenience in mind. Its removable brewing unit makes maintenance and cleaning a breeze, ensuring the longevity of the device. Moreover, with a water reservoir capacity of 1.8 liters, this coffee machine can brew multiple cups before needing a refill, making it ideal for entertaining guests.
The coffee machine is equipped with DeLonghi's energy-saving feature, which automatically switches off the device after a certain period of inactivity. This not only helps reduce energy consumption but also enhances the overall user experience by ensuring a safe operation.
In summary, the DeLonghi ECAM 28.46X is a versatile and user-friendly automatic coffee machine that delivers quality coffee drinks with ease. With its advanced brewing technology, customizable settings, and practical design, it stands out as a top choice for coffee lovers seeking to enjoy café-quality beverages at home. Whether you are an espresso aficionado or a casual coffee drinker, the ECAM 28.46X caters to all preferences, making it a worthy addition to any kitchen.