WIR 2 26-06-2003 18:21 Pagina 11

OPERATING HEATER

FOR YOUR SAFETY

READ BEFORE LIGHTING

WARNING: if you do not not follow these instructions exactly, a fire or explosion may result causing property damage, personal injury or loss of life.

A. This appliance has a pilot which must be lighted by hand. When lighting the pilot, follow these instructions exactly.

B.Before lighting smell all around the appli- ance area for gas. Be sure to smell next to

the floor because some gas is heavier than air and will settle on the floor.

WHAT TO DO IF YOU SMELL GAS.

Do not try to light any appliance.

Do not touch any electric switch; do not use any phone in your building.

Immediately call your gas supplier from a neighbor’s phone. Follow the gas suppli- er‘s instruction.

If you cannot reach your gas supplier, call the fire department.

C.Use only your hand to push in or turn the gas control knob. Never use tools. If the knob will not push in or turn by hand, don’t try to repair it, call a qualified serv- ice technician or gas supplier. Force or attempted repair may result in a fire or explosion.

D.Do not use this appliance if any part has been under water. Immediately call a qualified service technician to inspect the appliance and to replace any part of the control system and any gas control which has been under water.

LIGHTING INSTRUCTION

1.STOP! Read the safety information above.

2.Make sure equipment shutoff valve is fully open.

3.Turn thermostat control knob clockwise

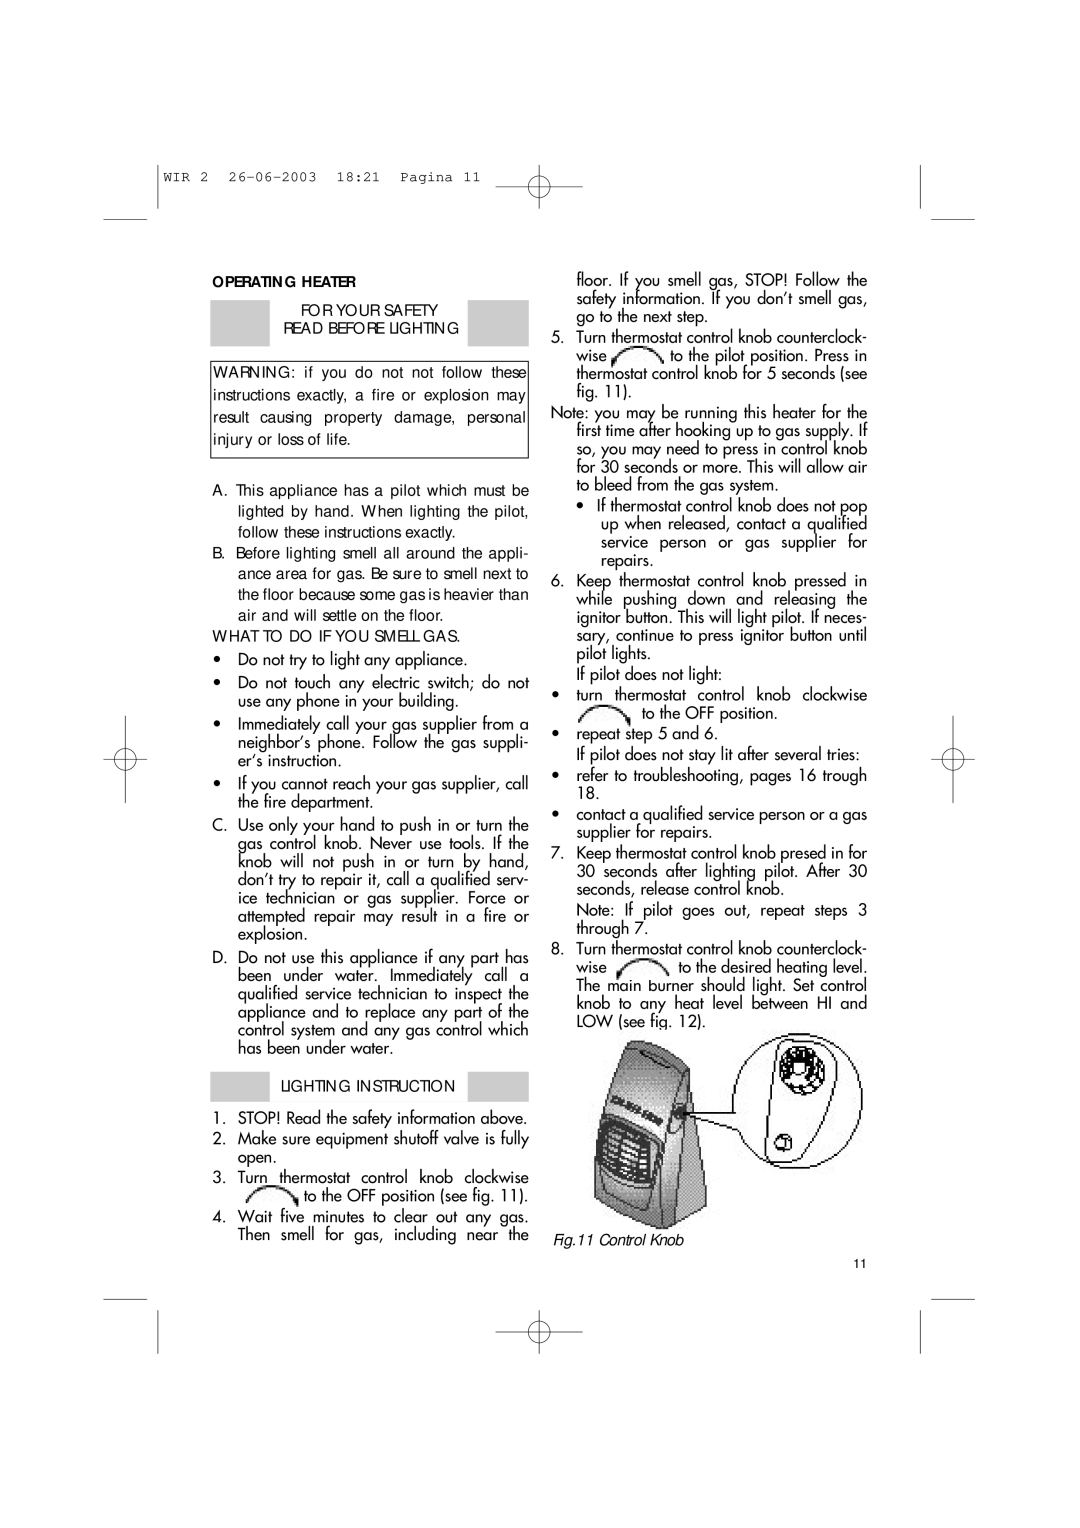
to the OFF position (see fig. 11).

4.Wait five minutes to clear out any gas. Then smell for gas, including near the

floor. If you smell gas, STOP! Follow the safety information. If you don’t smell gas, go to the next step.

5. Turn thermostat control knob counterclock-

wiseto the pilot position. Press in thermostat control knob for 5 seconds (see fig. 11).

Note: you may be running this heater for the first time after hooking up to gas supply. If so, you may need to press in control knob for 30 seconds or more. This will allow air to bleed from the gas system.

If thermostat control knob does not pop up when released, contact a qualified service person or gas supplier for repairs.

6.Keep thermostat control knob pressed in while pushing down and releasing the ignitor button. This will light pilot. If neces- sary, continue to press ignitor button until pilot lights.

If pilot does not light:

turn thermostat control knob clockwise to the OFF position.

repeat step 5 and 6.

If pilot does not stay lit after several tries:

refer to troubleshooting, pages 16 trough 18.

contact a qualified service person or a gas supplier for repairs.

7.Keep thermostat control knob presed in for 30 seconds after lighting pilot. After 30 seconds, release control knob.

Note: If pilot goes out, repeat steps 3 through 7.

8.Turn thermostat control knob counterclock-

wiseto the desired heating level. The main burner should light. Set control knob to any heat level between HI and LOW (see fig. 12).

Fig.11 Control Knob

11

Page 11
Image 11
DeLonghi WIR2, WIR1 manual Operating Heater For Your Safety Read Before Lighting, Lighting Instruction

WIR2, WIR1 specifications

The DeLonghi WIR2 and WIR1 are innovative and versatile kitchen appliances designed to elevate the food preparation experience. These models exemplify DeLonghi's commitment to combining technology with user-friendly design, making them ideal for both amateur cooks and culinary enthusiasts.

One of the standout features of the DeLonghi WIR2 and WIR1 is their advanced heating technology. Both models utilize a highly efficient heating system that ensures even temperature distribution. This not only helps in achieving perfect cooking results but also reduces cooking times, making meal preparation more efficient. The rapid heating capability allows users to get started without long waiting periods, ideal for busy households.

Another notable characteristic of the DeLonghi WIR2 and WIR1 is their sleek and compact design. These appliances are designed to fit seamlessly into modern kitchens without taking up excessive counter space. Their aesthetic appeal is coupled with robust construction, ensuring durability and longevity. The elegant finish is easy to clean, maintaining a pristine appearance despite regular use.

The cooking versatility offered by both models is impressive. They come with multiple cooking modes, including baking, roasting, broiling, and grilling, allowing users to explore various culinary techniques. This multifunctionality means that the DeLonghi WIR2 and WIR1 can serve as a substitute for several traditional kitchen appliances, saving both space and money.

Ease of use is another key feature of these models. The intuitive control panel simplifies the cooking process, allowing users to select cooking modes and adjust temperatures with minimal effort. The inclusion of programmable timers further enhances convenience, enabling users to set their desired cooking duration without needing to monitor the appliance constantly.

The DeLonghi WIR2 and WIR1 also prioritize safety with features such as automatic shut-off and cool-touch exteriors. These elements ensure that using the appliance is safer, especially in households with children.

In conclusion, the DeLonghi WIR2 and WIR1 are exemplary choices for those who value efficiency, versatility, and modern design in their kitchen appliances. With their advanced technologies, user-friendly interfaces, and robust safety features, these models are poised to make cooking a more enjoyable and fulfilling experience. Whether you are baking a delicate soufflé or grilling a hearty steak, the DeLonghi WIR2 and WIR1 stand ready to meet your culinary needs with excellence.