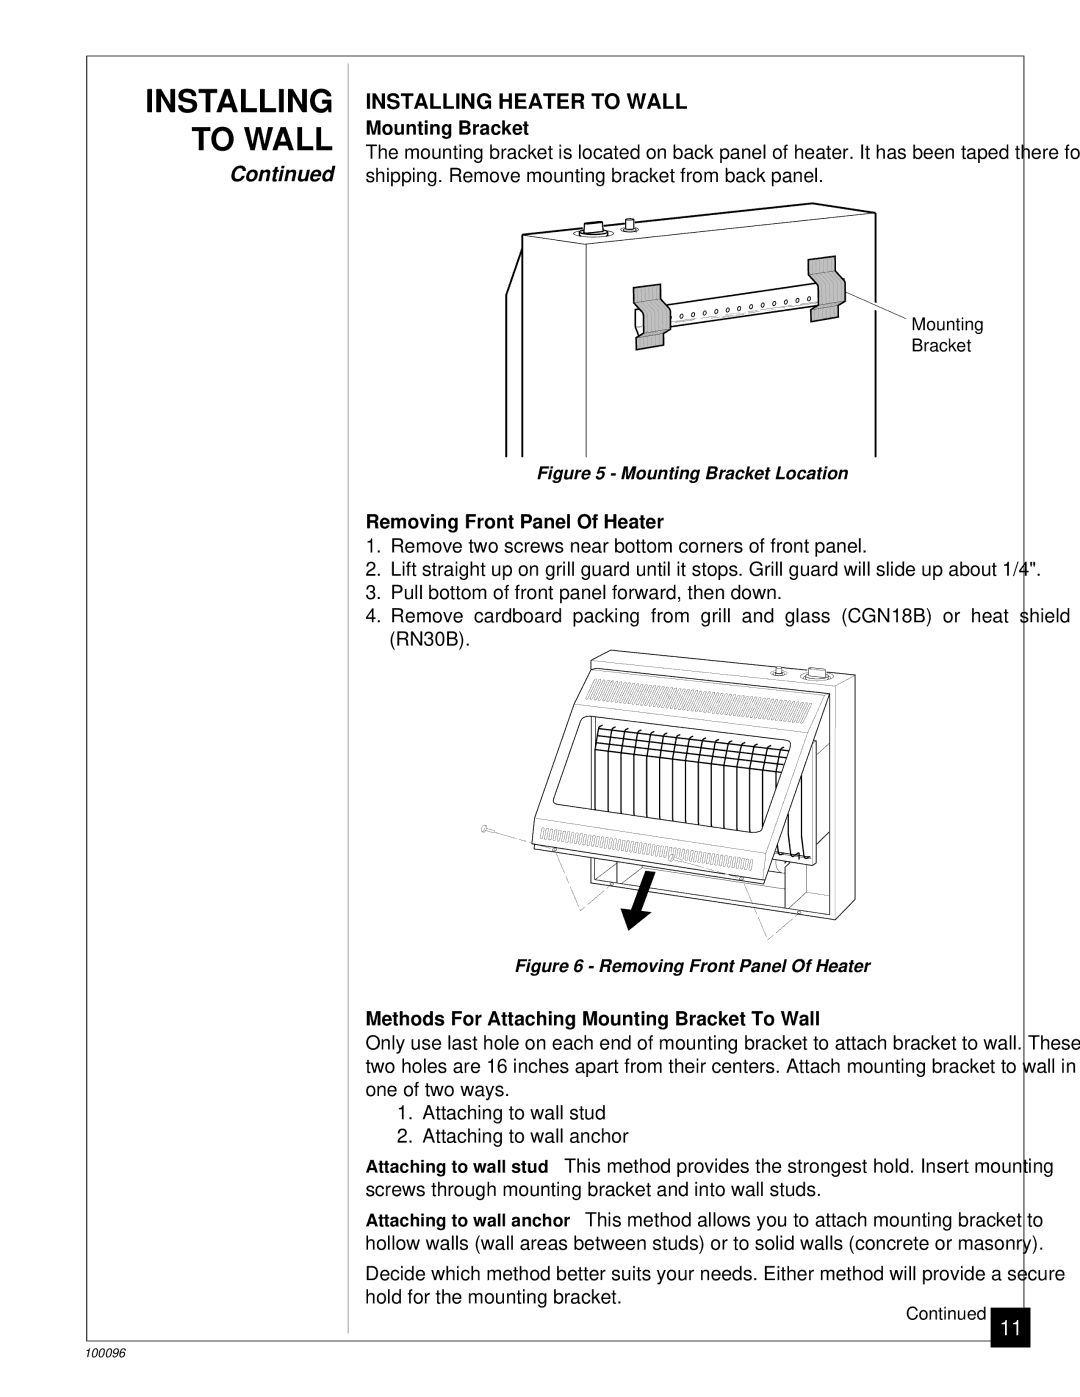
RN30B, CGN18B specifications
Desa CGN18B and RN30B are innovative indoor heating solutions that cater to both residential and commercial needs, offering efficient heating capabilities with advanced features. Both models have carved a niche for themselves in the market, owing to their reliable performance, user-friendly interfaces, and modern design.The Desa CGN18B is a gas-fired vent-free heater that has garnered attention due to its sleek design and compact size, making it an excellent choice for smaller spaces. With a heating capacity of 18,000 BTUs, it can effectively warm up areas up to 700 square feet, which is ideal for bedrooms, living rooms, or even office settings. One of the standout features of the CGN18B is its thermostat, which allows users to maintain their desired room temperature, enhancing comfort while optimizing energy consumption. The model operates without the need for external venting, which simplifies installation and reduces overall costs. Additionally, the CGN18B boasts safety features such as an oxygen depletion sensor, which automatically shuts the heater off if oxygen levels fall below a safe threshold, ensuring peace of mind for users.
On the other hand, the Desa RN30B is a dual-fuel heater that offers versatility by accommodating both liquid propane and natural gas. This flexibility makes it a preferred option for homeowners who may want to switch fuel sources based on availability or preference. With a robust heating capacity of 30,000 BTUs, the RN30B can comfortably heat larger spaces, up to 1,000 square feet. This model is particularly designed for heavy-duty use, making it suitable for workshops or larger living areas. The RN30B comes equipped with an electronic ignition system that simplifies startup, eliminating the need for matches or lighters. Moreover, its sleek design allows it to blend seamlessly with various interior styles, while the easy-to-use control panel enhances user experience.
Both models showcase advanced heating technologies, such as radiant heat distribution, which ensures warmth is spread evenly throughout the room. Furthermore, the efficient combustion technology employed in both units maximizes fuel utilization, thereby minimizing environmental impact while lowering energy expenses.
In conclusion, Desa CGN18B and RN30B are exemplary choices in the realm of indoor heaters. Their unique features, enhanced safety measures, and efficiency render them highly suitable options for those seeking dependable and effective heating solutions. Whether for a cozy home environment or a larger workspace, these models are designed to meet diverse heating needs effectively.

