D26675 specifications
DeVillbiss Air Power Company D26675 is a powerful and versatile piece of equipment designed to meet the demanding needs of both professionals and DIY enthusiasts. This air compressor stands out for its robust features and cutting-edge technologies, making it a preferred choice for various applications, including painting, inflating tires, and powering pneumatic tools.One of the main features of the D26675 is its impressive performance. With a maximum pressure of 125 PSI and a high-flow rate, it can efficiently handle tasks that require sustained air pressure. The compressor's 6-gallon tank ensures that users have ample air supply for extended periods, reducing the frequency of refills and downtime during projects.
The D26675 incorporates advanced technology to enhance its usability and performance. The direct drive motor with low noise output operates at a reduced decibel level, making it suitable for indoor use without disturbing neighbors or household members. This feature is particularly beneficial for contractors working in residential areas or hobbyists seeking a quieter operating environment.
Durability is another hallmark of the D26675. Built with high-quality materials, this compressor is designed to withstand the rigors of daily use. The oil-free pump reduces maintenance requirements while ensuring a clean and efficient operation. This feature not only saves time but also eliminates the need for oil changes, making it cost-effective in the long run.
Portability is a key consideration for many users, and the D26675 excels in this area. With a lightweight design and convenient handle, it is easy to transport from one job site to another. The rubber feet stabilize the unit during operation, ensuring safety while minimizing vibrations.
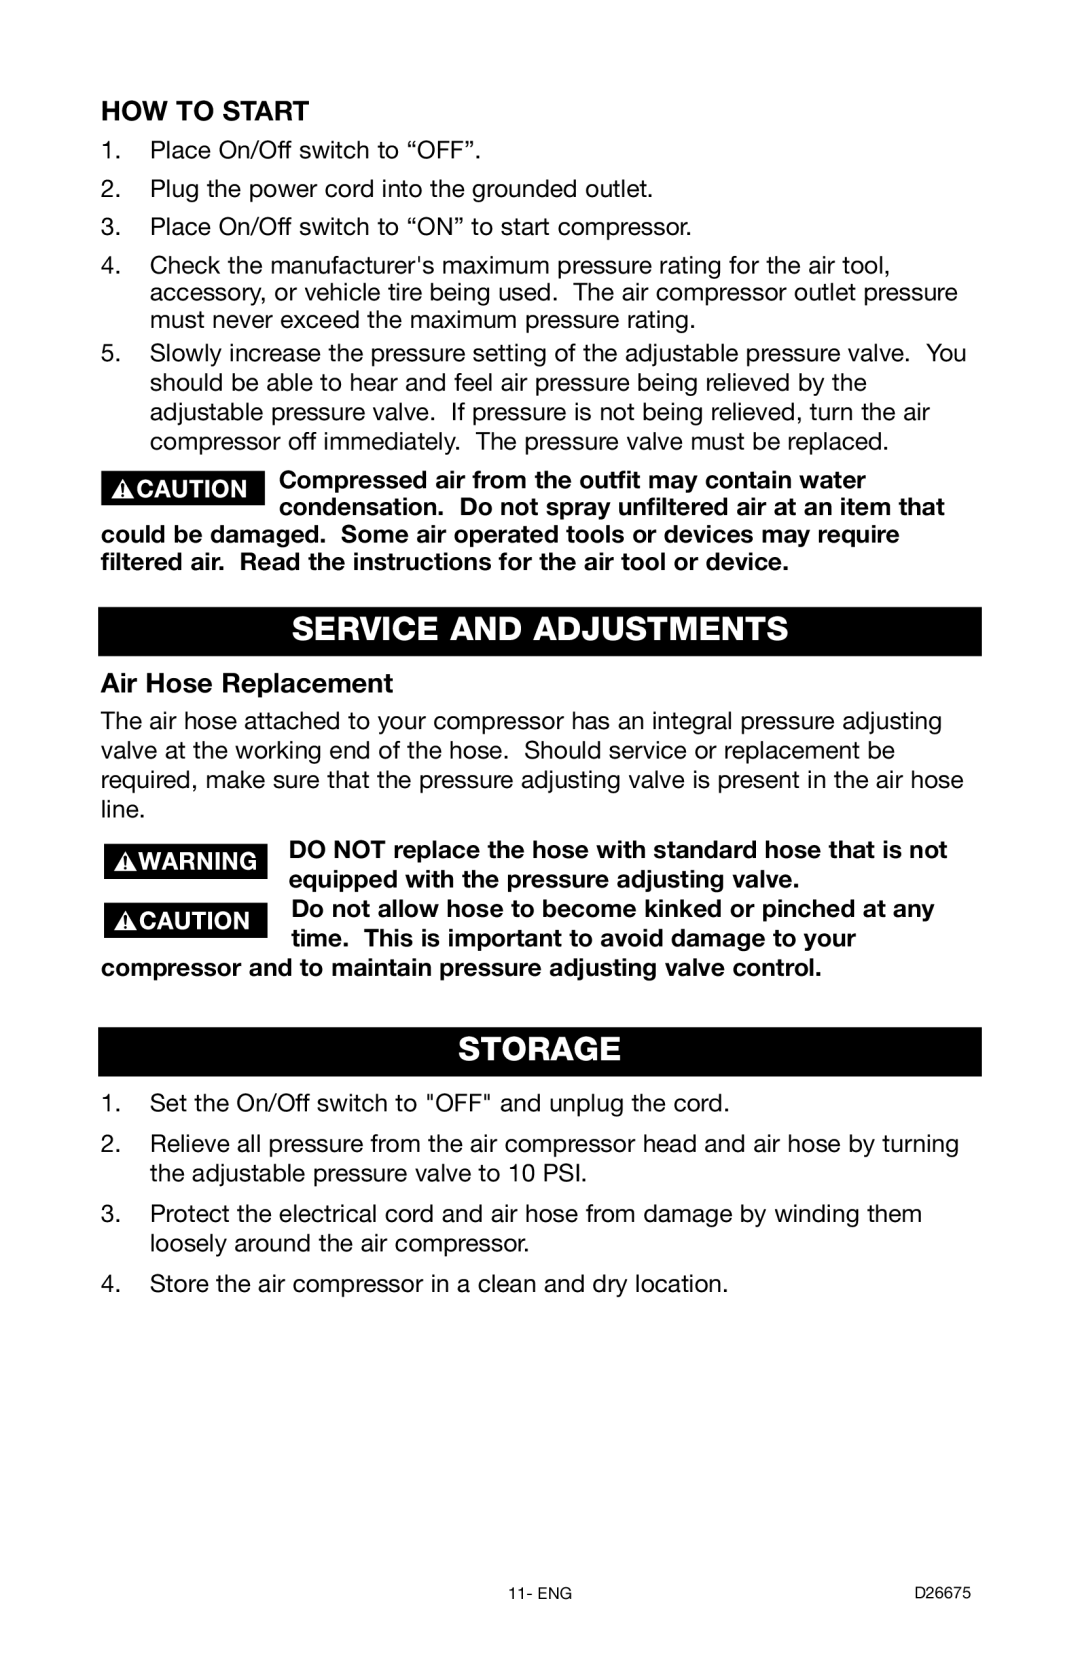
The user-friendly controls and gauges provide easy monitoring of pressure levels and performance, showcasing DeVillbiss’ commitment to usability. Additionally, the compressor is equipped with multiple Air hose outlets, allowing simultaneous use of several tools.
Overall, the DeVillbiss Air Power Company D26675 air compressor is a reliable, efficient, and user-friendly solution that can tackle a variety of tasks with ease. Its combination of performance, durability, and portability makes it an indispensable tool for anyone in need of compressed air solutions. Whether for professional construction work or home improvement projects, the D26675 proves to be a valuable investment.