5Click the OK button to apply the changes.
6When the HP Digital Entertainment Center image appears on the TV screen, click Yes to keep the setting. You have 15 seconds to accept this new setting before it reverts to the previous setting. If the new setting is not correct, wait for 15 seconds and the previous screen displays.
7Click the OK button to save changes and close the window.
NOTE: Your screen image should be correctly sized at this point. If your picture in DVI is not satisfactory, see “Blurred screen text” on page 30.
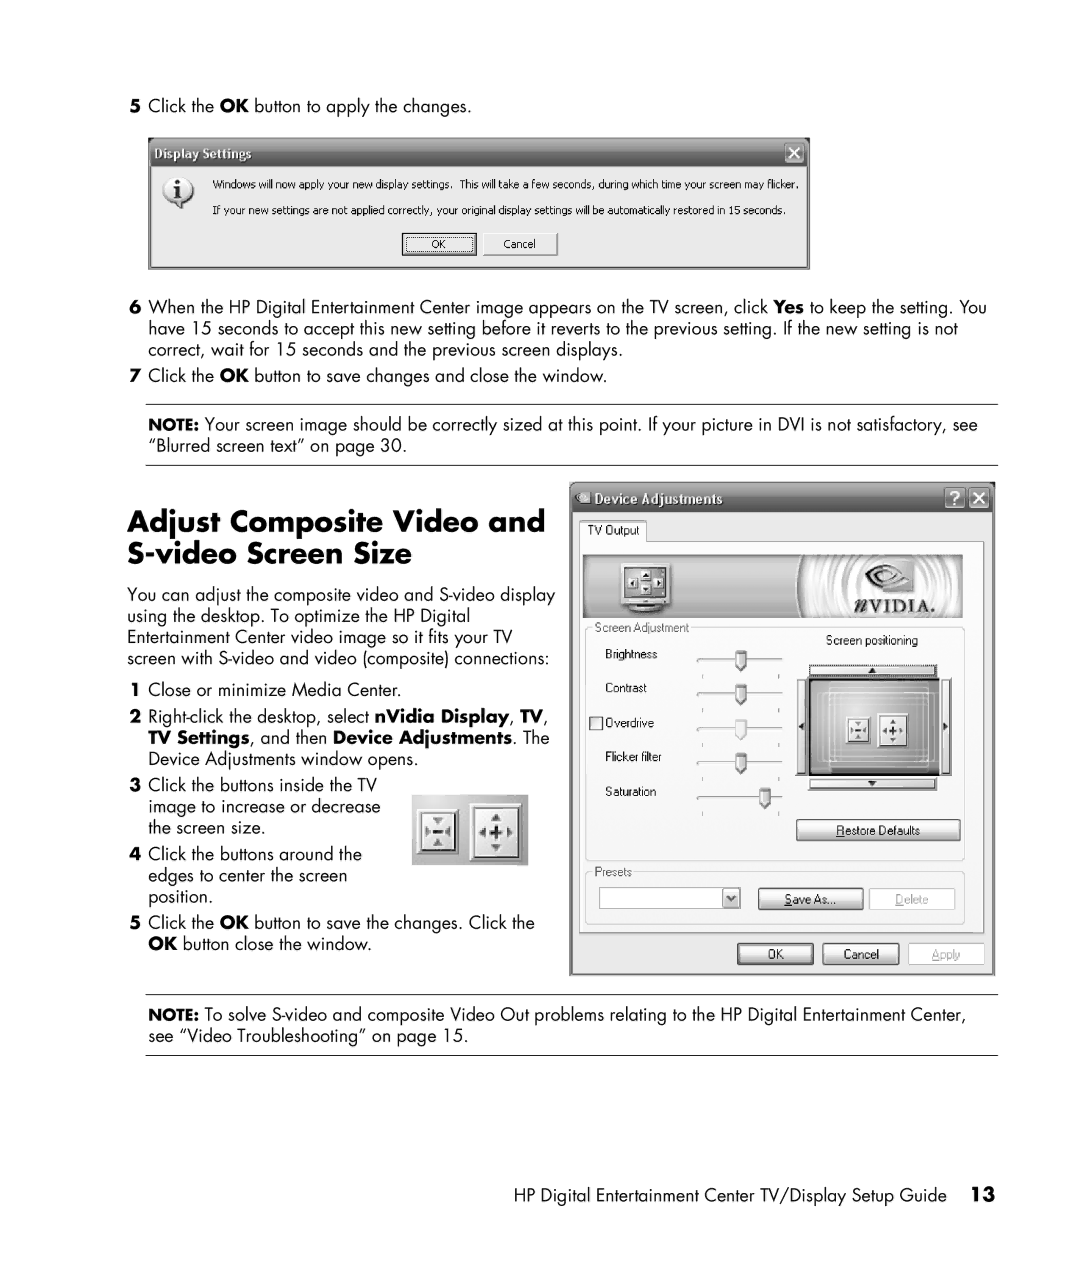
Adjust Composite Video and
S-video Screen Size
You can adjust the composite video and
1Close or minimize Media Center.
2
3Click the buttons inside the TV image to increase or decrease the screen size.
4Click the buttons around the edges to center the screen position.
5Click the OK button to save the changes. Click the OK button close the window.
NOTE: To solve
HP Digital Entertainment Center TV/Display Setup Guide 13