EF3003-230 specifications
The Dimplex EF3003-230 is an innovative electric fire designed to provide both ambiance and effective heating in today’s modern living spaces. With its sleek and contemporary design, this electric fire seamlessly integrates into various interiors, making it an attractive centerpiece for any room.One of the standout features of the Dimplex EF3003-230 is its realistic flame effect. Utilizing advanced LED technology, the fire creates a lifelike flame appearance that can be enjoyed with or without heat, allowing for year-round ambiance. This flame effect is adjustable, giving users the flexibility to customize the intensity of the glow to suit their mood and settings. The use of energy-efficient LED lighting not only enhances the visual appeal but also helps in reducing energy consumption.
The EF3003-230 is equipped with a powerful heating element that can warm up spaces efficiently. It offers two heat settings: a lower setting for gentle warmth and a higher setting to quickly heat up larger rooms. With an output of up to 2 kW, this electric fire is capable of heating spaces effectively while ensuring optimal comfort.
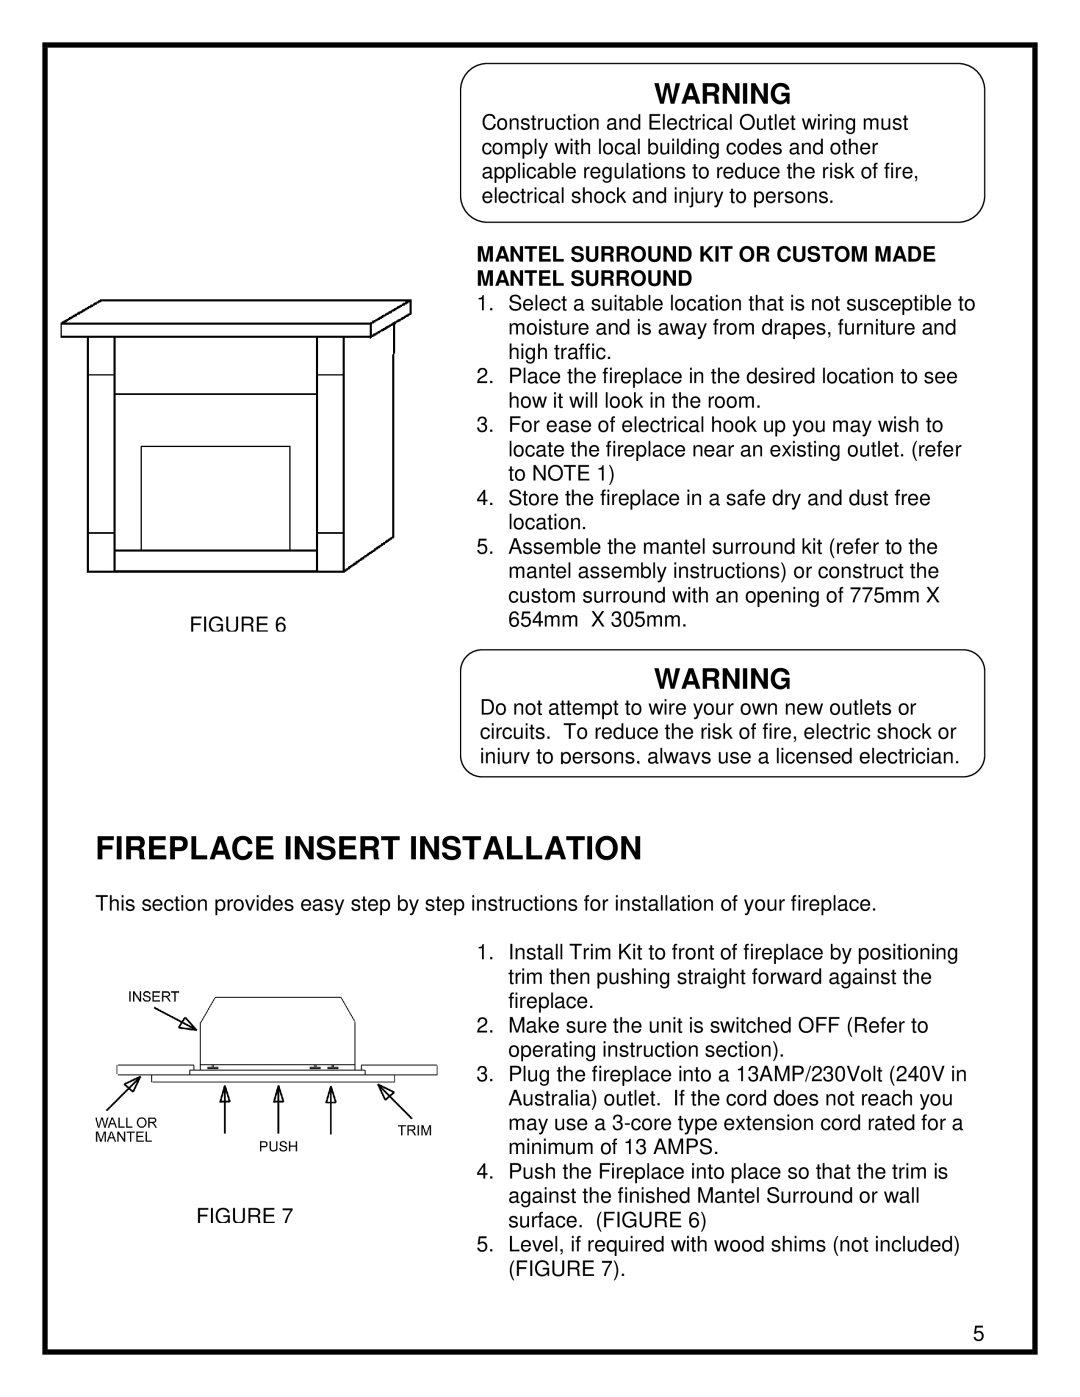
Another remarkable characteristic of the Dimplex EF3003-230 is its ease of installation. Unlike traditional wood-burning or gas fires, this electric model requires no flue, ventilation, or chimney, eliminating the need for complex installation processes. This feature makes it an ideal option for both retrofitting in existing homes and for new builds. It can be easily mounted on a wall or placed in an existing fireplace, adding versatility to its installation options.
In terms of safety, the Dimplex EF3003-230 comes with an automatic shut-off feature that activates when the unit overheats, providing peace of mind to users. Additionally, the cool-to-touch design ensures that the outer surfaces remain safe, making it suitable for homes with children and pets.
The Dimplex EF3003-230 is also user-friendly, with a simple remote control that allows users to adjust settings conveniently from anywhere in the room. Its modern aesthetic, combined with effective heating performance, makes it a popular choice for homeowners looking to enhance their living spaces with both style and functionality. Whether for cozy evenings or lively gatherings, the Dimplex EF3003-230 provides an inviting warmth and mesmerizing flame effect, making it a perfect choice for modern lifestyles.

