Shower specifications
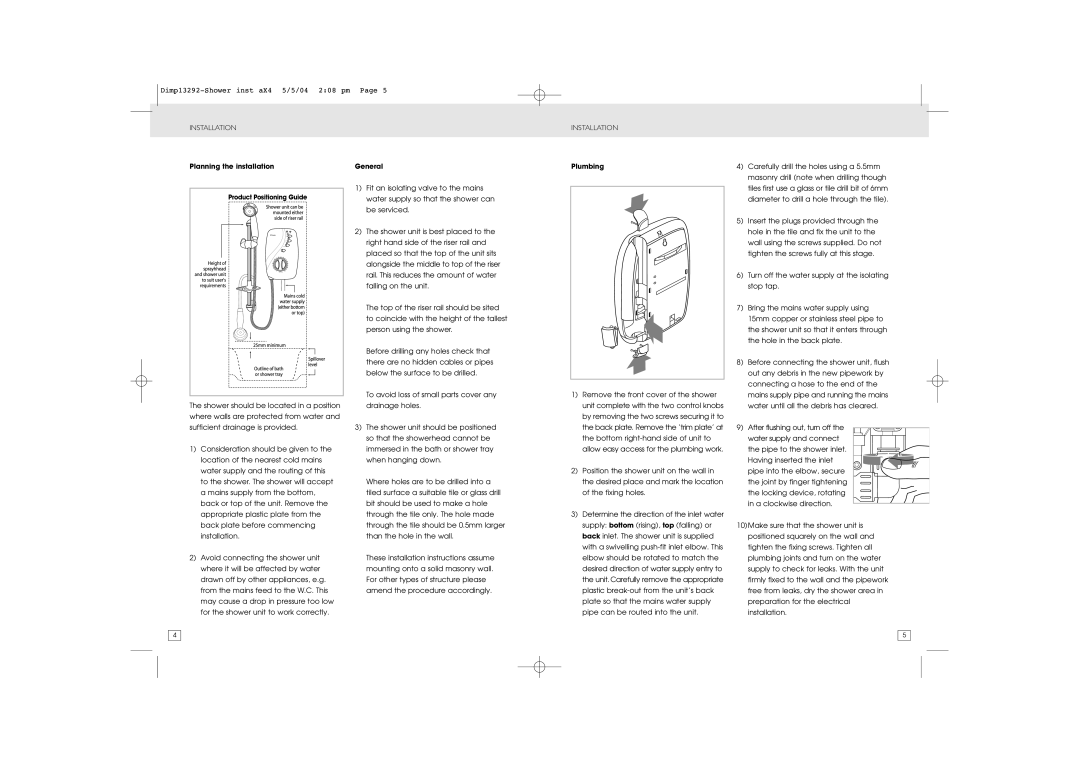
Dimplex Shower is a revolutionary approach to enhancing your bathing experience, combining cutting-edge technology with user-friendly features to provide optimum comfort. One of the main highlights of Dimplex Shower is its smart heating system, which allows for instant hot water on demand. This innovative system eliminates the waiting time for water to reach the desired temperature, ensuring you enjoy a warm shower immediately.The Dimplex Shower features a sleek, modern design that can seamlessly fit into any bathroom aesthetic. With a minimalistic look, it enhances the overall appeal of your space while offering high efficiency. Available in various models, users can select an option that best matches their needs and preferences.
One of the standout technologies integrated into the Dimplex Shower is its precise temperature control mechanism. This enables users to set their preferred temperature easily, resulting in a consistently comfortable showering experience. The temperature stability feature minimizes fluctuations, allowing you to concentrate on relaxation without interruptions.
Energy efficiency is another significant aspect of Dimplex Shower. Utilizing advanced insulation technologies, these showers minimize energy loss while heating water. The result is a more sustainable and cost-effective solution for daily bathing, allowing consumers to enjoy luxury without compromising their energy bills.
Additionally, Dimplex Shower incorporates user-friendly digital controls that simplify operation. With its intuitive interface, users can customize their shower experience, from water pressure to temperature settings, all at the touch of a button. The LED display provides clear visual feedback, ensuring users are always informed about their shower settings.
Safety is paramount, and Dimplex Shower addresses this with built-in anti-scald technology. This feature prevents water from exceeding safe temperatures, providing peace of mind for families and ensuring a safe experience for children and elderly users.
Finally, easy installation and maintenance further distinguish the Dimplex Shower from competitors. It is designed for straightforward setup, and the high-quality materials used facilitate long-lasting performance. In summary, Dimplex Shower represents a blend of style, efficiency, and innovation, delivering a superior showering experience tailored to modern lifestyles.

