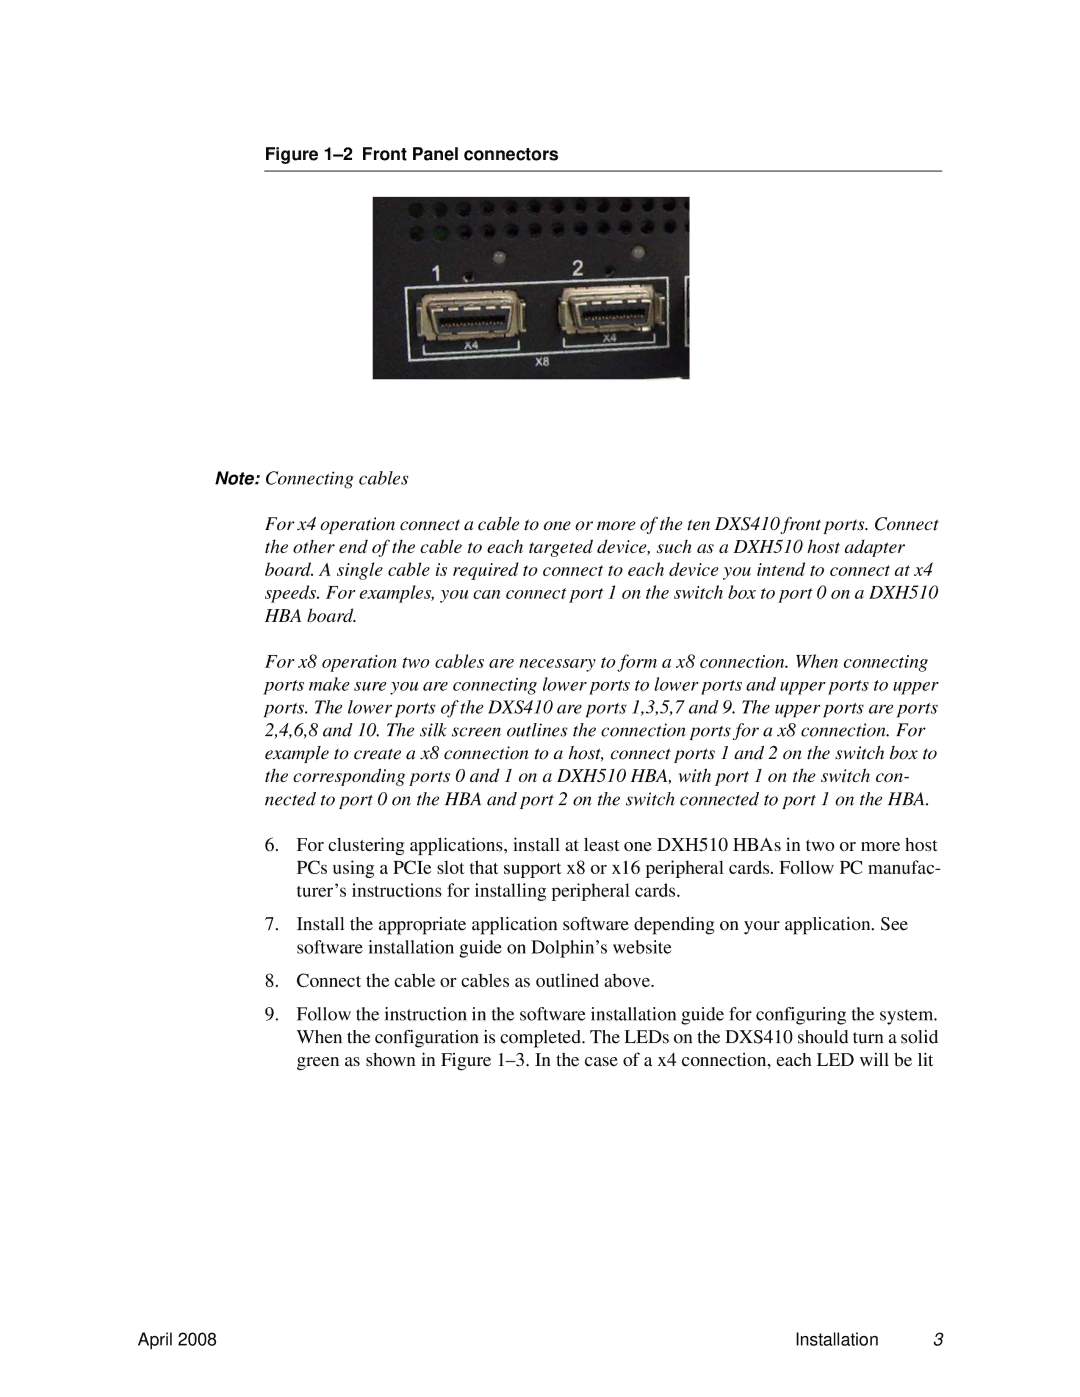
DXS410 specifications
The Dolphin Peripherals DXS410 is a state-of-the-art device designed to enhance productivity in various business environments. This robust handheld device is primarily utilized in sectors such as logistics, retail, and field services, ensuring smooth operations through its advanced features and capabilities.One of the standout characteristics of the DXS410 is its ergonomic design, which promotes comfort during prolonged use. The lightweight form factor allows users to effortlessly navigate through tasks while maintaining ease of handling. This attention to user experience helps minimize fatigue, enabling employees to work efficiently throughout their shifts.
Equipped with a high-performance processor, the DXS410 ensures swift data processing and task execution. The device boasts a responsive touch screen, facilitating easy navigation and interaction with applications. This large display ensures that users can view essential information at a glance, making it ideal for high-demand environments where rapid decision-making is crucial.
In terms of connectivity, the Dolphin DXS410 supports various communication protocols, including Wi-Fi and Bluetooth capabilities. This versatility allows seamless integration with existing systems and devices, streamlining workflows and enhancing collaboration across teams. With secure connectivity options, users can confidently transfer sensitive data without the risk of breaches.
The DXS410 is also designed for durability, featuring rugged construction that meets industry standards for drop resistance and environmental factors. This reliability makes the device suitable for use in challenging conditions, whether in a warehouse or out in the field. The IP-rated enclosure ensures protection against dust and moisture, allowing it to perform effectively in diverse situations.
Additional highlights of the DXS410 include advanced scanning technology, which can quickly read various barcode formats. This functionality is vital in inventory management, enabling swift and accurate tracking of products. The device also includes a long-lasting battery, ensuring that it can operate throughout the day without frequent recharging.
Overall, the Dolphin Peripherals DXS410 combines cutting-edge technology with robust design to deliver a dependable solution for businesses seeking to enhance productivity. Its array of features makes it a valuable asset for any organization aiming to streamline operations and improve efficiency in a competitive landscape.

