Manuals
/
Dukane
/
Computer Equipment
/
Projector
Dukane
28A8035
manual
Models:
28A8035
1
1
36
36
Download
36 pages
35.08 Kb
1
2
3
4
5
6
7
8
Install
Dimension diagram
Video signal cables
Example of data error
Indicator display
Connecting various equipment
Reset the lamp time
How to use the SET UP menu
Control command table
Adjustments and functions
Page 1
Image 1
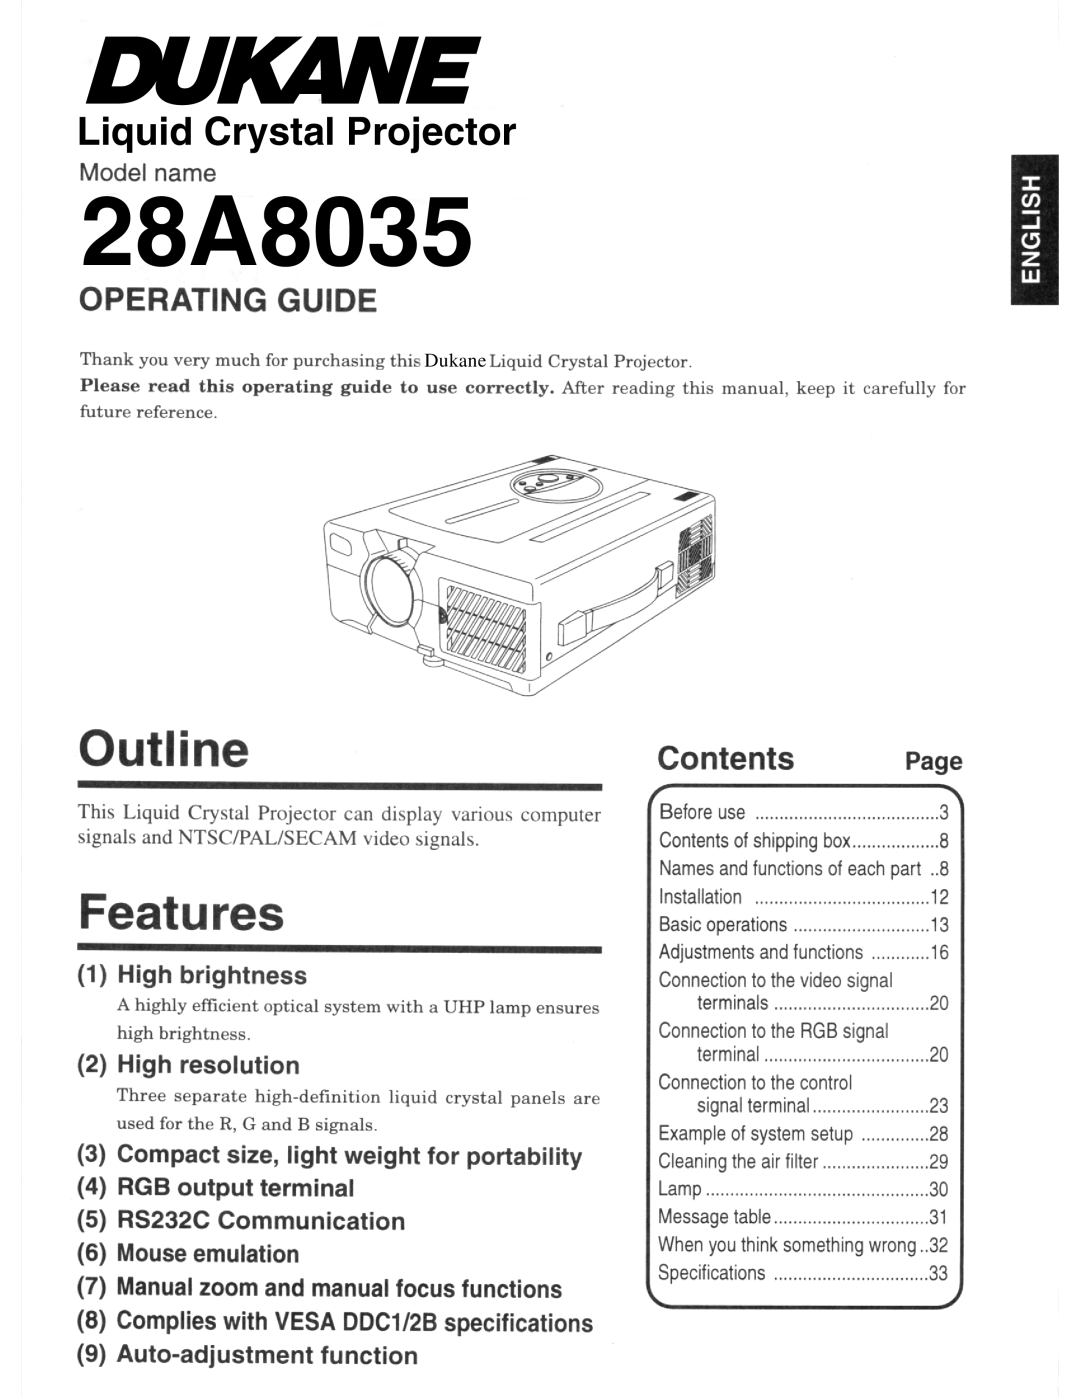
Liquid Crystal Projector
28A8035
Dukane
Page 1
Page 2
Page 1
Image 1
Page 1
Page 2
Contents
28A8035
For the Customers in U.K
Power cord
Video signal cables
Before use
Instructions to Users
Do not install this unit in an unstable place
Do not look directly at the lens when Lamp is lit
Do not use power supplies other Than that specified
If any abnormality occurs
Do not stare directly into the laser aperture
Be careful in handling the power cord
Handle the power cord carefully
Cleaning
Use of batteries When you are not going to use for a
Clean inside the unit at least once two years
Do not place this unit where it gets hot
When you are not going to use For a long time
Volume
Cleaning the lens
Contents of shipping box
AC in socket
Remote control sensor Main Power switch
Video input terminal
RGB input terminal
Remote control transmitter
Names and functions of each part
How to insert batteries
Example of the projector and screen installation
Installation
How to use foot adjusters
To project the picture
Basic operations
Press the STANDBY/ON button, for 1 second
To turn off the power
Freeze Function
To return to the initial setting
Adjustments and functions
Memory function
Bar display items VOLUME, Bright etc
How to use the SET UP menu
Numerical display items V POSIT, H Posit etc
Manual Operation
AUTO-adjustment Confirm Screen
AUTO-adjustment
During AUTO-adjustment
Adjustment Item Details of adjustment
Reveal
Connection to the RGB signal terminal
Connection to the video signal terminals
Resolution Standard Display Dots KHz Type
Example of computer signal
Computer/signal Horizontal Timing µs
Initial set signals
Computer/signal Vertical Timing lines
Control signal terminal
Connection to the control signal terminal
Mouse emulation
ADB Mac mouse
PS/2 mouse
Serial mouse
Control command table
Control command table
Communication
RS232C cable Reference
Command data
Procedure of setting the Projector status
Procedure of getting the Projector status
Procedure of default setting the Projector status
Example of command error
Connecting various equipment
Example of system setup
AC Inlet Computer Note type
ComputerDesk type
Air filter Filter cover
Cleaning the air filter
Remove the lamp cover
How to replace lamp
Loosen two screws and pull the handle to remove Lamp
Reset the lamp time
Install the lamp cover and fix it using screws
Lamp
Message table
Indicator display
On-screen display
Action
When you think something wrong
RCA Jack terminal Input terminal Input/Output
Dimension diagram
Operating guide RGB cable
Legal Information
Mail avsales@dukane.com
St. Charles, IL Fax
Top
Page
Image
Contents