SETTING UP THE PROJECTOR
1Place the projector on a flat surface.
•The projector must be within 6 feet (1.8 m) of your power source and your computer.
•If you want to project from behind a translucent screen, set up the projector behind your screen. See “Rear” on page 25 to reverse the image.
•If you are installing the projector on the ceiling, refer to the installation guide that comes with the Ceiling Mount Kit for more information. To turn the image upside down, see “Ceiling” on page 25.
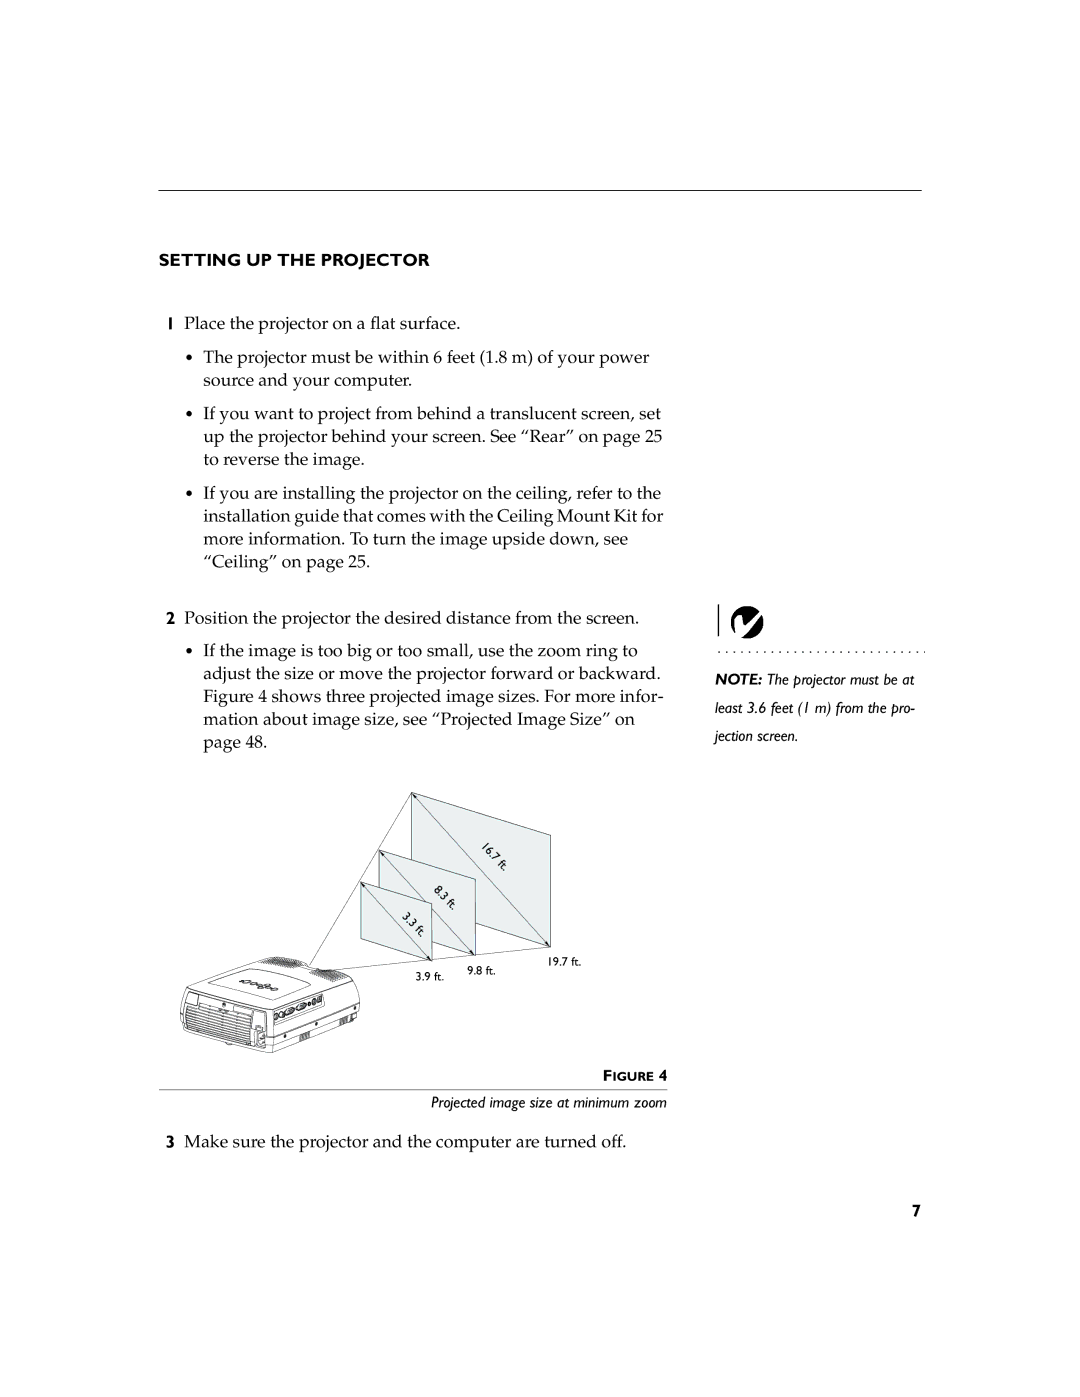
2Position the projector the desired distance from the screen.
•If the image is too big or too small, use the zoom ring to adjust the size or move the projector forward or backward. Figure 4 shows three projected image sizes. For more infor- mation about image size, see “Projected Image Size” on page 48.
1 6 . 7 f t .
8 . 3 f t .
3 . 3 f t .
19.7 ft.
. 9.8 ft. 3.9 ft
FIGURE 4
Projected image size at minimum zoom
3 Make sure the projector and the computer are turned off.
NOTE: The projector must be at
least 3.6 feet (1 m) from the pro-
jection screen.
7
