Using the On-Screen Menus
The projector has menus that allow you to make image adjust- ments and change a variety of settings.
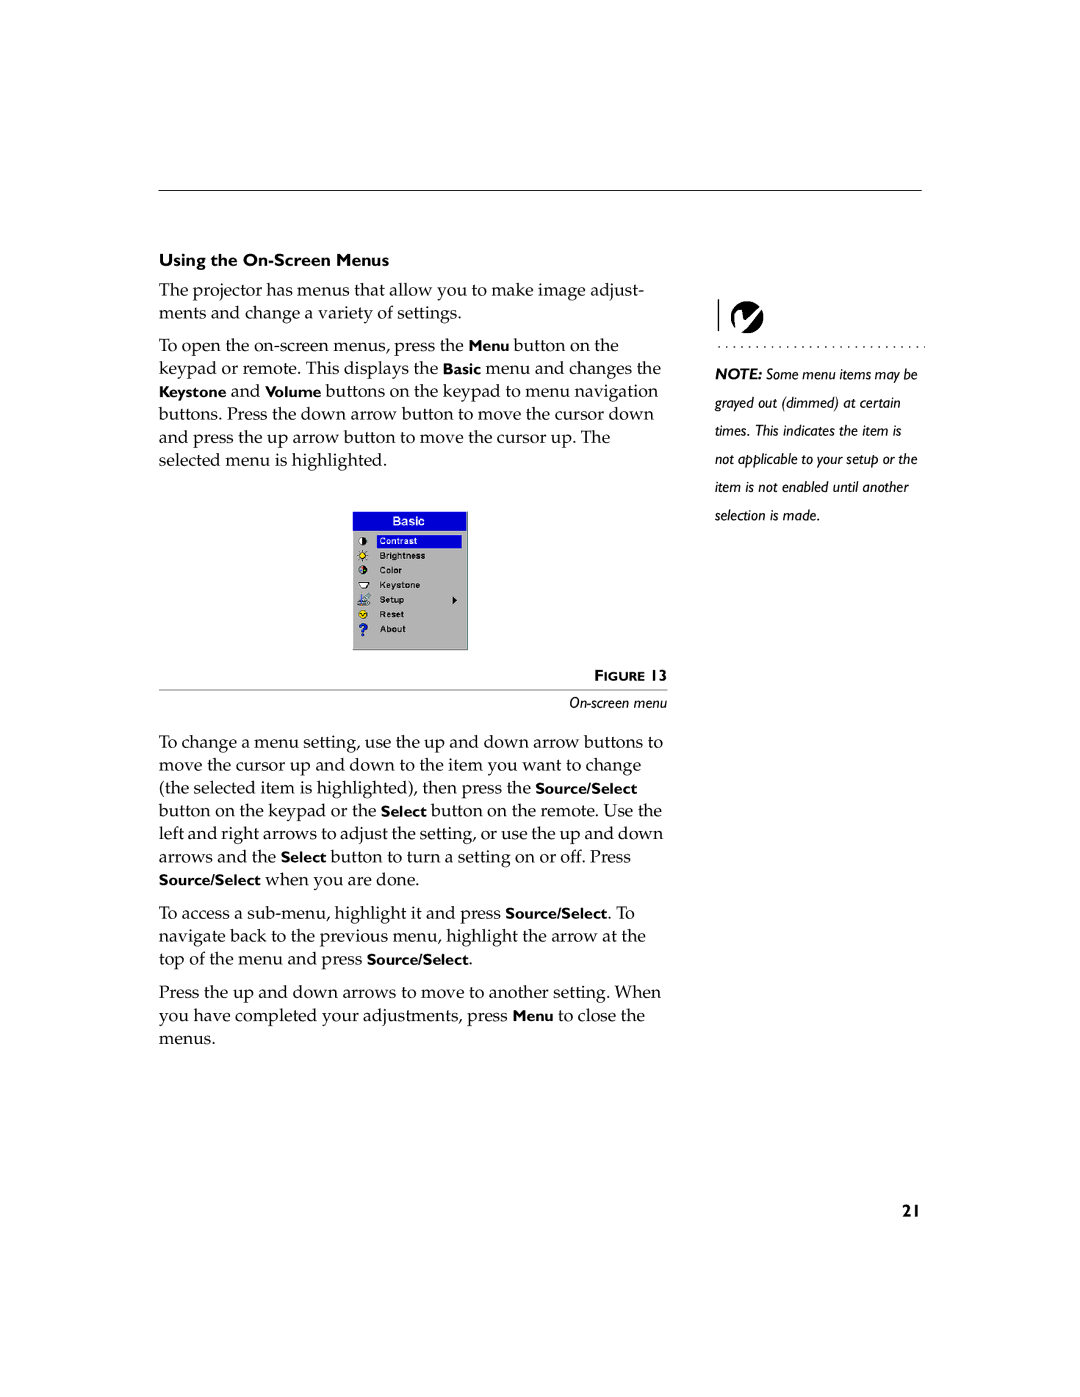
To open the
NOTE: Some menu items may be grayed out (dimmed) at certain times. This indicates the item is not applicable to your setup or the item is not enabled until another selection is made.
FIGURE 13
To change a menu setting, use the up and down arrow buttons to move the cursor up and down to the item you want to change (the selected item is highlighted), then press the Source/Select button on the keypad or the Select button on the remote. Use the left and right arrows to adjust the setting, or use the up and down arrows and the Select button to turn a setting on or off. Press Source/Select when you are done.
To access a
Press the up and down arrows to move to another setting. When you have completed your adjustments, press Menu to close the menus.
21
