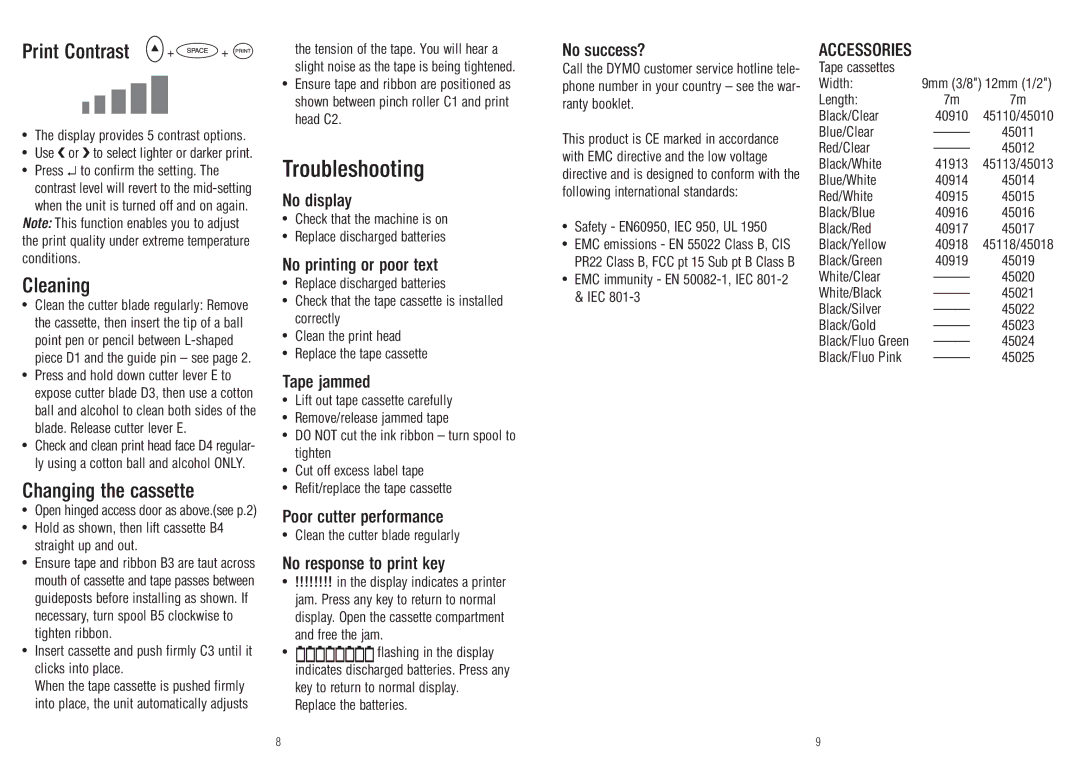
Print Contrast | + | + |
ııııı
•The display provides 5 contrast options.
•Use or to select lighter or darker print.
•Press ↵ to confirm the setting. The contrast level will revert to the
Note: This function enables you to adjust the print quality under extreme temperature conditions.
Cleaning
•Clean the cutter blade regularly: Remove the cassette, then insert the tip of a ball point pen or pencil between
•Press and hold down cutter lever E to expose cutter blade D3, then use a cotton ball and alcohol to clean both sides of the blade. Release cutter lever E.
•Check and clean print head face D4 regular- ly using a cotton ball and alcohol ONLY.
Changing the cassette
•Open hinged access door as above.(see p.2)
•Hold as shown, then lift cassette B4 straight up and out.
•Ensure tape and ribbon B3 are taut across mouth of cassette and tape passes between guideposts before installing as shown. If necessary, turn spool B5 clockwise to tighten ribbon.
•Insert cassette and push firmly C3 until it clicks into place.
When the tape cassette is pushed firmly into place, the unit automatically adjusts
the tension of the tape. You will hear a slight noise as the tape is being tightened.
•Ensure tape and ribbon are positioned as shown between pinch roller C1 and print head C2.
Troubleshooting
No display
•Check that the machine is on
•Replace discharged batteries
No printing or poor text
•Replace discharged batteries
•Check that the tape cassette is installed correctly
•Clean the print head
•Replace the tape cassette
Tape jammed
•Lift out tape cassette carefully
•Remove/release jammed tape
•DO NOT cut the ink ribbon – turn spool to tighten
•Cut off excess label tape
•Refit/replace the tape cassette
Poor cutter performance
•Clean the cutter blade regularly
No response to print key
•!!!!!!!! in the display indicates a printer jam. Press any key to return to normal display. Open the cassette compartment and free the jam.
• | flashing in the display |
| indicates discharged batteries. Press any |
| key to return to normal display. |
| Replace the batteries. |
No success? | ACCESSORIES |
|
| ||
Call the DYMO customer service hotline tele- | Tape cassettes |
|
| ||
phone number in your country – see the war- | Width: | 9mm (3/8") 12mm (1/2") | |||
ranty booklet. | Length: | 7m | 7m | ||
|
| Black/Clear | 40910 | 45110/45010 | |
This product is CE marked in accordance | Blue/Clear | 45011 | |||
Red/Clear | 45012 | ||||
with EMC directive and the low voltage | |||||
Black/White | 41913 | 45113/45013 | |||
directive and is designed to conform with the | |||||
Blue/White | 40914 | 45014 | |||
following international standards: | |||||
Red/White | 40915 | 45015 | |||
• Safety - EN60950, IEC 950, UL 1950 | Black/Blue | 40916 | 45016 | ||
Black/Red | 40917 | 45017 | |||
• | EMC emissions - EN 55022 Class B, CIS | Black/Yellow | 40918 | 45118/45018 | |
| PR22 Class B, FCC pt 15 Sub pt B Class B | Black/Green | 40919 | 45019 | |
• | EMC immunity - EN | White/Clear | 45020 | ||
| & IEC | White/Black | 45021 | ||
|
| Black/Silver | 45022 | ||
|
| Black/Gold | 45023 | ||
|
| Black/Fluo Green | 45024 | ||
|
| Black/Fluo Pink | 45025 | ||
8 | 9 |