2
Dynex DX-WGNBC or
DX-WGDTC Wireless LAN
Card
Contents |
|
Introduction | 2 |
Installing the software and hardware | 2 |
Configuring the wireless network | 4 |
Troubleshooting | 6 |
Legal notices | 7 |
Français | 8 |
Español | 15 |
Introduction |
|
Thank you for purchasing a Dynex Wireless LAN 802.11g notebook or desktop card. This package contains the following:
•A Wireless LAN 802.11g notebook or desktop card
•A printed user guide
•A CD containing the wireless network card utility and drivers and this user guide
If anything is missing, contact Dynex at (800)
Installing the software and hardware
Use the following procedures to set up your wireless network.
To install wireless networking on a Windows XP computer:
Caution: Do not insert the notebook or desktop card until instructed to do so.
1Install the access point. For more information, see the access point documentation.
2Turn on your computer.
3Insert the included CD in the optical drive.
4If the installation program does not start automatically, use Windows Explorer or My Computer to browse the CD and locate the file named setup.exe, then
5Follow the
Contents
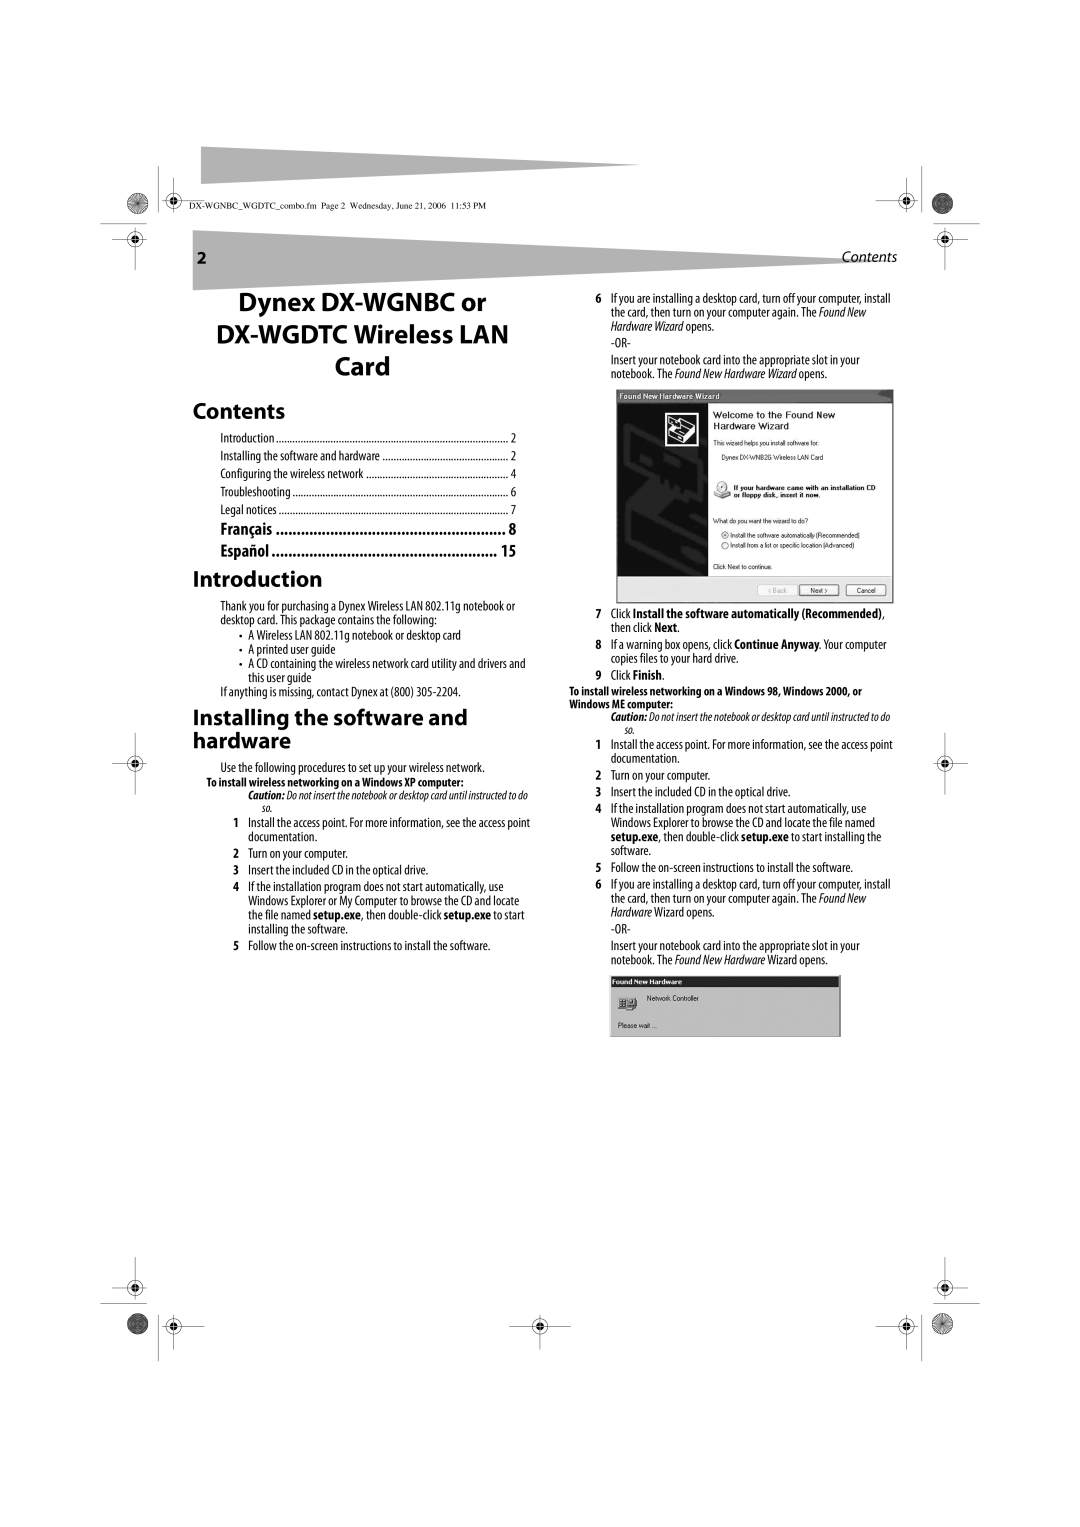
6If you are installing a desktop card, turn off your computer, install the card, then turn on your computer again. The Found New Hardware Wizard opens.
Insert your notebook card into the appropriate slot in your notebook. The Found New Hardware Wizard opens.
7Click Install the software automatically (Recommended), then click Next.
8If a warning box opens, click Continue Anyway. Your computer copies files to your hard drive.
9Click Finish.
To install wireless networking on a Windows 98, Windows 2000, or Windows ME computer:
Caution: Do not insert the notebook or desktop card until instructed to do so.
1Install the access point. For more information, see the access point documentation.
2Turn on your computer.
3Insert the included CD in the optical drive.
4If the installation program does not start automatically, use Windows Explorer to browse the CD and locate the file named setup.exe, then
5Follow the
6If you are installing a desktop card, turn off your computer, install the card, then turn on your computer again. The Found New Hardware Wizard opens.
Insert your notebook card into the appropriate slot in your notebook. The Found New Hardware Wizard opens.