4
Configuring the wireless network
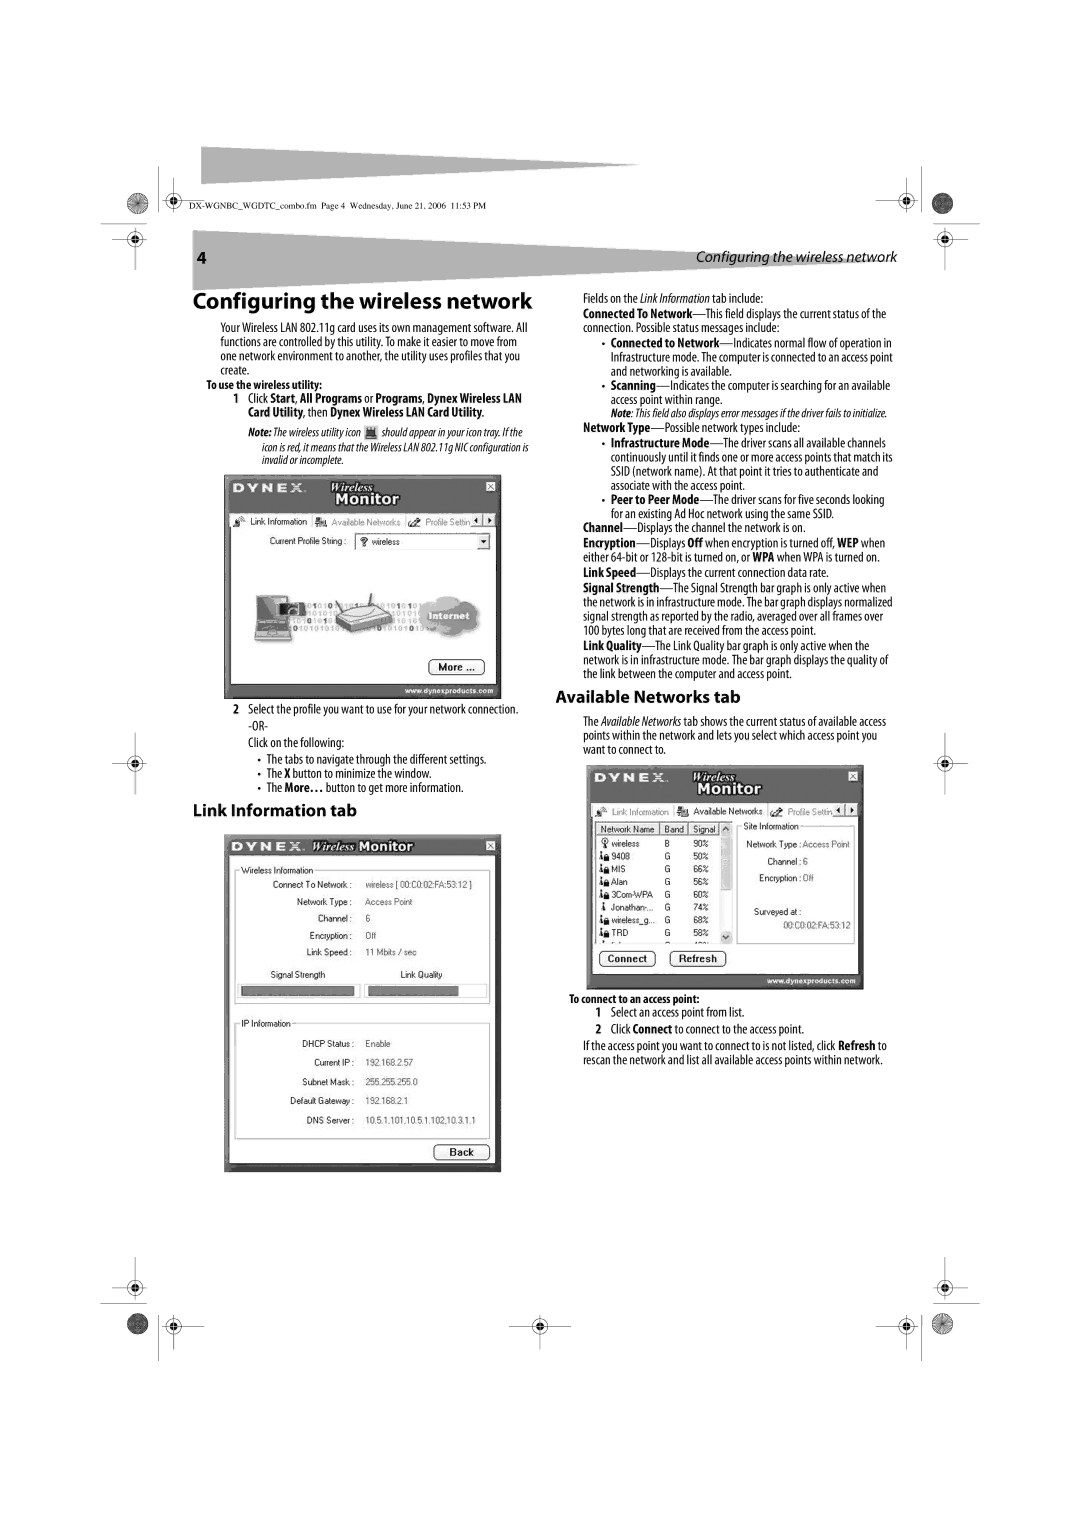
Your Wireless LAN 802.11g card uses its own management software. All functions are controlled by this utility. To make it easier to move from one network environment to another, the utility uses profiles that you create.
To use the wireless utility:
1Click Start, All Programs or Programs, Dynex Wireless LAN Card Utility, then Dynex Wireless LAN Card Utility.
Note: The wireless utility icon ![]() should appear in your icon tray. If the
should appear in your icon tray. If the
icon is red, it means that the Wireless LAN 802.11g NIC configuration is invalid or incomplete.
2Select the profile you want to use for your network connection.
Click on the following:
•The tabs to navigate through the different settings.
•The X button to minimize the window.
•The More… button to get more information.
Link Information tab
Configuring the wireless network
Fields on the Link Information tab include:
Connected To
•Connected to
•
Note: This field also displays error messages if the driver fails to initialize.
Network Type—Possible network types include:
•Infrastructure
•Peer to Peer Mode—The driver scans for five seconds looking
for an existing Ad Hoc network using the same SSID.
Signal
Link
Available Networks tab
The Available Networks tab shows the current status of available access points within the network and lets you select which access point you want to connect to.
To connect to an access point:
1Select an access point from list.
2Click Connect to connect to the access point.
If the access point you want to connect to is not listed, click Refresh to rescan the network and list all available access points within network.
