Taking Off THOR’s Grille
STEP#1
Your are now ready to prepare the sub for installation. Carefully remove the logo from the grille to expose the fastener hex nut.
STEP#2
Using the provided allen wrench, remove the fastener nut. Make sure you perform these steps before trying to remove the grille (you will damage the grille otherwise).
STEP#3
Now to remove the grille you simply use your fingers to push out the prongs from the back side of the unit. Push out all prongs and the grille will simply fall out.
STEP#4
You have now successfully removed the grille and are ready to begin preparing the wall for installation.
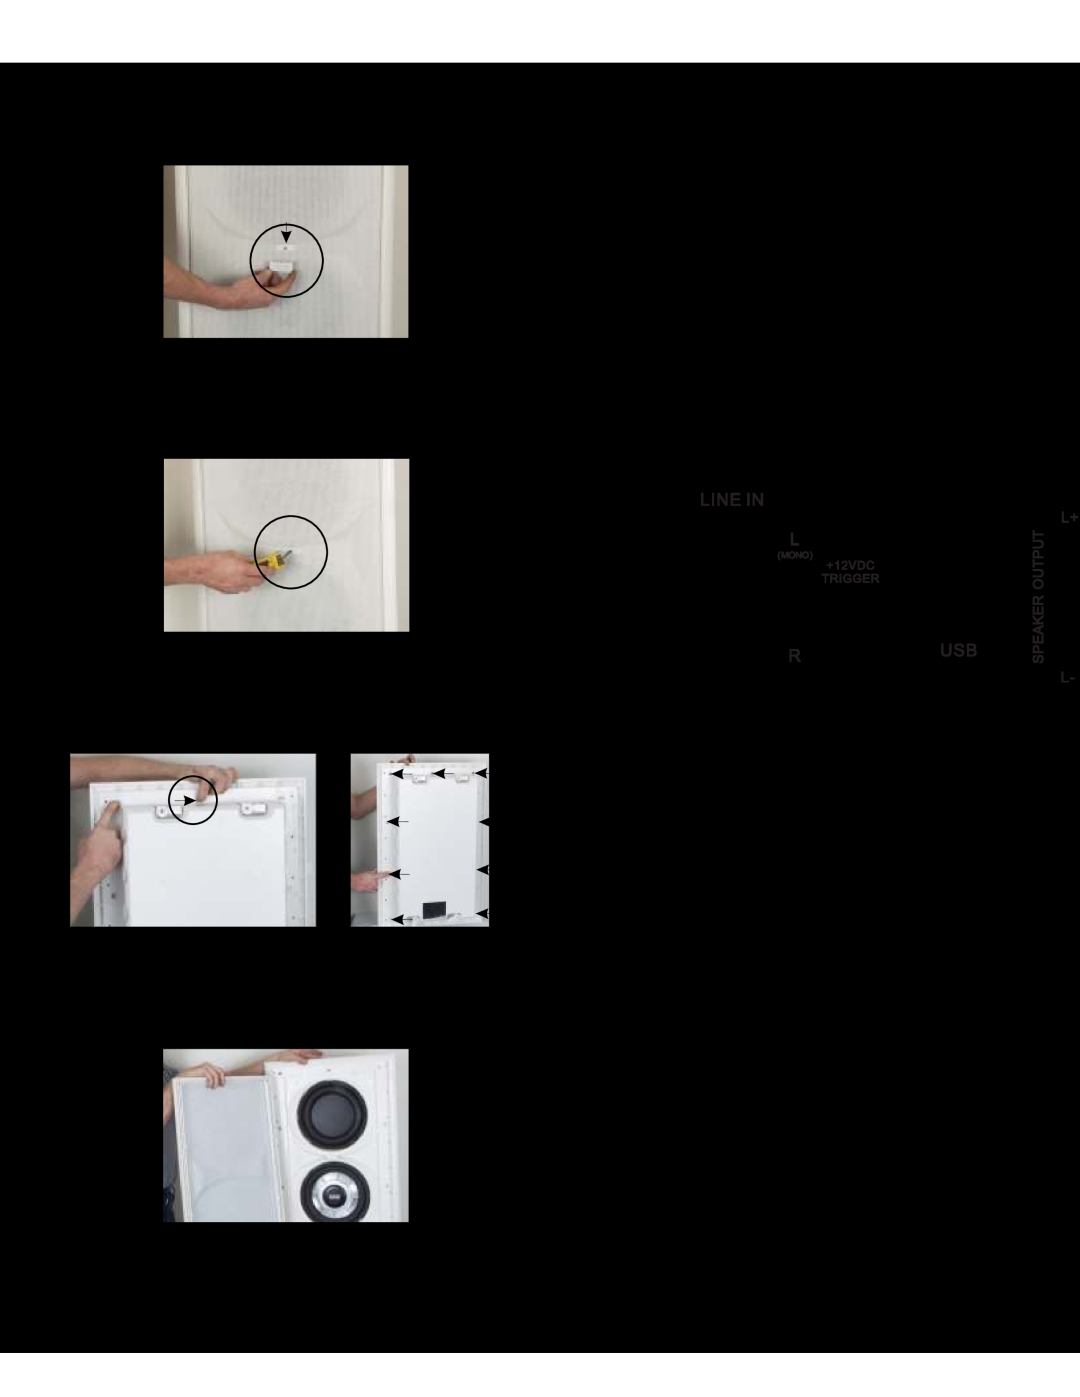
Connecting Your THOR
Earthquake Sound’s
amplifier is recommended for the use of one THOR. The
Earthquake Sound’s
XLR | R | |
| CH2 INPUT |
|
6 Earthquake Sound Corp. (510)