PCI 10/100 specifications
Efficient Networks PCI 10/100 is a network interface card (NIC) that stands out for its blend of performance, reliability, and compatibility in connecting computers to Ethernet networks. Designed to support both 10 Mbps and 100 Mbps Ethernet standards, this card provides flexibility for users as they transition from older networking technologies to faster connections.One of the main features of the Efficient Networks PCI 10/100 is its dual-speed capability. This allows for automatic detection of the network speed, ensuring optimal performance regardless of whether the network operates at 10 Mbps or 100 Mbps. This adaptability makes it an excellent option for upgrading legacy systems without requiring a complete overhaul of infrastructure.
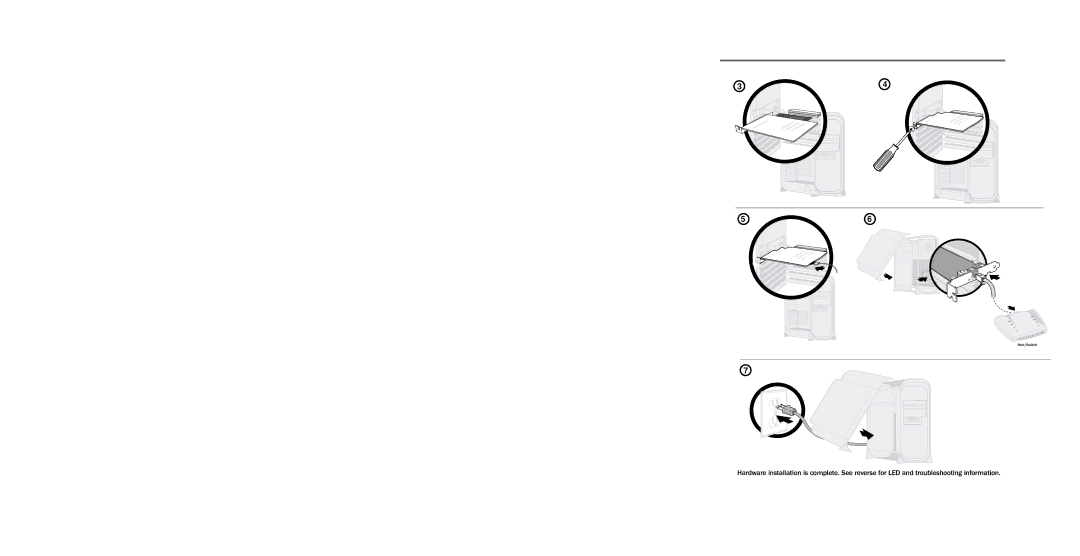
Another key characteristic is its PCI interface, which enables straightforward installation in desktop PCs. The card meets the PCI 2.2 specification, providing a stable connection to the motherboard and ensuring compatibility with a wide range of operating systems. It supports plug-and-play functionality, simplifying installation by automatically configuring itself upon being connected to the computer.
The Efficient Networks PCI 10/100 is equipped with advanced features like full-duplex support, allowing for simultaneous sending and receiving of data packets. This feature enhances overall throughput and reduces latency, making it suitable for applications that require real-time data transmission, such as video conferencing and online gaming. Additionally, the card’s support for half-duplex operation ensures compatibility with older Ethernet networks.
In terms of technologies, the NIC utilizes Ethernet framing for data encapsulation and supports various networking protocols. It also features a built-in LED indicator that provides visual feedback on network activity and connection status, helping users troubleshoot potential issues with ease.
The card is designed with efficiency in mind, consuming low power while delivering high performance, which is crucial for environmentally conscious consumers and businesses aiming to reduce their power footprints.
In conclusion, the Efficient Networks PCI 10/100 is a versatile and reliable network interface card characterized by its dual-speed capabilities, straightforward installation, advanced data transmission features, and support for various networking technologies. These features combined make it a practical choice for users looking to enhance their network connectivity without sacrificing compatibility or performance.

