Software Installation Guide
Installing the software
To install the software into the computer with Windows 2000, Windows XP or Windows NT, you should logon as administrator. Before installation, make sure that the other applications are closed, otherwise installation cannot be made properly.
Network Viewer & Capture 3 installation
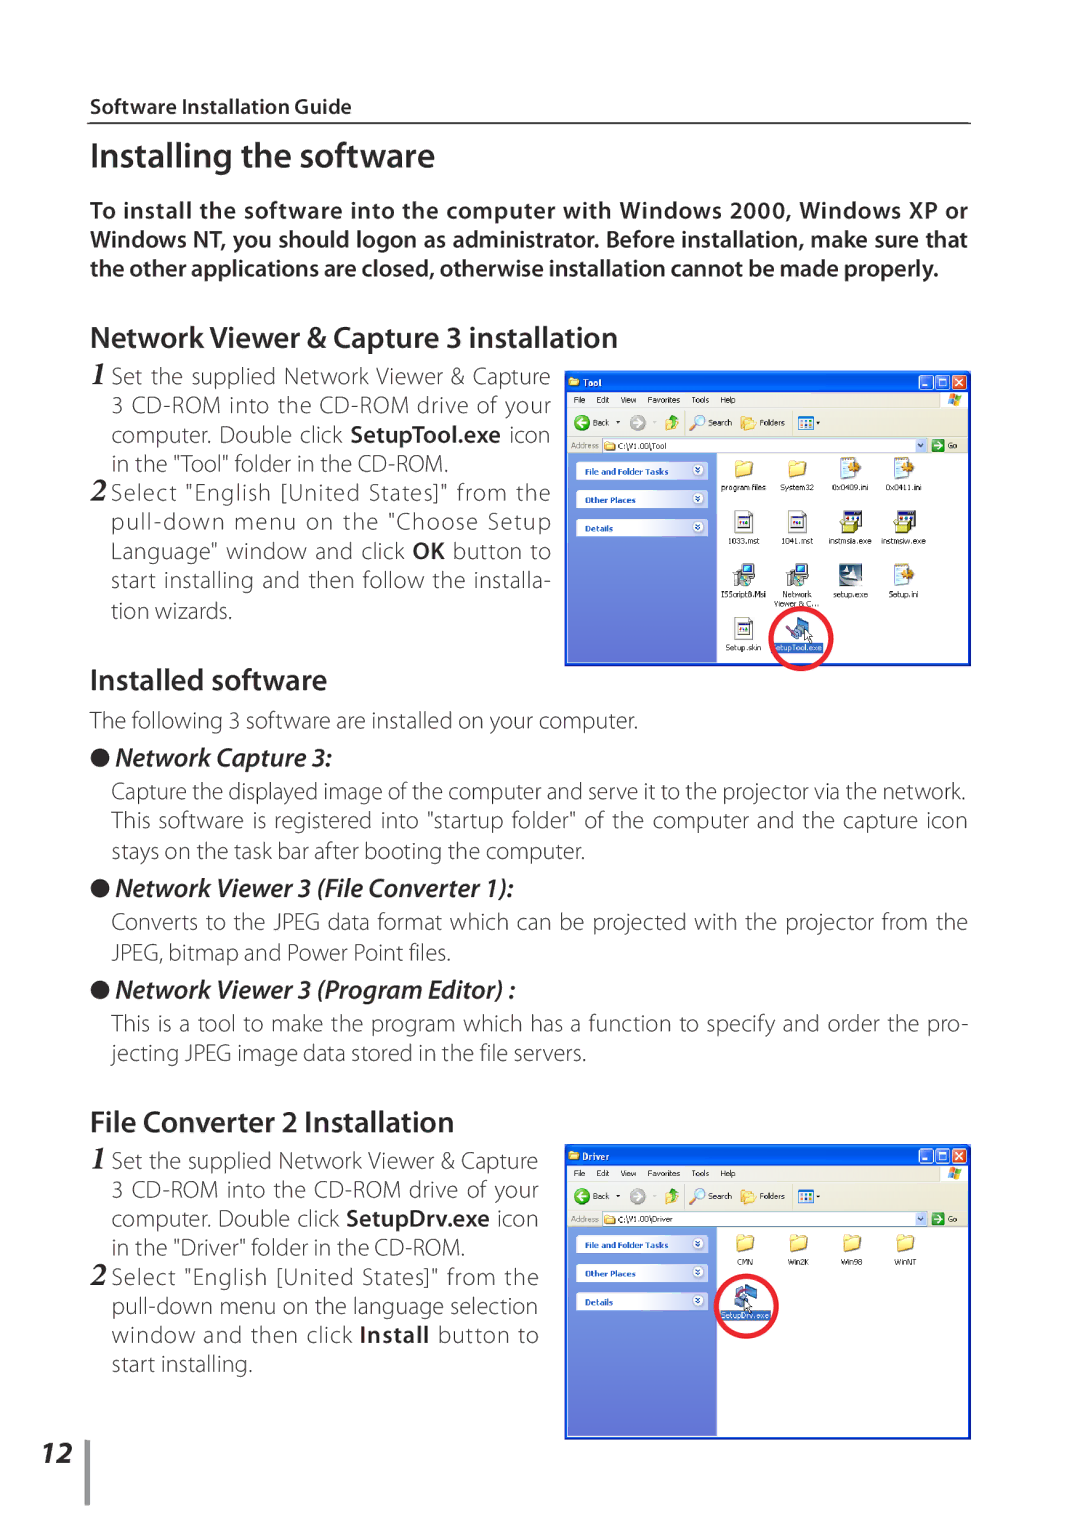
1 Set the supplied Network Viewer & Capture
3
2 Select "English [United States]" from the
Installed software
The following 3 software are installed on your computer.
●Network Capture 3:
Capture the displayed image of the computer and serve it to the projector via the network. This software is registered into "startup folder" of the computer and the capture icon stays on the task bar after booting the computer.
●Network Viewer 3 (File Converter 1):
Converts to the JPEG data format which can be projected with the projector from the JPEG, bitmap and Power Point files.
●Network Viewer 3 (Program Editor) :
This is a tool to make the program which has a function to specify and order the pro- jecting JPEG image data stored in the file servers.
File Converter 2 Installation
1 Set the supplied Network Viewer & Capture
3
2 Select "English [United States]" from the
12