Using the AUTO-SIZING button
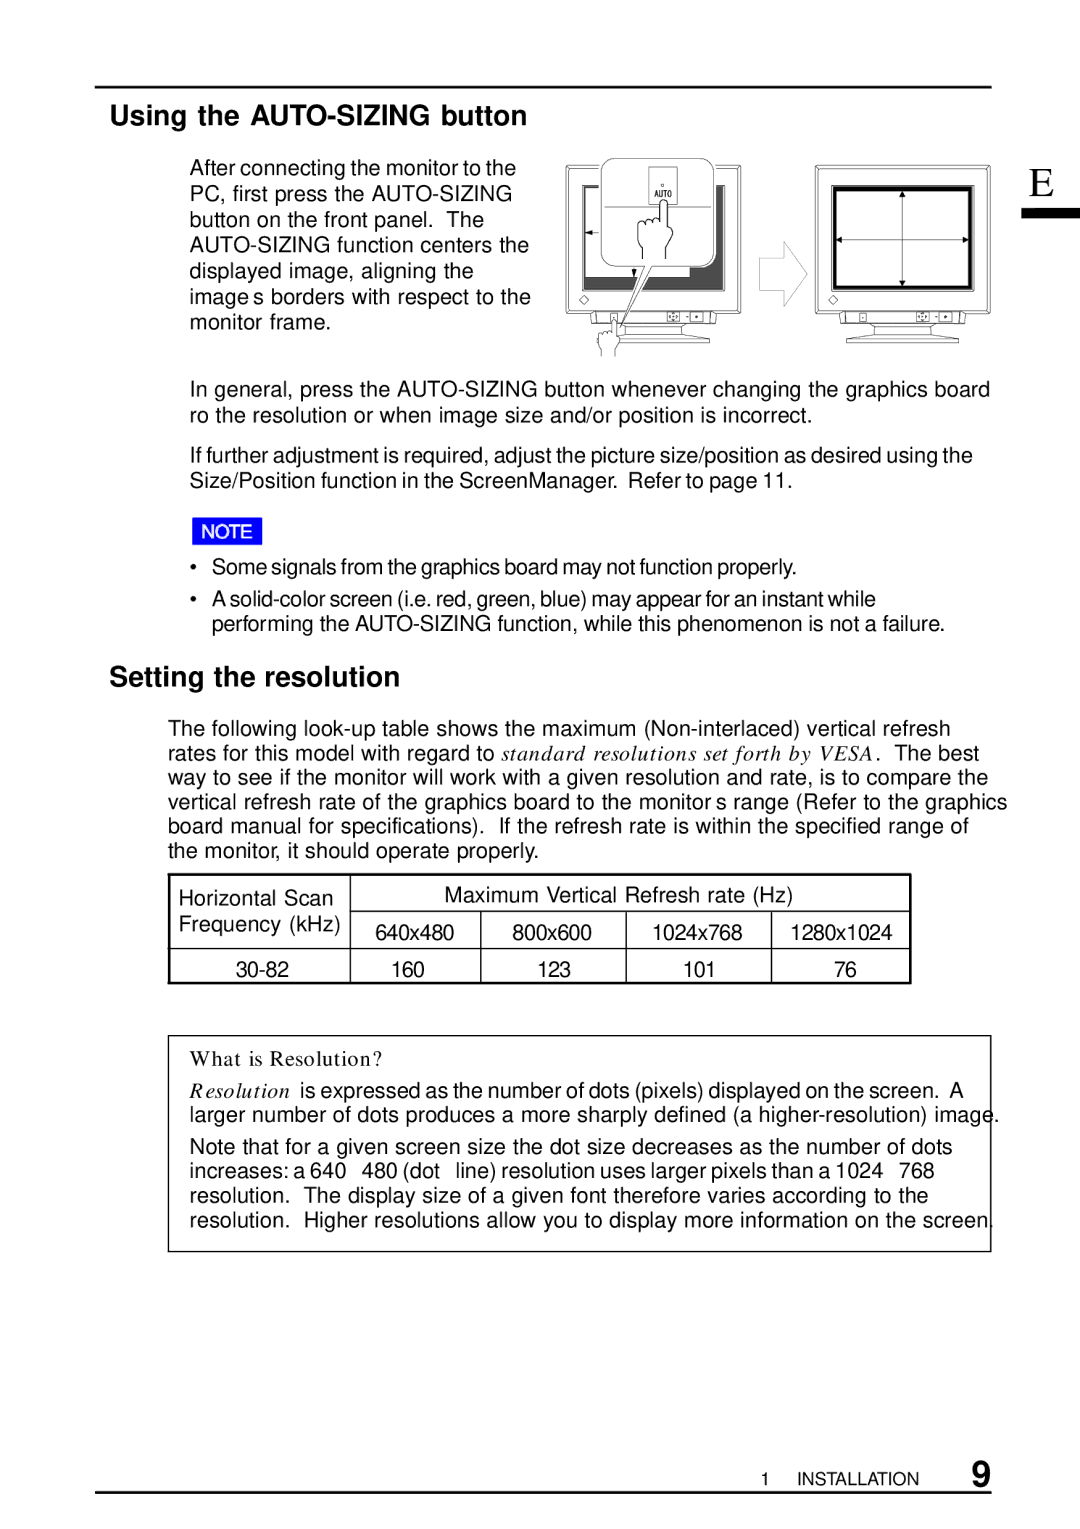
After connecting the monitor to the | E |
PC, first press the | |
button on the front panel. The |
|
| |
displayed image, aligning the |
|
image’s borders with respect to the |
|
monitor frame. |
|
In general, press the
If further adjustment is required, adjust the picture size/position as desired using the Size/Position function in the ScreenManager. Refer to page 11.
•Some signals from the graphics board may not function properly.
•A
Setting the resolution
The following
Horizontal Scan | Maximum Vertical Refresh rate (Hz) | |||
Frequency (kHz) | 640x480 | 800x600 | 1024x768 | 1280x1024 |
| ||||
160 | 123 | 101 | 76 | |
What is Resolution?
Resolution is expressed as the number of dots (pixels) displayed on the screen. A larger number of dots produces a more sharply defined (a
Note that for a given screen size the dot size decreases as the number of dots increases: a 640 × 480 (dot × line) resolution uses larger pixels than a 1024 × 768 resolution. The display size of a given font therefore varies according to the resolution. Higher resolutions allow you to display more information on the screen.
1 INSTALLATION 9
