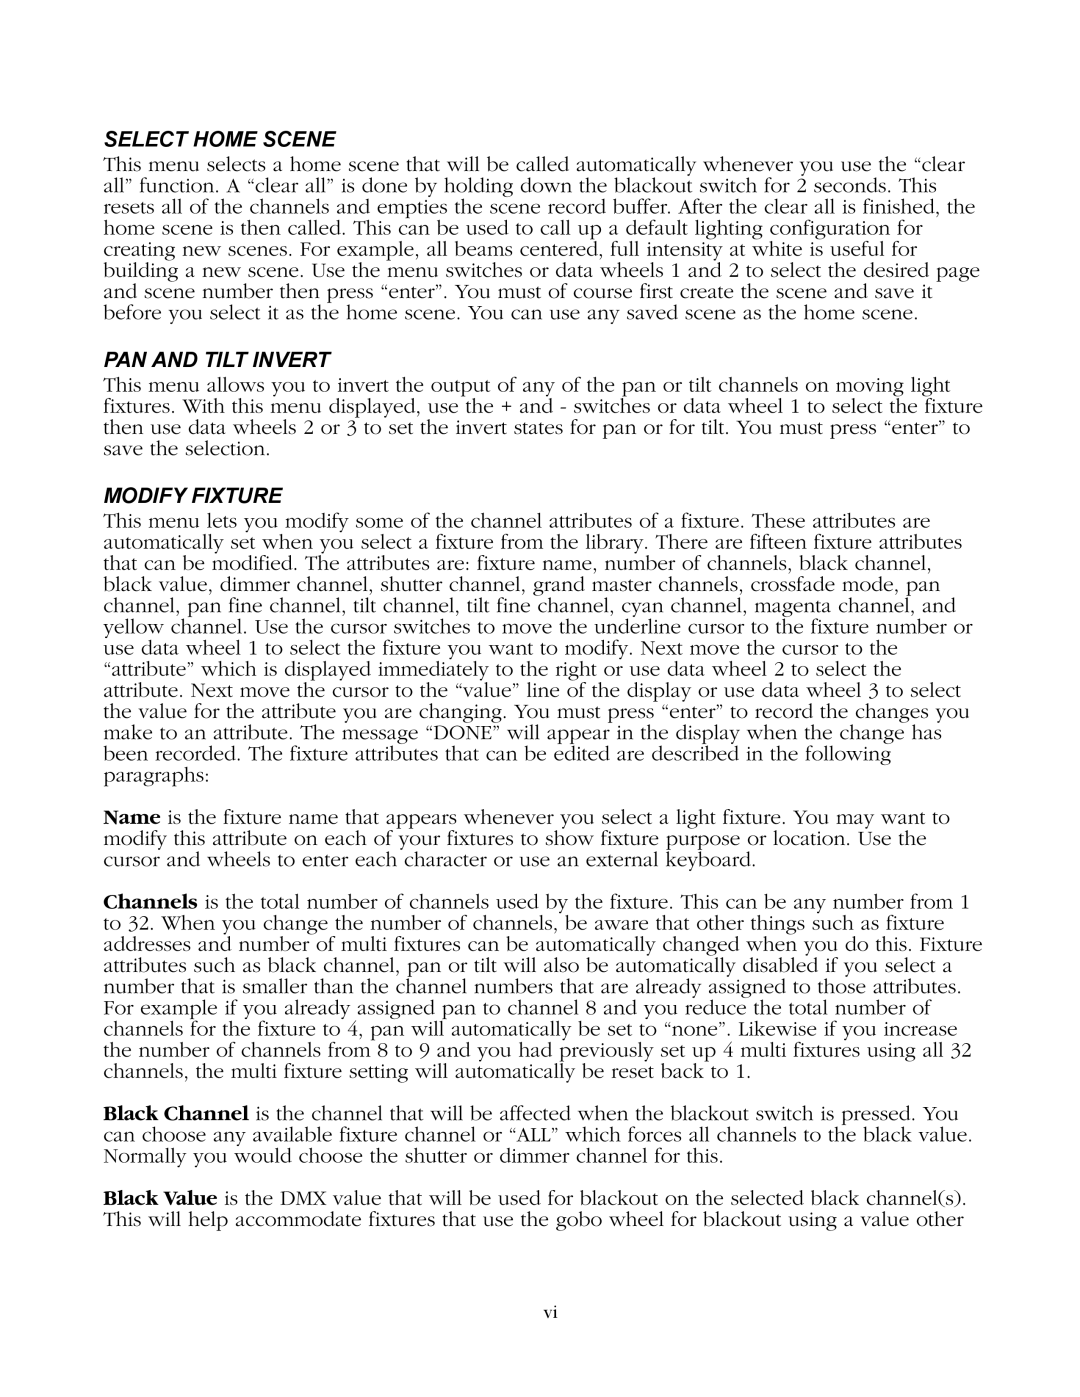
1.15 specifications
Elation Professional has unveiled its latest update, version 1.15, a significant enhancement that promises to elevate the user experience for lighting professionals and enthusiasts alike. This robust release showcases innovative features, cutting-edge technologies, and user-friendly characteristics that cater to a diverse range of applications, from live events to permanent installations.One of the standout features of Elation Professional 1.15 is its improved fixture management system. This new system allows users to seamlessly integrate a broader range of lighting fixtures, ensuring compatibility with the latest hardware and software advancements. The intuitive interface guides users through the setup process, making it easier than ever to configure and control various fixtures without extensive technical knowledge.
The software also introduces advanced effects control. Users can now harness the power of dynamic effects pre-sets that provide unmatched creativity in programming. These pre-sets are designed to allow lighting designers to quickly implement eye-catching effects tailored to their specific needs, reducing setup time while maximizing artistic expression. Additionally, a suite of new built-in effects templates enables users to generate complex lighting designs with minimal effort.
In terms of technology, Elation Professional 1.15 is built on a strong foundation of real-time processing capabilities. The software is optimized to handle large numbers of channels and complex sequences, offering reliable performance even in high-demand environments. Its improved protocol support ensures compatibility with various DMX and Art-Net devices, broadening its utility across different theater and concert applications.
Another notable characteristic is the enhanced visualizer. This component allows users to preview their lighting cues in real-time before executing them on stage. The visualizer is instrumental in fine-tuning lighting designs, enabling users to foresee potential issues and adjust parameters on the fly, ensuring a flawless execution during critical moments.
Connectivity has also received an upgrade in version 1.15. The enhanced networking capabilities allow for easier integration with other control systems and devices, facilitating a more cohesive setup for complex installations. Whether you are working in a small venue or a large-scale production, the ability to connect multiple devices without compromising performance is a game-changer.
In summary, Elation Professional 1.15 stands at the forefront of lighting control solutions, boasting advanced fixture management, powerful effects control, optimized performance, an innovative visualizer, and enhanced connectivity. This version aims to empower users with the right tools and capabilities to bring their creative visions to life, further solidifying Elation Professional's reputation as a leader in the entertainment lighting industry.
