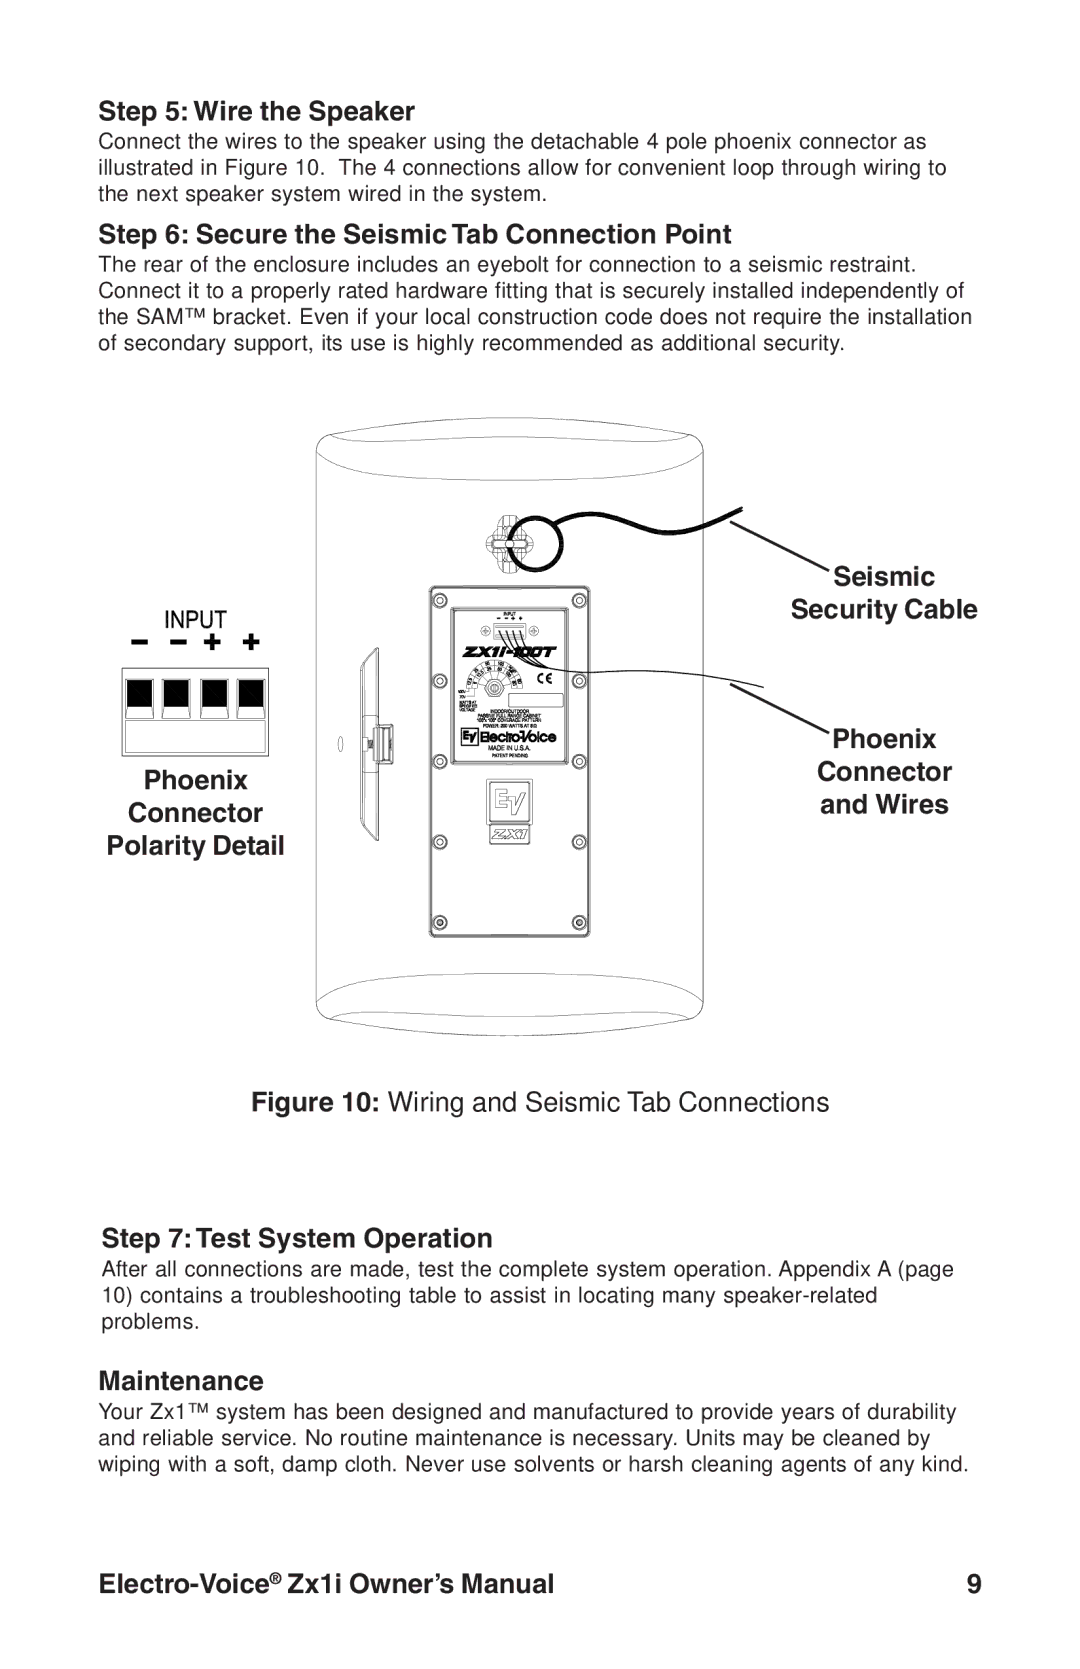
Step 5: Wire the Speaker
Connect the wires to the speaker using the detachable 4 pole phoenix connector as illustrated in Figure 10. The 4 connections allow for convenient loop through wiring to the next speaker system wired in the system.
Step 6: Secure the Seismic Tab Connection Point
The rear of the enclosure includes an eyebolt for connection to a seismic restraint. Connect it to a properly rated hardware fitting that is securely installed independently of the SAM™ bracket. Even if your local construction code does not require the installation of secondary support, its use is highly recommended as additional security.
Seismic
Security Cable
| Phoenix | |
Phoenix | Connector | |
and Wires | ||
Connector | ||
| ||
Polarity Detail |
|
Figure 10: Wiring and Seismic Tab Connections
Step 7: Test System Operation
After all connections are made, test the complete system operation. Appendix A (page
10)contains a troubleshooting table to assist in locating many
Maintenance
Your Zx1™ system has been designed and manufactured to provide years of durability and reliable service. No routine maintenance is necessary. Units may be cleaned by wiping with a soft, damp cloth. Never use solvents or harsh cleaning agents of any kind.
9 |