FMV156DBE

FMV156DSE

FMV156DQE

FMV156DCF

fixing plate.

14.Release the two (2) tabs holding the power unit to the key fixing plate.

15.Release the three (3) tabs holding the LCD to the LCD holder.

16.Release the two (2) tabs holding the LSI unit to the LCD holder.

17.Remove the LCD holder and the LED sheet.

18.Now, the control unit is free.

19.Remove the one (1) screw holding the key fixing plate to the control panel.

20.Release the six (6) tabs holding the key fixing plate to the control panel.

21.Remove the key fixing plate from the control panel.

22.Remove the key unit from the key fixing plate.

23.Now, the key unit is free

NOTES FOR KEY UNIT REPLACEMENT

1.Do not reuse the torn key unit because the performance of the adhesive becomes weak.

2.Before attaching a new key unit, wipe off remaining adhesive on the key fixing plate surfaces completely with a soft cloth soaked in alcohol.

3.When attaching the key unit to the key fixing plate, adjust the upper edge and right edge of the key unit to the correct position of key fixing plate. See key unit location.

4.Stick the key unit firmly to the key fixing plate by rubbing with soft cloth not to scratch.

Key unit location

DOOR SENSING SWITCH, PRIMARY INTERLOCK SWITCH AND MONITOR SWITCH REMOVAL

1.Disconnect the power supply cord and remove the oven from wall and remove outer case. (Refer to procedure of "Removal of Oven from Wall" and "Outer case Removal")

2.Open the door and block it open.

3.To discharge the high voltage capacitor, wait for 60 seconds.

4.Remove the three (3) screws holding the hood intake duct R to the oven cavity top plate, the oven cavity front flange and the fan duct. And remove the hood intake duct R.

5.Remove the control panel assembly, referring to the procedure of "CONTROL PANEL ASSEMBLY ,

CONTROL UNIT AND KEY UNIT REMOVAL".

6.Remove the two (2) screws holding the latch hook to the oven cavity front flange.

7.Remove the latch hook from the oven cavity front flange.

8.Disconnect the wire leads of each switch.

9.Remove each switch from the latch hook by pushing the one (1) stopper tab holding each switch.

10.Now, each switch is free.

Re-install

1.Re-install each switch in its place. The primary interlock switch is in the lower position, door sensing switch is in the upper position and the monitor switch is in the middle position.

2.Re-connect wire leads to each switch. Refer to pictorial diagram.

3.Secure the latch hook (with two (2) mounting screws) to oven cavity front flange.

4.Make sure that the monitor switch is operating properly and check continuity of the monitor circuit. Refer to chapter "Test Procedure" and "Adjustment procedure".

DOOR SENSING SWITCH, PRIMARY INTERLOCK SWITCH AND MONITOR SWITCH ADJUSTMENT

1.Disconnect the power supply cord and remove the oven from wall and remove outer case. (Refer to procedure of "Removal of Oven from Wall" and "Outer case Removal")

2.Open the door and block it open.

3.To discharge the high voltage capacitor, wait for 60 seconds.

4.Remove the three (3) screws holding the hood intake duct R to the oven cavity top plate, the oven cavity front flange and the fan duct. And remove the hood intake duct R.

5.Remove the control panel assembly, referring to the procedure of "CONTROL PANEL ASSEMBLY ,

CONTROL UNIT AND KEY UNIT REMOVAL".

If the door sensing switch, primary interlock switch and moni- tor switch do not operate properly due to a misadjustment, the following adjustment should be made.

6. Loosen the two (2) screws holding latch hook to the oven

cavity front flange.

7.With door closed, adjust latch hook by moving it back and forth, and up and down. In and out play of the door allowed by the upper and lower position of the latch hook should be less than 0.5mm. The vertical position of the latch hook should be adjusted so that the door sensing switch and primary interlock switch are activated with the door closed.The horizontal position of the latch hook should be adjusted so that the monitor switch is activated with the door closed.

8.Secure the screws with washers firmly.

9.Check all of the switches operation. If any switch has not activated with the door closed, loosen screw and adjust the latch hook position.

34

Page 34
Image 34
Electrolux FMV156DBE service manual Key unit location, Control Unit and KEY Unit Removal

FMV156DBE specifications

The Electrolux FMV156DBE is a modern and versatile microwave oven that combines sleek aesthetics with cutting-edge technology, making it a popular choice for contemporary kitchens. This model offers a range of advanced features designed to streamline cooking and enhance convenience while ensuring users can prepare meals efficiently.

One of the standout features of the Electrolux FMV156DBE is its powerful 1.6 cubic feet capacity, which provides ample space for cooking various dishes, from reheating leftovers to defrosting frozen goods. Its 1,000-watt power output allows for fast and efficient cooking, ensuring that food is heated evenly and thoroughly. The microwave also features multiple power levels, enabling users to customize cooking intensity based on their specific needs.

This model is equipped with the Sensor Cooking technology, which automatically adjusts cooking time and power based on the moisture released from the food. This intelligent feature helps to prevent overcooking or undercooking, delivering perfectly prepared meals every time. Additionally, the FMV156DBE includes a range of pre-programmed cooking settings that cater to different food types, further enhancing usability and efficiency.

Another notable aspect of the Electrolux FMV156DBE is its intuitive touch control panel, allowing for easy navigation through cooking options and settings. The illuminated LED display enhances visibility, making it simple to monitor cooking progress at a glance. The microwave also features a convenient kitchen timer and a clock function, adding to its overall functionality.

The microwave not only excels in cooking performance but also in design. It features a contemporary stainless-steel finish that adds a touch of elegance to any kitchen decor. The streamlined design ensures it can fit seamlessly into various kitchen layouts, while the built-in design options provide flexibility for installation.

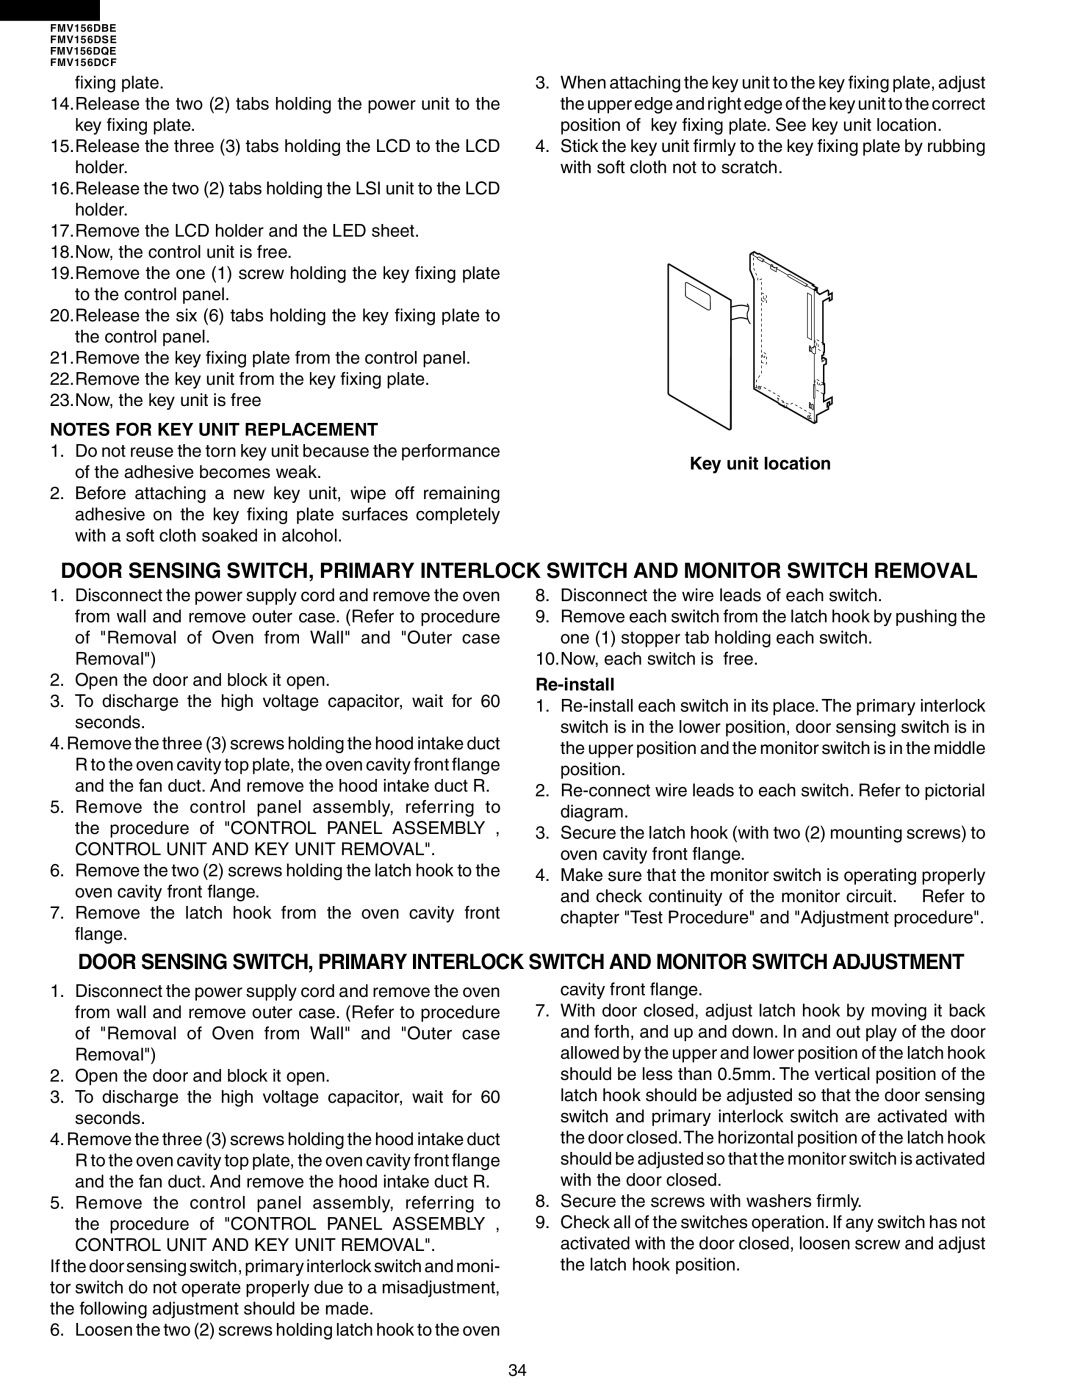
Safety is also a priority with the Electrolux FMV156DBE, which includes a child lock feature, preventing unintended use by little hands. This quality makes it an ideal appliance for families with children.

In summary, the Electrolux FMV156DBE is a highly functional microwave oven that features advanced cooking technologies, an ample cooking capacity, and a stylish design. With its combination of performance, convenience, and safety features, it serves as a valuable addition to any modern kitchen.