Elmo PSS User Guide
Chapter 3: Installation
3.1Unpacking the System Components
To unpack the PSS:
Carefully remove the power supply from the box and the Styrofoam.
1.Check the supply to ensure that there is no visible damage to the instrument. If any damage has occurred, report immediately to the carrier that delivered your product.
2.To ensure that the PSS you have unpacked is the appropriate type for your requirements, find the part number sticker on the side of the supply:
ELMO
S/N:PSS2055016
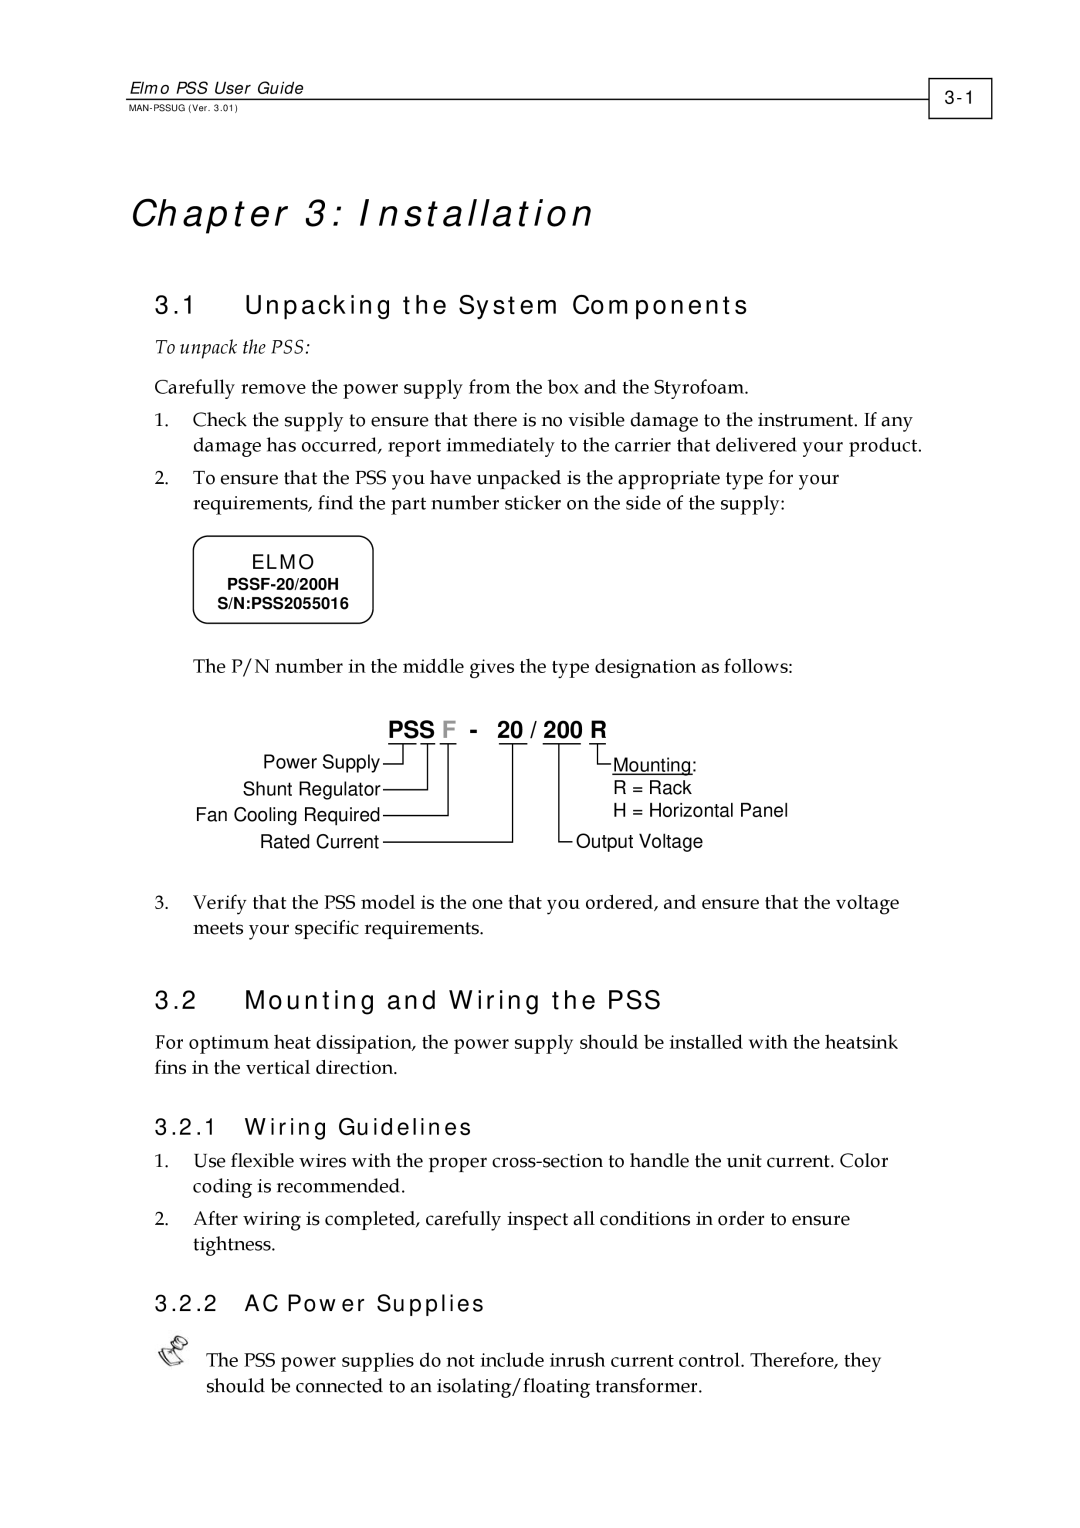
The P/N number in the middle gives the type designation as follows:
PSS F - 20 / 200 R
Power Supply ![]()
Shunt Regulator
Fan Cooling Required
Rated Current
![]() Mounting:
Mounting:
R = Rack
H = Horizontal Panel
Output Voltage
3.Verify that the PSS model is the one that you ordered, and ensure that the voltage meets your specific requirements.
3.2Mounting and Wiring the PSS
For optimum heat dissipation, the power supply should be installed with the heatsink fins in the vertical direction.
3.2.1Wiring Guidelines
1.Use flexible wires with the proper
2.After wiring is completed, carefully inspect all conditions in order to ensure tightness.
3.2.2AC Power Supplies
The PSS power supplies do not include inrush current control. Therefore, they should be connected to an isolating/floating transformer.