Rear Mounting Using the VESA Interface
1If the display is already connected to a pedestal, remove the four screws that connect the pedestal to the display (refer to
2Reinstall the four screws into the VESA interface mount. Ensure that the monitor is positioned with the correct side up.
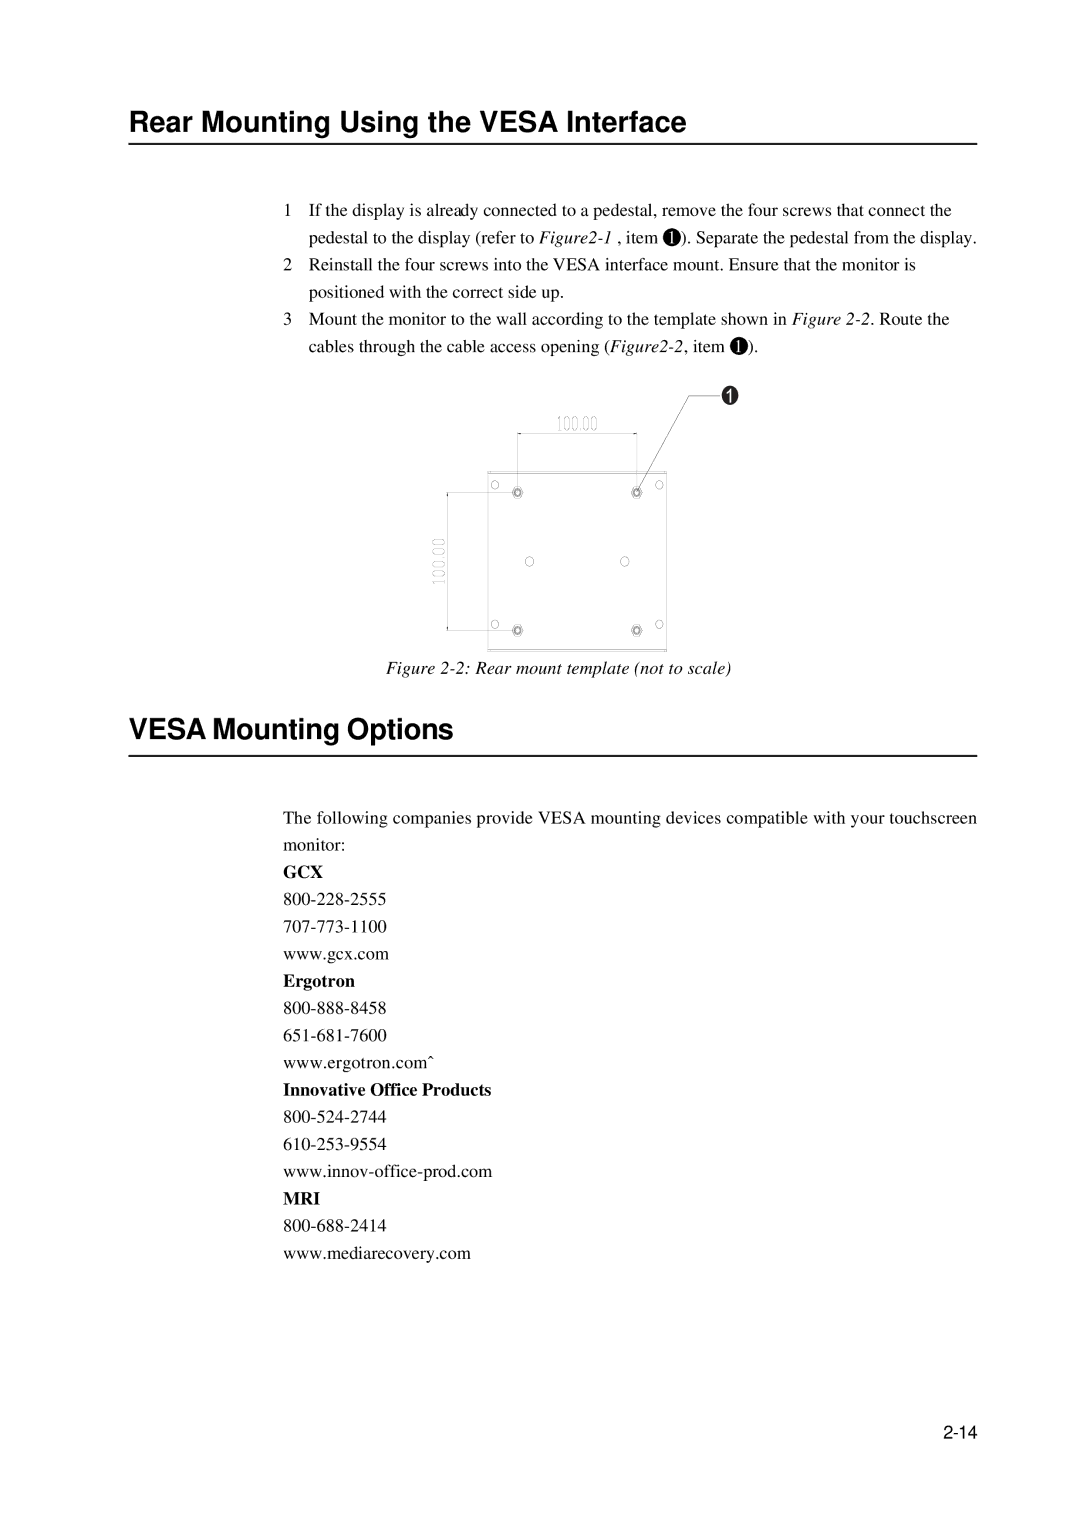
3Mount the monitor to the wall according to the template shown in Figure
Figure 2-2: Rear mount template (not to scale)
VESA Mounting Options
The following companies provide VESA mounting devices compatible with your touchscreen monitor:
GCX
www.gcx.com
Ergotron
www.ergotron.comˆ
Innovative Office Products
MRI
