4.Mount heater onto the (4) screwheads and complete tightening the screwheads to the plastic expansion anchors. Attention! Use the following steps to properly align the upper louver and the reflector with the heat shield.
a.When replacing upper louver, be sure the bottom lip of upper louver goes behind the heat shield.
b.When replacing reflector, be sure the top lip of reflector goes in front of the heat shield.
5. Connect the gas line.
Figure 10
OPTIONAL FLOOR STAND INSTALLATION
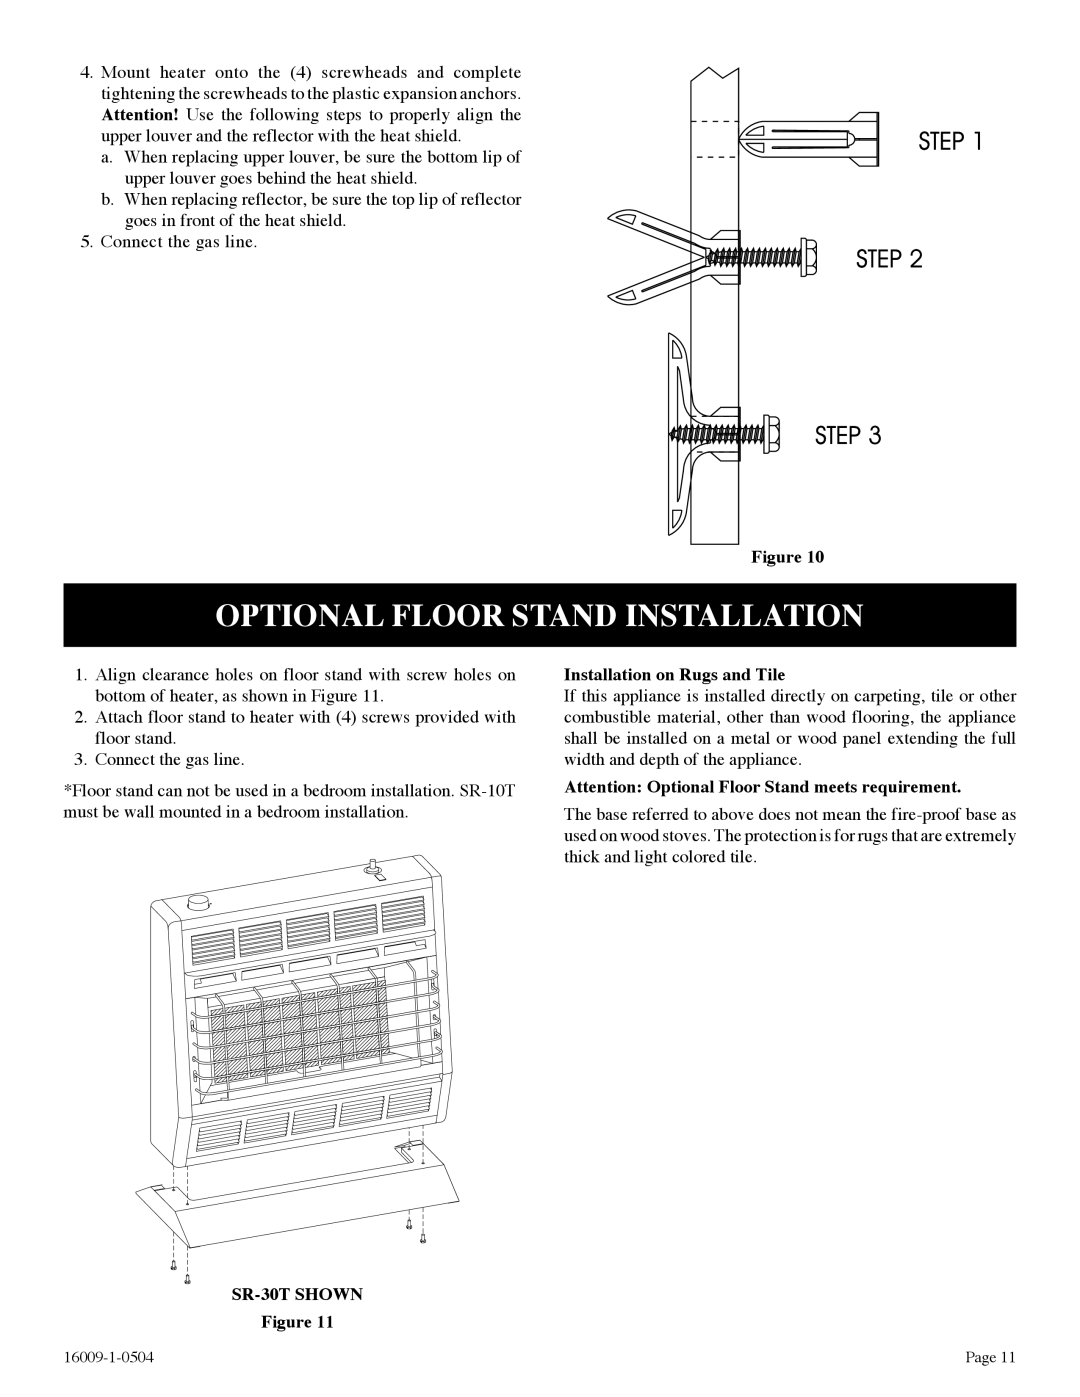
1.Align clearance holes on floor stand with screw holes on bottom of heater, as shown in Figure 11.
2.Attach floor stand to heater with (4) screws provided with floor stand.
3.Connect the gas line.
*Floor stand can not be used in a bedroom installation.
Installation on Rugs and Tile
If this appliance is installed directly on carpeting, tile or other combustible material, other than wood flooring, the appliance shall be installed on a metal or wood panel extending the full width and depth of the appliance.
Attention: Optional Floor Stand meets requirement.
The base referred to above does not mean the
Figure 11
Page 11 |