ATTACHING TOP FILTER BAGS
 DISCONNECT MACHINE FROM POWER SOURCE
NOTE: TWO PEOPLE ARE NEEDED FOR THIS STEP.
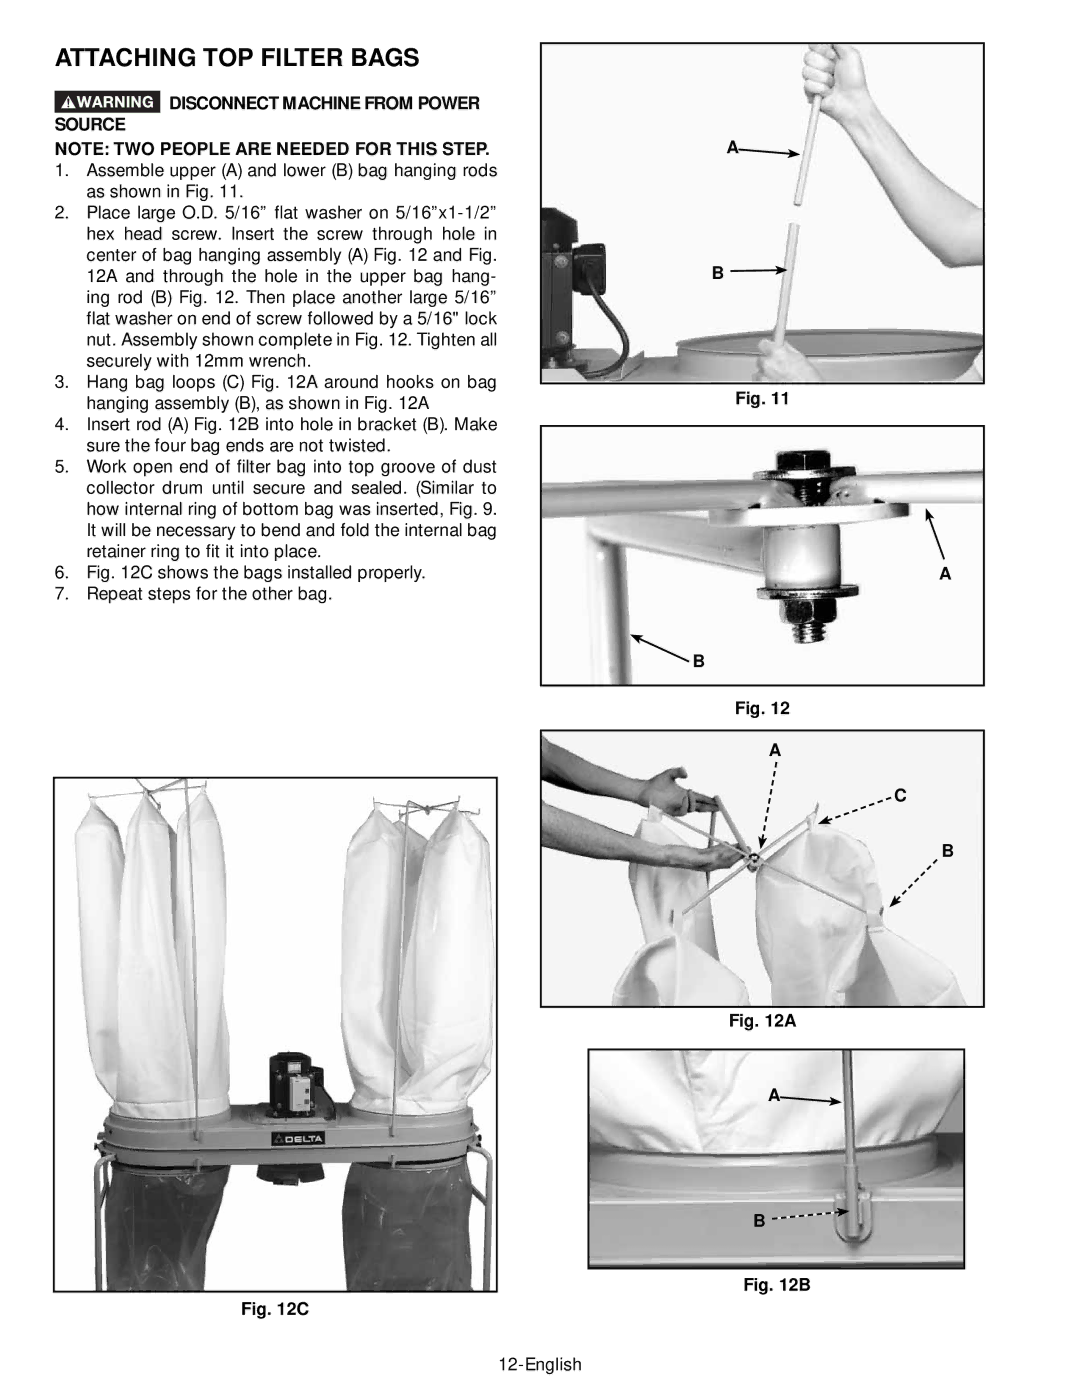
1.Assemble upper (A) and lower (B) bag hanging rods as shown in Fig. 11.
2.Place large O.D. 5/16” flat washer on
3.Hang bag loops (C) Fig. 12A around hooks on bag hanging assembly (B), as shown in Fig. 12A
4.Insert rod (A) Fig. 12B into hole in bracket (B). Make sure the four bag ends are not twisted.
5.Work open end of filter bag into top groove of dust collector drum until secure and sealed. (Similar to how internal ring of bottom bag was inserted, Fig. 9. It will be necessary to bend and fold the internal bag retainer ring to fit it into place.
6.Fig. 12C shows the bags installed properly.
7.Repeat steps for the other bag.
Fig. 12C
A![]()
B![]()
Fig. 11
A
![]() B
B
Fig. 12
A
C
B
Fig. 12A
A![]()
B ![]()
Fig. 12B
