
R2400 specifications
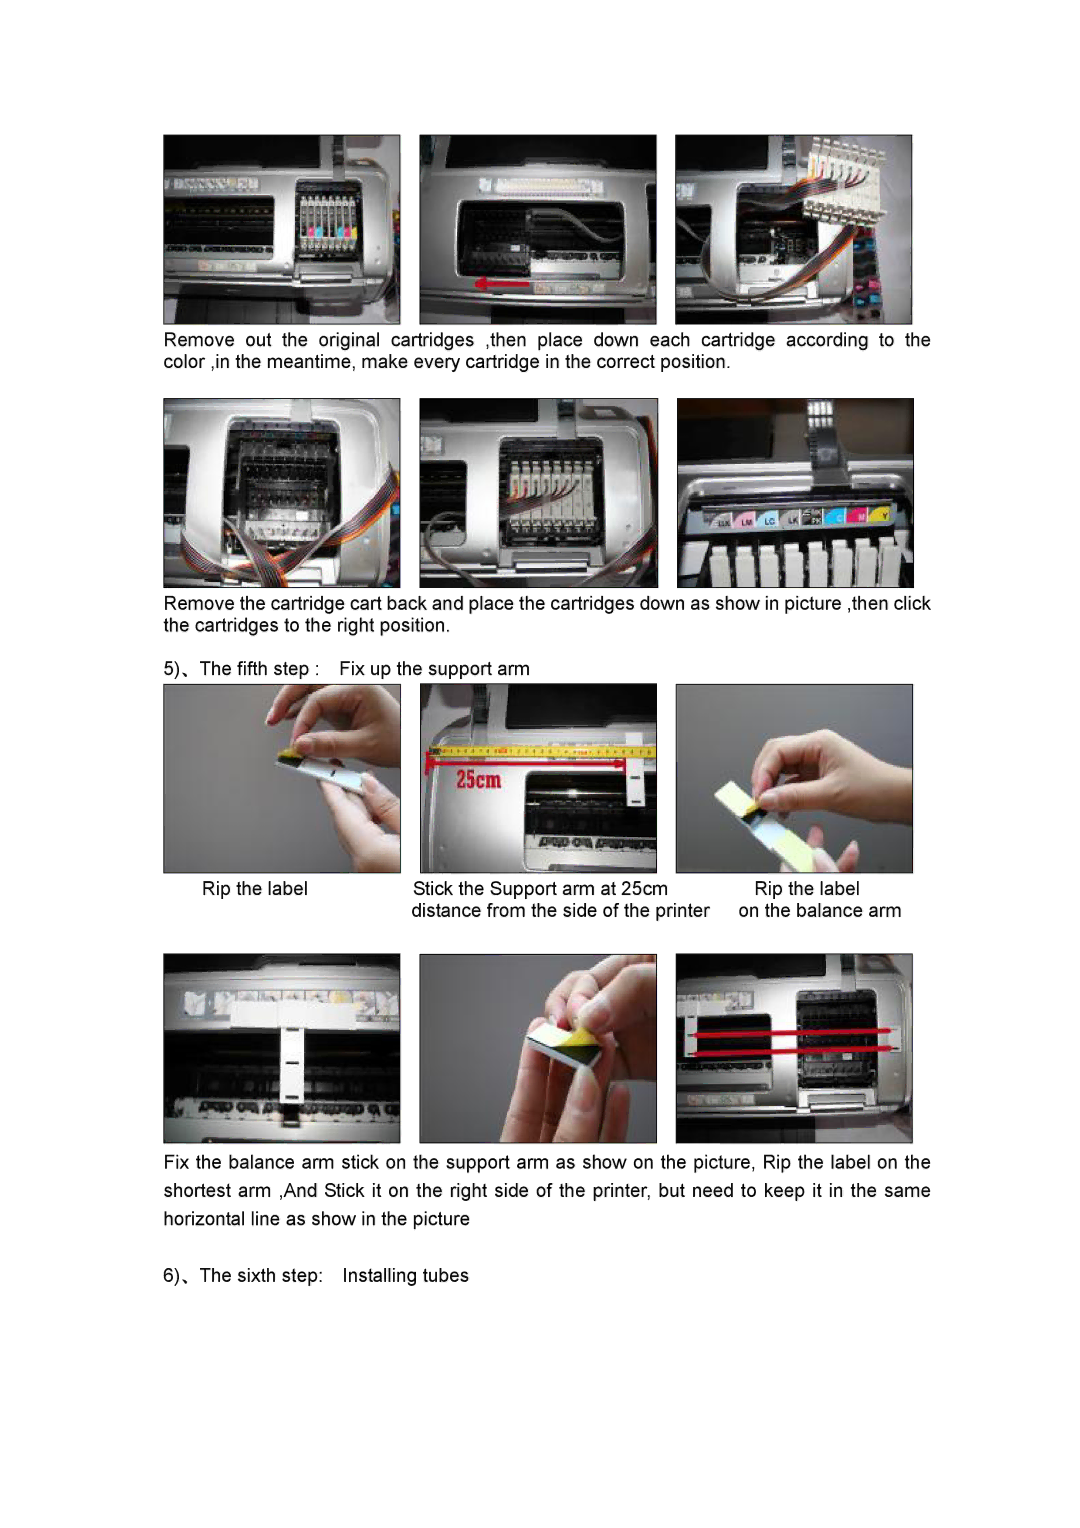
The Epson R2400 is a highly regarded printer within the professional photography and fine art printing communities. Launched as a part of Epson's Stylus Pro series, the R2400 is particularly notable for its ability to produce high-quality prints that rival traditional photographic processes. It combines advanced printing technologies with a commitment to detail and color accuracy.One of the standout features of the Epson R2400 is its advanced UltraChrome K3 ink technology. This ink set includes three shades of black, which enhances the printer's ability to produce deep, rich blacks and a wide tonal range. The UltraChrome K3 ink set consists of eight individual ink cartridges, allowing for smooth gradients and exceptional color reproduction. The wide color gamut is perfect for accurate representation of both vivid landscapes and softer portraits, making it a versatile option for various types of artwork.
The R2400 supports various media types, including fine art papers, glossy and matte photo papers, and canvas. This flexibility allows artists and photographers to choose the best medium for their work, ensuring that their prints reflect their original vision. Additionally, the printer can handle various sizes of media, from traditional 8x10 inch prints to larger formats, accommodating a broad range of artistic preferences and projects.
Another significant component of the Epson R2400 is its high-resolution printing capability, with an output resolution of up to 5760 x 1440 dpi. This level of detail is crucial for capturing intricate textures and fine details in images, making it ideal for professional applications. Coupled with its PrecisionCore technology, the printer achieves sharp and precise images, ensuring that every print is of gallery-worthy quality.
The R2400 also features an easy-to-use interface and a reliable connectivity options, including USB 2.0 and IEEE 802.11g wireless connections. This versatility simplifies the printing process, allowing users to connect multiple devices for easier workflow management.
In summary, the Epson R2400 is an exceptional printer that excels in the realms of photography and fine art printing. With its advanced UltraChrome K3 ink technology, high-resolution output, and broad media compatibility, it remains a top choice for professionals who demand fidelity and quality in their printed works. Its reputation continues to endure, making it a trusted tool for artists and photographers around the world.