Operating Instructions

CAUTION: DO NOT TOUCH TOP OF OVEN WHEN IN USE. EXTREMELY HOT!

Operating Instructions

CAUTION: DO NOT TOUCH TOP OF OVEN WHEN IN USE. EXTREMELY HOT!

7.Once having set the desired time and temperature, press the “START/STOP” button in order to start the preheating process. The timer will begin to count down immediately after pressing the “START/STOP” button.

8.When the preheating is finished, the oven will turn off and the beep continuously. The digital display lights will be extinguished.

Operation

Caution: Oven is extremely hot as a result of preheating. Use oven mitts when opening or closing the oven, and when retrieving or placing food in the oven.

1.Brush food with sauces or oil, as desired and place on bake pan.

2.Place the bake pan on the wire rack in oven. Food should be placed as close as possible to the top heating element without touching it.

3.Close the oven door.

4.Adjust the timer to the desired time, by pressing either the increase or decrease timer button.

Note: The time on the oven is automatically set at 90 minutes. Press the increase timer button to go from 90 minutes to zero minutes and continue to press it to increase incrementally from zero or, press the decrease timer button to decrease incrementally from 90 minutes.

5.The temperature is automatically defaulted to start on the highest temperature (450°F). Adjust to the desired temperature by pressing either the increase or decrease temperature button.

6.Once having set the desired time and temperature, press the “START/STOP” button in order to start the roasting process. The timer will begin to count down immediately after pressing the “START/STOP” button.

Note: You may choose to use the

CONVECTION” function at the same time. To do so, press the “CONVECTION” function button before pressing the “START/STOP” button.

Note: Turn food over midway through the prescribed cooking time to ensure even browning.

7.When the roasting time is done, the oven will turn off and beep continuously. The digital display lights will also be extinguished.

8.Remove roasted food items using oven mitts and appropriate utensils.

9.Always unplug oven when finished cooking, and allow to cool.

Roasting Guide

Roasting results may vary, adjust times to individual requirements. Also, check often during broiling to avoid overcooking.

MEAT

OVEN

TIME PER


TEMP.

LB.

BEEF

300 – 325 ºF

25 – 30 min.

ROAST


PORK

325 ºF

40 – 45 min.

ROAST


HAM

300 – 325 ºF

35 – 40 min.


CHICKEN

350 ºF

25 – 30 min.


TURKEY

350 ºF

25 – 30 min.


BAKING

For best results, it is recommended to use both top and bottom elements when baking. Bake your favorite cookies, cakes, pies, brownies, etc. The bake ware that will fit in your oven are up to 12 inches in length. We do not recommend the use of oven roasting bags or glass containers in the oven. Never use plastic cardboard, paper or anything similar in the oven.

Preheating

1.Open oven door and slide the wire rack on the desired support guide:

Positioning of Wire Rack: Cookies: Use bottom and middle support guides.

Layer Cakes: Use bottom support guide only (bake one layer at a time)

Pies: Use bottom or middle support guides.

2.Close oven door.

3.Plug oven into the electrical outlet. The oven will beep to advise that it is plugged in and the power light will go on.

4.Set the timer for 15 minutes by pressing the increase

timer button.

Note: The time on the oven is automatically set at 90 minutes. Press the increase timer button to go from 90 minutes to zero minutes and continue to press it to increase incrementally from zero or, press the decrease timer button to decrease incrementally from 90 minutes.

5.The temperature is automatically defaulted to start on the highest temperature (450°F). Adjust for desired temperature using the increase or decrease temperature button.

6.Once having set the desired time and temperature, press the “START/STOP” button in order to start the preheating process. The timer will begin to count down immediately after pressing the “START/STOP” button.

7.When the preheating is finished, the oven will turn off and beep continuously. The digital display lights will also be extinguished.

Operation

Caution: Oven is extremely hot as a result of preheating. Use oven mitts when opening or closing the oven, and when retrieving or placing food in the oven.

1.Once preheating has been completed, place the bake ware on the wire rack in oven.

2.Close oven door.

3.Adjust the timer to the desired time, by pressing either the increase or decrease timer button.

Note: The time on the oven is automatically set at 90 minutes. Press the increase timer button to go from 90 minutes to zero minutes and continue to press it to increase incrementally from zero or, press the decrease timer button to decrease incrementally from 90 minutes.

4.The temperature is automatically defaulted to start on the highest temperature (450°F). Adjust to the desired temperature by pressing either the increase or decrease temperature button.

9

10

Page 6
Image 6
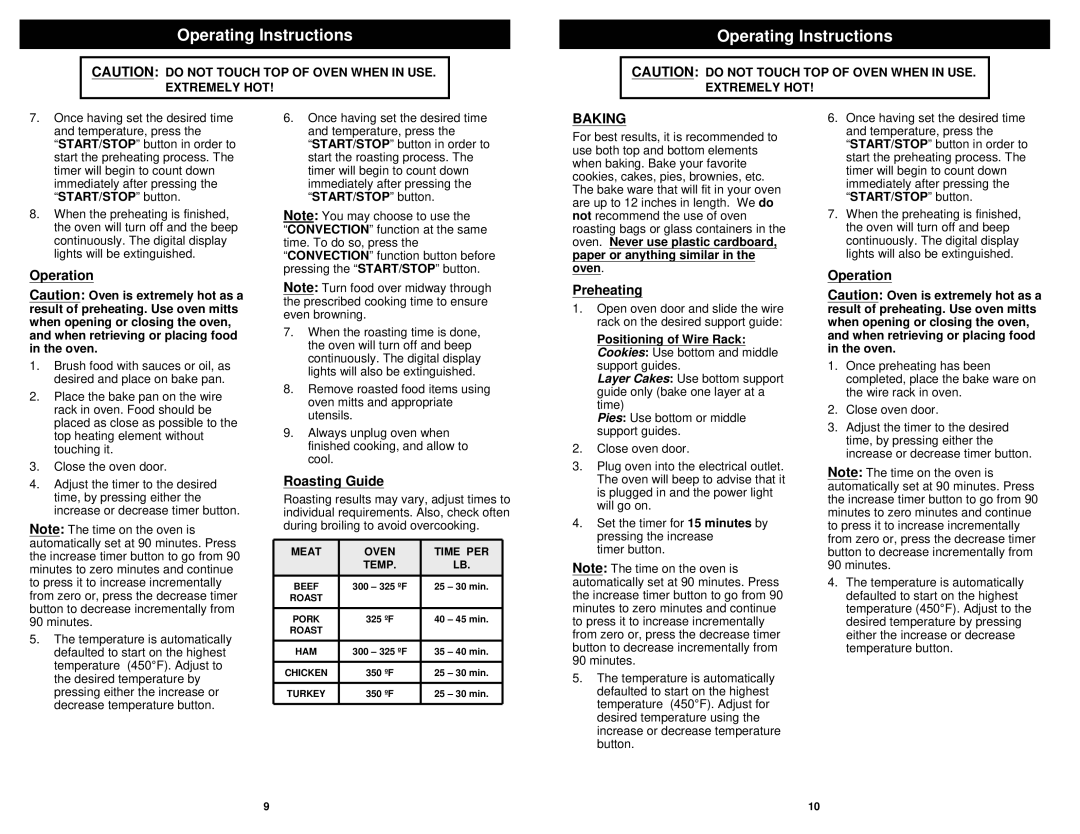
Euro-Pro TO230W instruction manual Roasting Guide, Baking, Meat Oven Time PER Temp

TO230W specifications

The Euro-Pro TO230W is a revolutionary home appliance that combines convenience and efficiency, making it a must-have for modern kitchens. This versatile countertop oven is designed to provide homeowners with a powerful cooking solution that caters to various culinary needs, from roasting to baking and broiling.

One of the standout features of the Euro-Pro TO230W is its compact size, which allows it to fit seamlessly into any kitchen space without taking up too much counter area. Despite its small footprint, this countertop oven boasts a generous interior capacity, able to accommodate a whole chicken or multiple slices of pizza, offering flexibility for meal preparation.

Equipped with advanced heating technology, the Euro-Pro TO230W ensures even cooking and browning, delivering perfectly cooked meals every time. The convection feature circulates hot air throughout the oven, resulting in faster cooking times while promoting even heat distribution. This not only enhances the flavor of dishes but also helps to retain moisture, preventing the dryness often associated with conventional baking methods.

The user-friendly control panel is another highlight of the Euro-Pro TO230W. With clearly labeled knobs and an intuitive design, users can easily adjust temperature settings and cooking functions. Additionally, the oven comes with various cooking presets, allowing for seamless transition between different cooking styles with just the turn of a dial.

Safety is paramount in the design of the Euro-Pro TO230W. It features an auto shut-off function that kicks in when cooking time is complete, preventing overheating and ensuring peace of mind during use. The oven also incorporates a cool-touch handle, allowing users to open the door safely without the risk of burns.

Cleaning this countertop oven is a breeze, thanks to its removable crumb tray that catches food debris and spills. The non-stick interior ensures that food does not stick, making maintenance and cleaning quick and hassle-free.

In summary, the Euro-Pro TO230W stands out as an exceptional countertop oven that offers multiple cooking functions, rapid heating technology, user-friendly controls, and safety features. Its compact design and efficient performance make it an indispensable addition to any kitchen, perfect for both novice cooks and seasoned chefs alike. With the Euro-Pro TO230W, culinary creativity is just a dial away.