ASSEMBLY
Step 2:
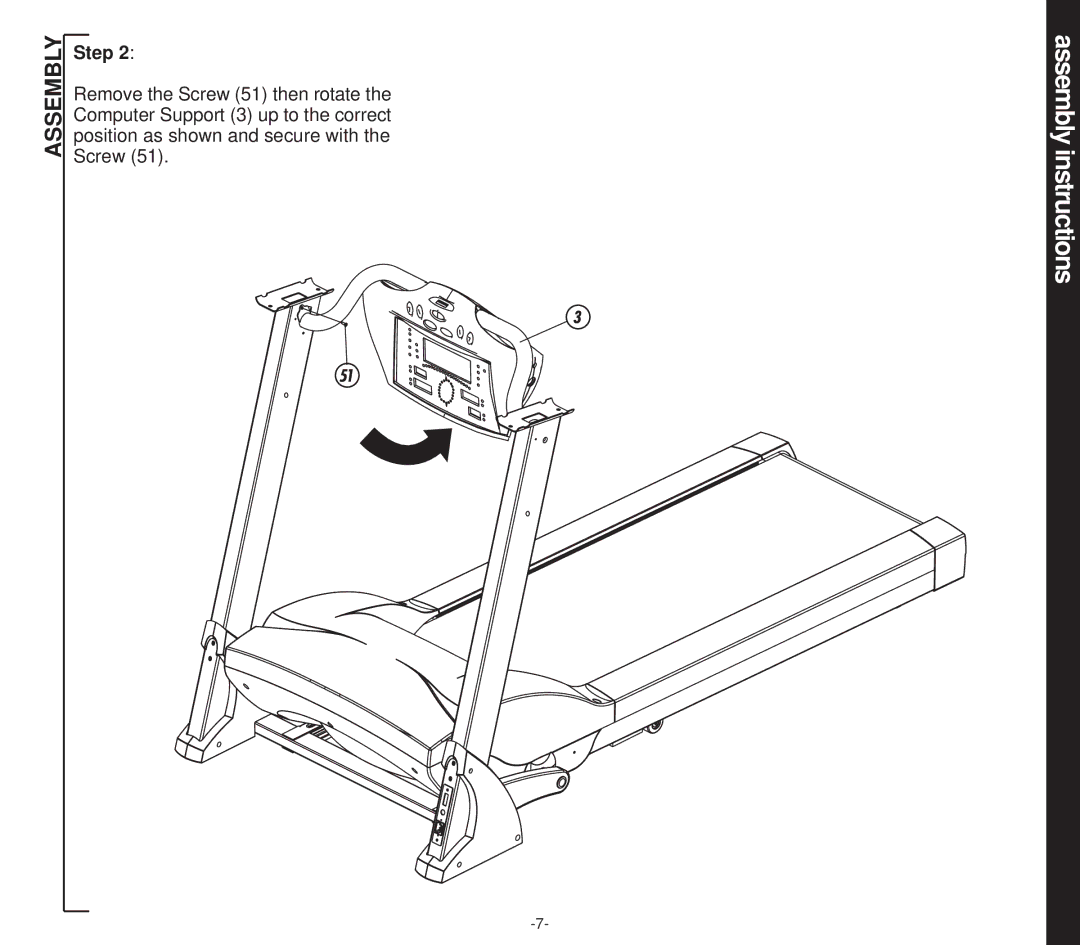
Remove the Screw (51) then rotate the Computer Support (3) up to the correct position as shown and secure with the Screw (51).
Remove the Screw (51) then rotate the Computer Support (3) up to the correct position as shown and secure with the Screw (51).