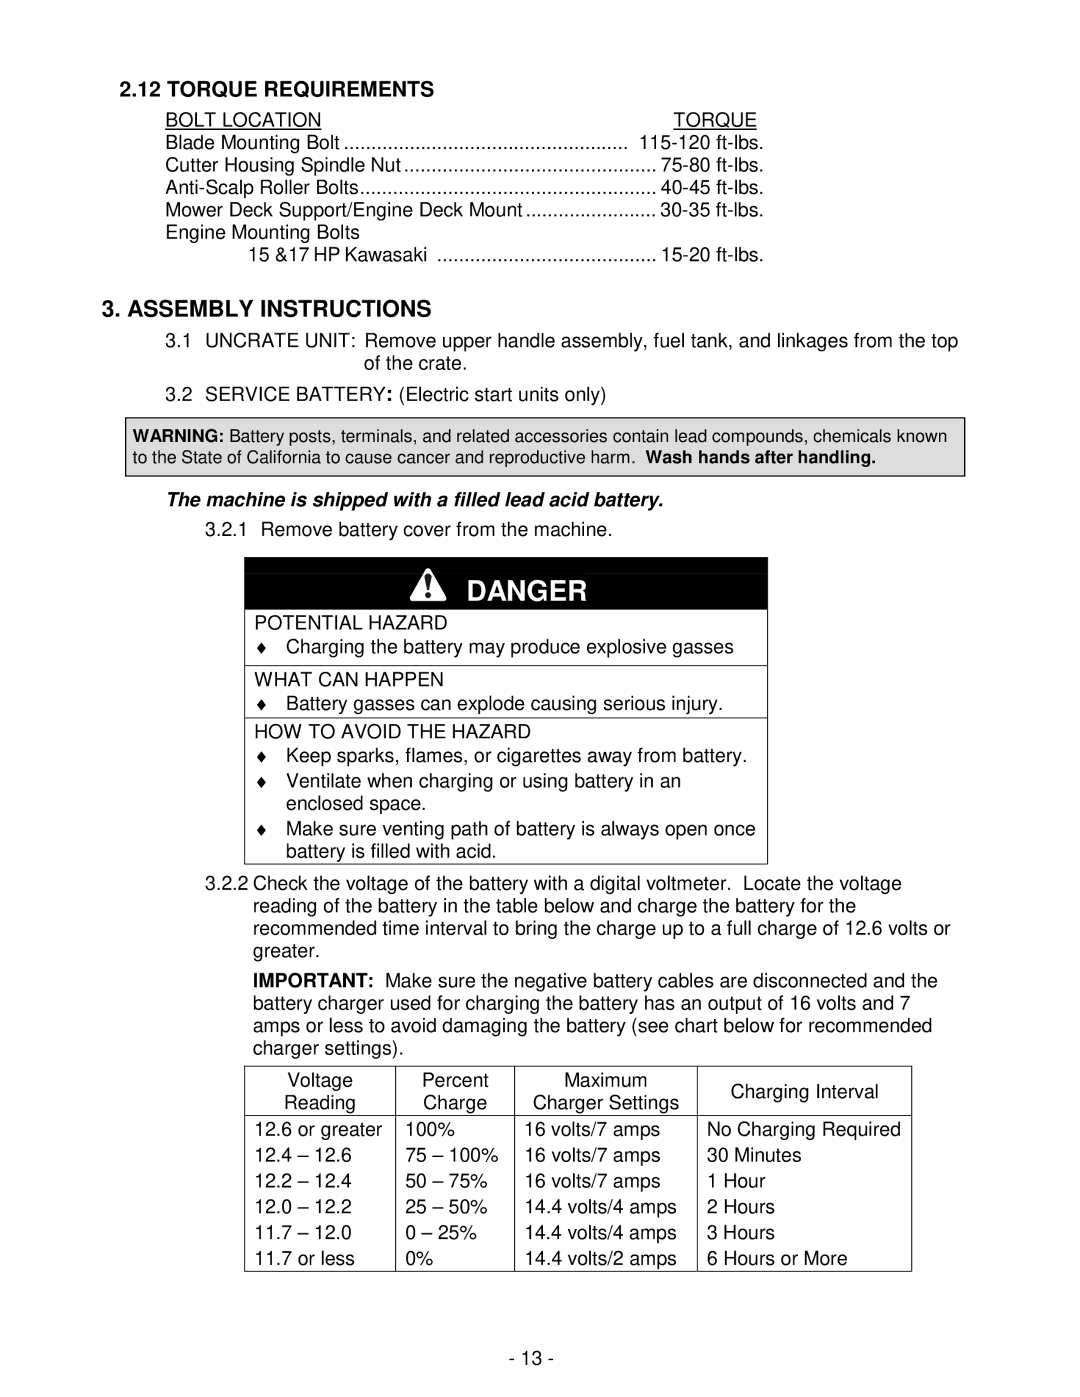
2.12 TORQUE REQUIREMENTS
BOLT LOCATION | TORQUE |
Blade Mounting Bolt | |
Cutter Housing Spindle Nut | |
Mower Deck Support/Engine Deck Mount | |
Engine Mounting Bolts |
|
15 &17 HP Kawasaki |
3.ASSEMBLY INSTRUCTIONS
3.1UNCRATE UNIT: Remove upper handle assembly, fuel tank, and linkages from the top of the crate.
3.2SERVICE BATTERY: (Electric start units only)
WARNING: Battery posts, terminals, and related accessories contain lead compounds, chemicals known to the State of California to cause cancer and reproductive harm. Wash hands after handling.
The machine is shipped with a filled lead acid battery.
3.2.1 Remove battery cover from the machine.
DANGER
POTENTIAL HAZARD
♦Charging the battery may produce explosive gasses
WHAT CAN HAPPEN
♦Battery gasses can explode causing serious injury.
HOW TO AVOID THE HAZARD
♦Keep sparks, flames, or cigarettes away from battery.
♦Ventilate when charging or using battery in an enclosed space.
♦Make sure venting path of battery is always open once battery is filled with acid.
3.2.2Check the voltage of the battery with a digital voltmeter. Locate the voltage reading of the battery in the table below and charge the battery for the recommended time interval to bring the charge up to a full charge of 12.6 volts or greater.
IMPORTANT: Make sure the negative battery cables are disconnected and the battery charger used for charging the battery has an output of 16 volts and 7 amps or less to avoid damaging the battery (see chart below for recommended charger settings).
Voltage | Percent | Maximum |
| Charging Interval | |
Reading | Charge | Charger Settings |
| ||
|
| ||||
12.6 or greater | 100% | 16 volts/7 amps | No Charging Required | ||
12.4 – 12.6 | 75 | – 100% | 16 volts/7 amps | 30 Minutes | |
12.2 – 12.4 | 50 | – 75% | 16 volts/7 amps | 1 | Hour |
12.0 – 12.2 | 25 | – 50% | 14.4 volts/4 amps | 2 | Hours |
11.7 – 12.0 | 0 – 25% | 14.4 volts/4 amps | 3 | Hours | |
11.7 or less | 0% | 14.4 volts/2 amps | 6 | Hours or More | |
- 13 -
