HSA 200SE, HSA 200S, HSA 222C, HSA 222S, HSA 200C specifications
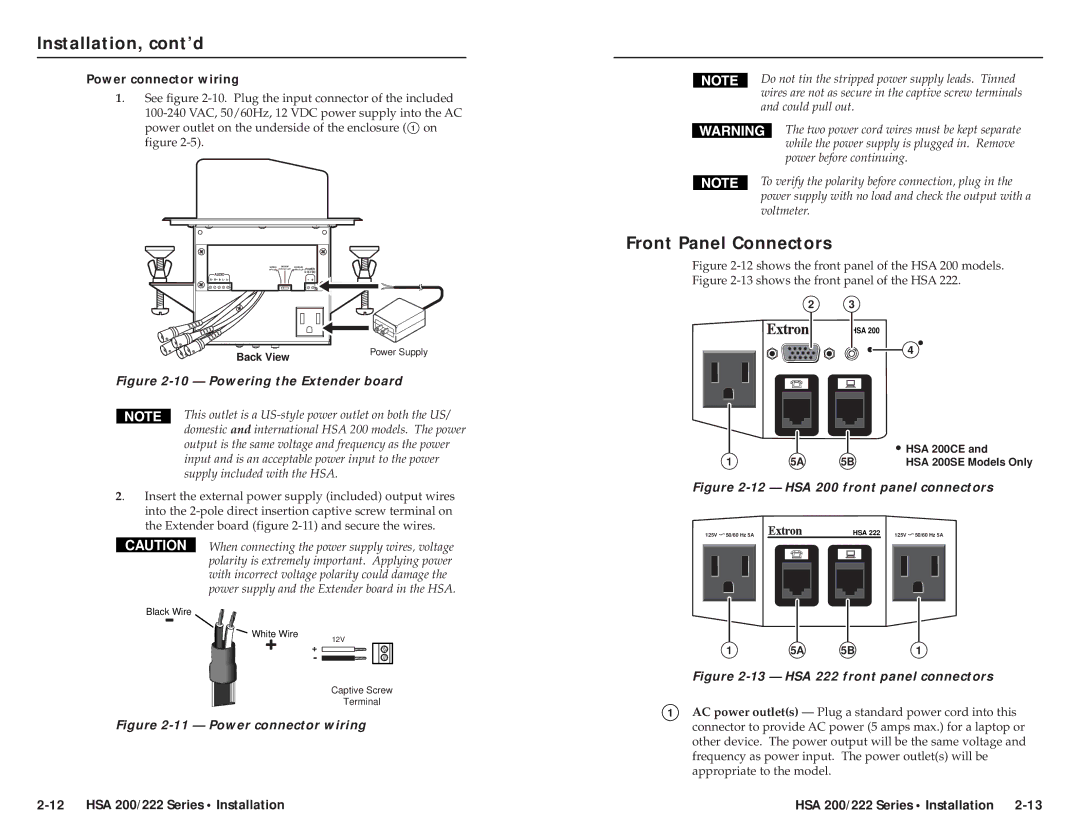
The Extron HSA 222S is a highly advanced audio amplifier designed specifically for professional audio applications. As part of Extron's extensive range of audio solutions, the HSA 222S stands out for its robust features, innovative technologies, and user-friendly design, making it an ideal choice for educational institutions, corporate environments, and other venues requiring high-quality audio performance.One of the most notable features of the HSA 222S is its powerful amplification capabilities. This amplifier delivers 20 watts per channel at 4 ohms, ensuring that audio signals can be reproduced with clarity and authority, even in larger spaces. The HSA 222S is designed with high-efficiency Class D amplification, which not only provides optimal power usage but also ensures low heat generation during operation, resulting in reliable performance throughout extended use.
The HSA 222S incorporates Extron's proprietary technologies, including the patented audio routing system that allows users to easily manage multiple audio sources. This flexibility assists in creating dynamic soundscapes and supports various audio applications. The amplifier also features advanced DSP options, enabling users to adjust equalization and fine-tune audio settings for diverse environments. This capability is particularly beneficial in venues that host multiple types of events, requiring adaptability in audio management.
Connectivity is another key characteristic of the HSA 222S. It is equipped with a range of input options, including line-level and microphone inputs, allowing seamless integration into existing audio infrastructures. With its balanced and unbalanced inputs, the HSA 222S can connect to a variety of audio devices, ensuring compatibility with numerous sound systems and configurations.
In addition to its outstanding performance and flexibility, the HSA 222S is designed for simplicity of use. Its intuitive front panel controls and informative LED indicators provide users with real-time feedback on system status, enabling easy adjustments as needed. Furthermore, Extron's extensive support and resources ensure that integrators can implement and maintain the HSA 222S efficiently.
Overall, the Extron HSA 222S is a powerful audio amplifier that combines cutting-edge technologies, versatility, and ease of use. With its capability to deliver superior sound quality while adapting to various audio demands, it serves as an essential component in modern audio-visual installations.

