Installation, cont’d
Wall mounting applications
Installing the wall mount assembly
NBefore starting installation, ensure that the wall and wall material are capable of supporting the combined weight of the speakers and the wall mount assemblies.
1. | If mounting to drywall, use a stud locator to locate the | |
| studs in the wall. Mark their position. | |
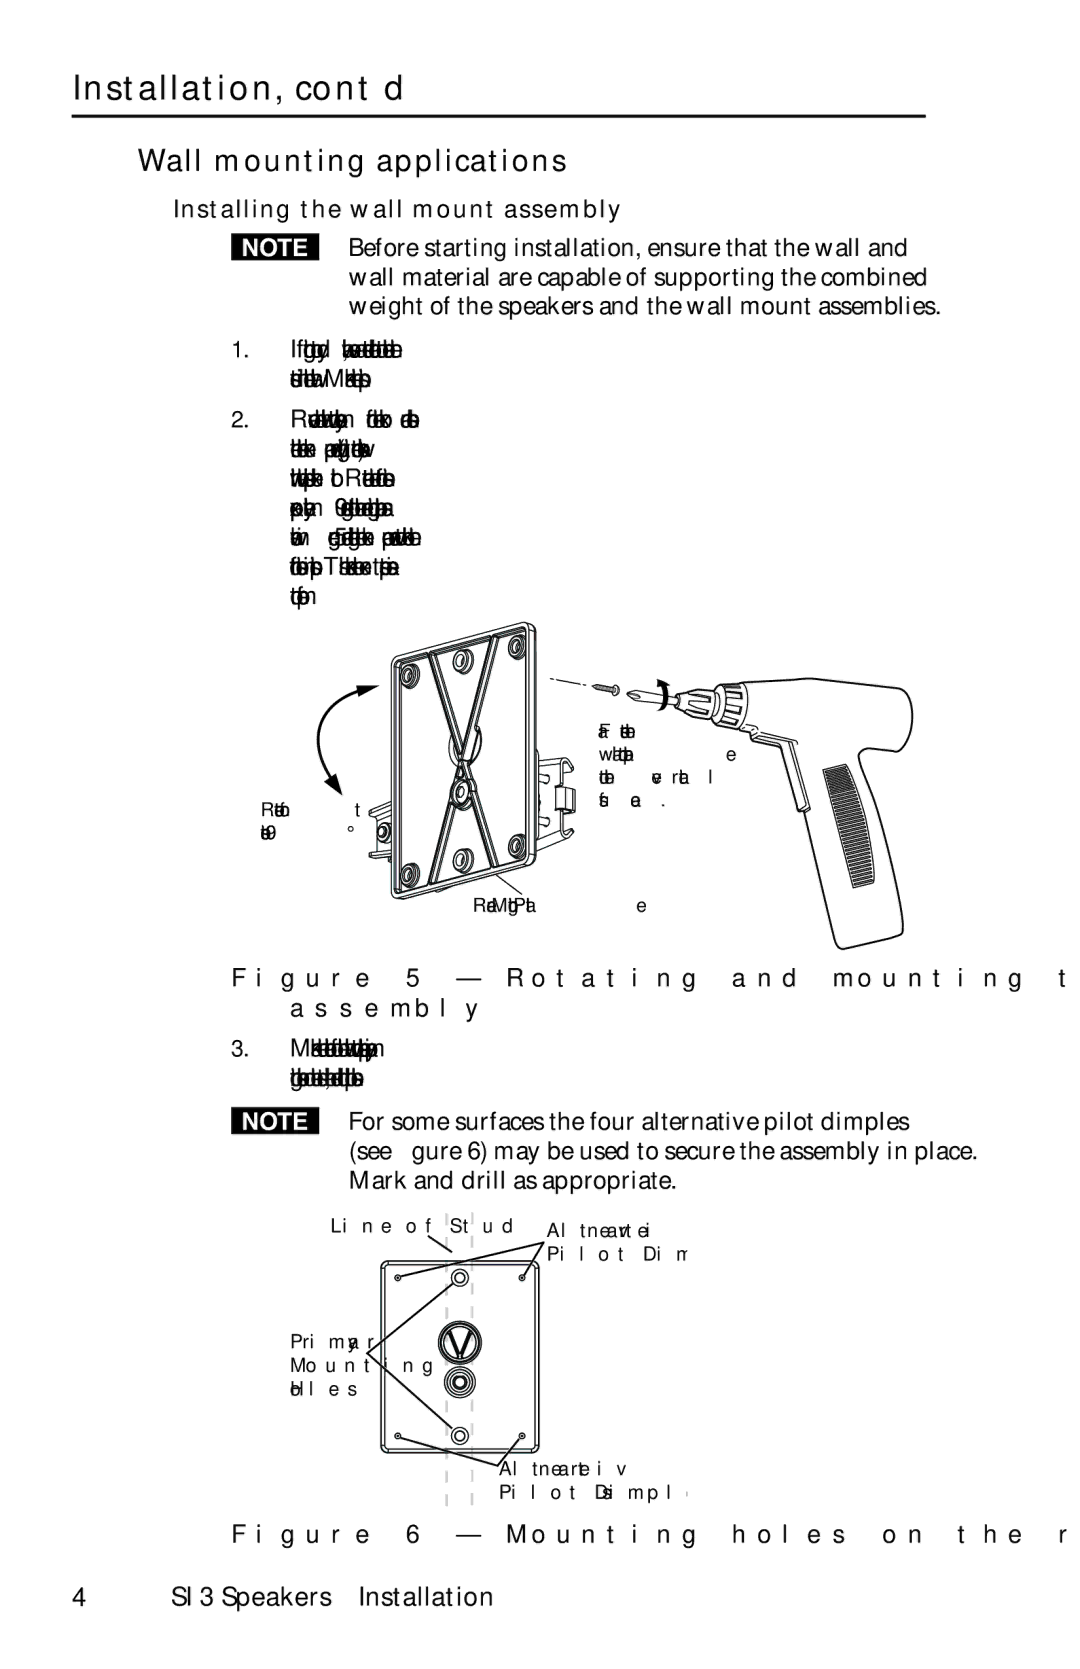
2. | Remove the wall mount assembly from the box and loosen | |
| the central hex cap screw (turning it counter clockwise) | |
| with the supplied hex tool. Rotate the front section | |
| approximately 90 degrees to the rear mounting plate, as | |
| shown in figure 5, and tighten the hex cap screw to lock the | |
| front section in position. This makes the next steps easier | |
| to perform. |
|
|
| Fasten the |
|
| wall mount plate |
|
| to the vertical |
| Rotate front | surface. |
|
| |
| section 90° |
|
Rear Mounting Plate
Figure 5 — Rotating and mounting the wall mount assembly
3. Mark the location of the wall mount plate's primary mounting holes on the stud line, and drill pilot holes.
NFor some surfaces the four alternative pilot dimples
(see figure 6) may be used to secure the assembly in place. Mark and drill as appropriate.
Line of Stud | Alternative |
| Pilot Dimples |
Primary
Mounting
Holes
Alternative
Pilot Dimples
Figure 6 — Mounting holes on the rear plate
4SI 3 Speakers • Installation