Installation, cont’d
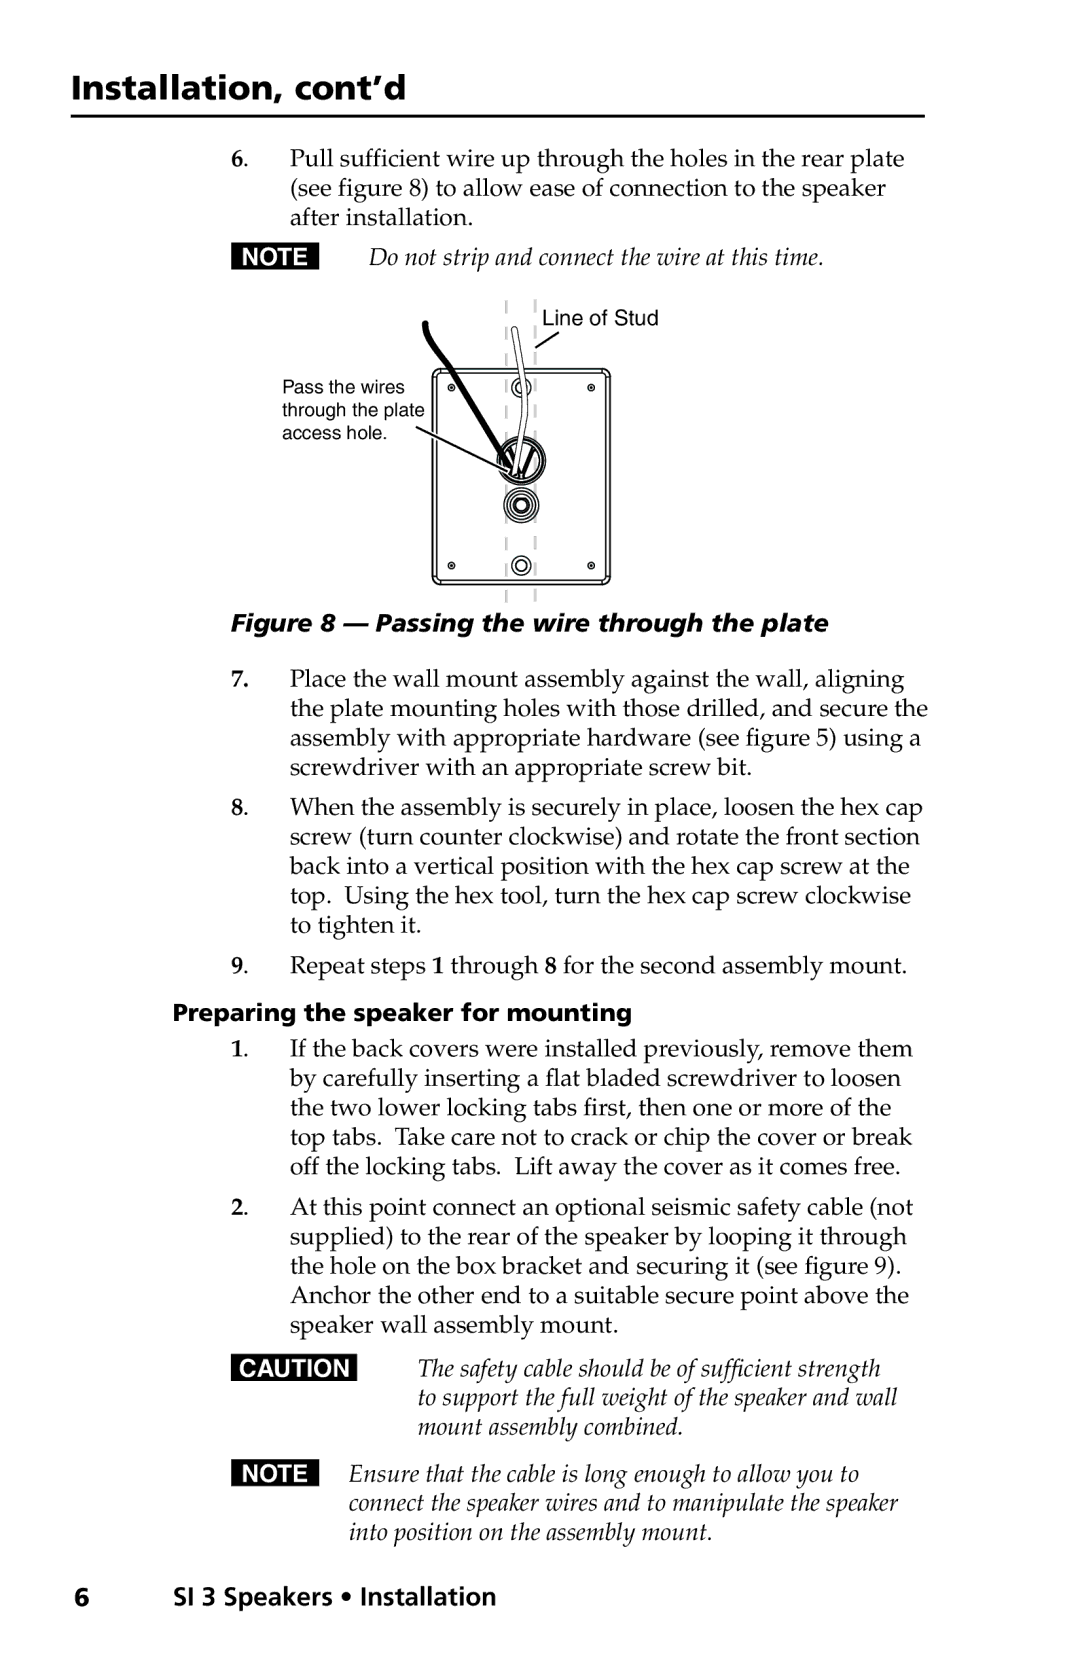
6. Pull sufficient wire up through the holes in the rear plate (see figure 8) to allow ease of connection to the speaker after installation.
NDo not strip and connect the wire at this time.
Line of Stud
Pass the wires through the plate access hole. ![]()
Figure 8 — Passing the wire through the plate
7.Place the wall mount assembly against the wall, aligning the plate mounting holes with those drilled, and secure the assembly with appropriate hardware (see figure 5) using a screwdriver with an appropriate screw bit.
8. | When the assembly is securely in place, loosen the hex cap |
| screw (turn counter clockwise) and rotate the front section |
| back into a vertical position with the hex cap screw at the |
| top. Using the hex tool, turn the hex cap screw clockwise |
| to tighten it. |
9. | Repeat steps 1 through 8 for the second assembly mount. |
Preparing the speaker for mounting | |
1. | If the back covers were installed previously, remove them |
| by carefully inserting a flat bladed screwdriver to loosen |
| the two lower locking tabs first, then one or more of the |
| top tabs. Take care not to crack or chip the cover or break |
| off the locking tabs. Lift away the cover as it comes free. |
2. | At this point connect an optional seismic safety cable (not |
| supplied) to the rear of the speaker by looping it through |
| the hole on the box bracket and securing it (see figure 9). |
| Anchor the other end to a suitable secure point above the |
| speaker wall assembly mount. |
CThe safety cable should be of sufficient strength to support the full weight of the speaker and wall mount assembly combined.
NEnsure that the cable is long enough to allow you to connect the speaker wires and to manipulate the speaker into position on the assembly mount.
6SI 3 Speakers • Installation