2Getting Started
2.2.1 Search
Select the Search button to scan the network for the F110 hardware devices. If an F110 is physically attached to your network anywhere it will be located in this scan.
Note If the Device Discovery Utility can not find the F110, reset the unit by unplugging the power adapter and then plugging it back in. Also, make sure that UDP port “30718” is not restricted on your network by a router, switch, network firewall or software firewall.
2.2.2 Set IP
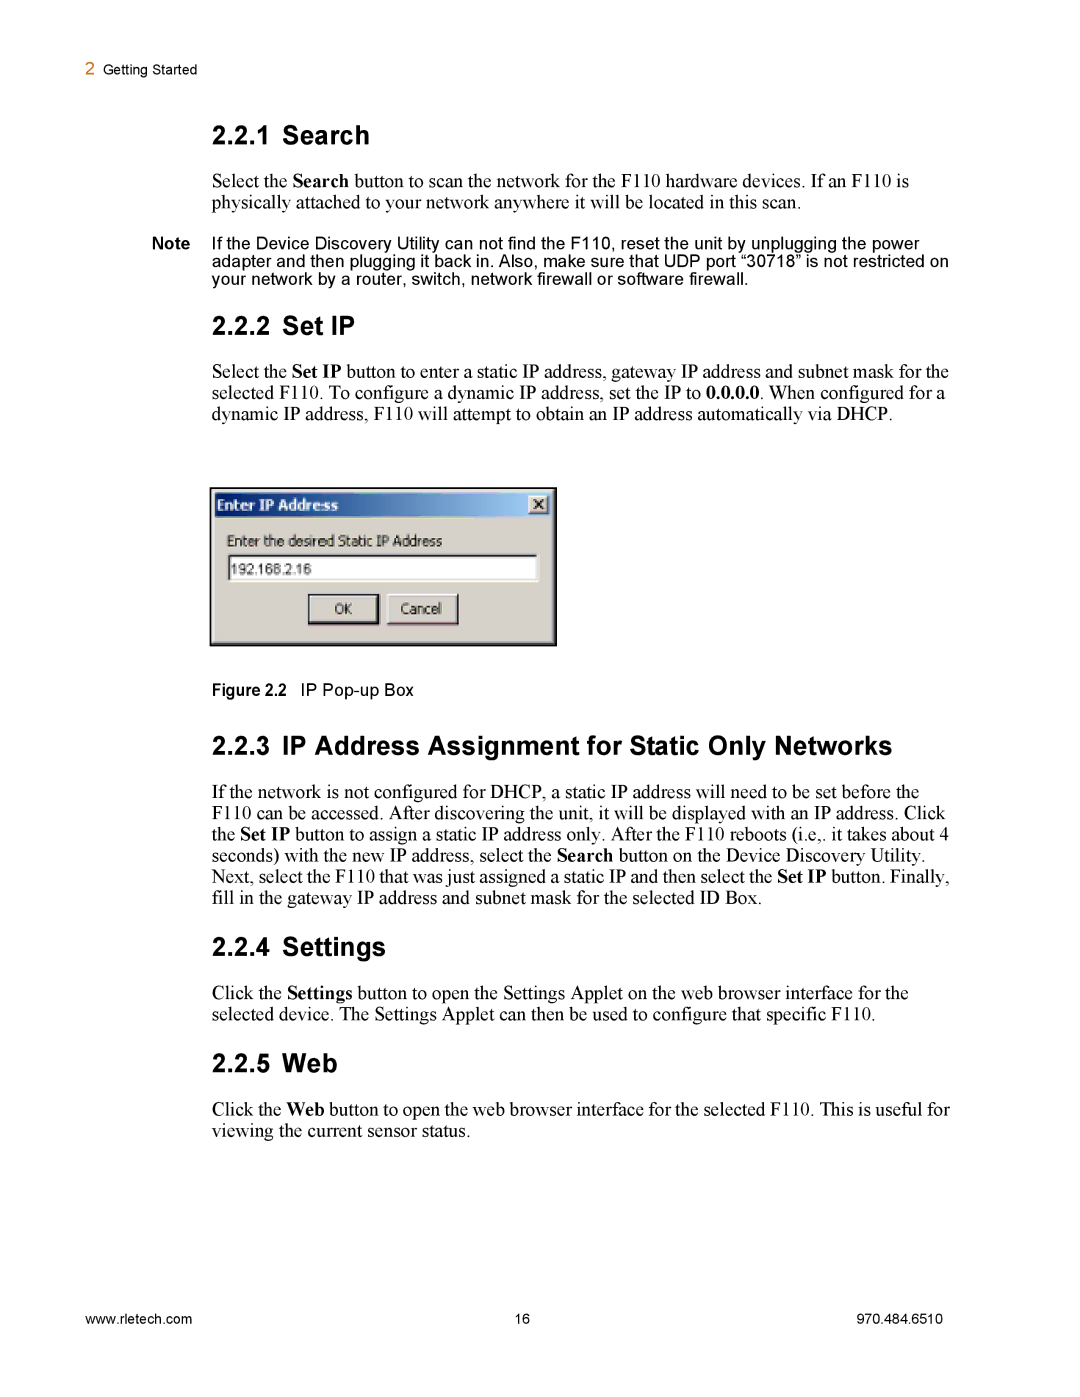
Select the Set IP button to enter a static IP address, gateway IP address and subnet mask for the selected F110. To configure a dynamic IP address, set the IP to 0.0.0.0. When configured for a dynamic IP address, F110 will attempt to obtain an IP address automatically via DHCP.
Figure 2.2 IP Pop-up Box
2.2.3 IP Address Assignment for Static Only Networks
If the network is not configured for DHCP, a static IP address will need to be set before the F110 can be accessed. After discovering the unit, it will be displayed with an IP address. Click the Set IP button to assign a static IP address only. After the F110 reboots (i.e,. it takes about 4 seconds) with the new IP address, select the Search button on the Device Discovery Utility. Next, select the F110 that was just assigned a static IP and then select the Set IP button. Finally, fill in the gateway IP address and subnet mask for the selected ID Box.
2.2.4 Settings
Click the Settings button to open the Settings Applet on the web browser interface for the selected device. The Settings Applet can then be used to configure that specific F110.
2.2.5 Web
Click the Web button to open the web browser interface for the selected F110. This is useful for viewing the current sensor status.
www.rletech.com | 16 | 970.484.6510 |
