9
fConnect the machine to the mains power sup- ply.
Before switching on, hold the sanding head a slight distance away from the working sur- face.
fSwitch on the machine.
The on/off switch has a zero voltage actuator, which prevents the machine from starting auto- matically after the power supply is interrupted (e.g. after a power failure). After an interrup- tion in voltage, press the on/off switch
fPerform the necessary sanding work.
Do not overload the machine by pressing with excessive force! The best sanding results are achieved with moderate
fSwitch the machine off once the sanding task is complete.
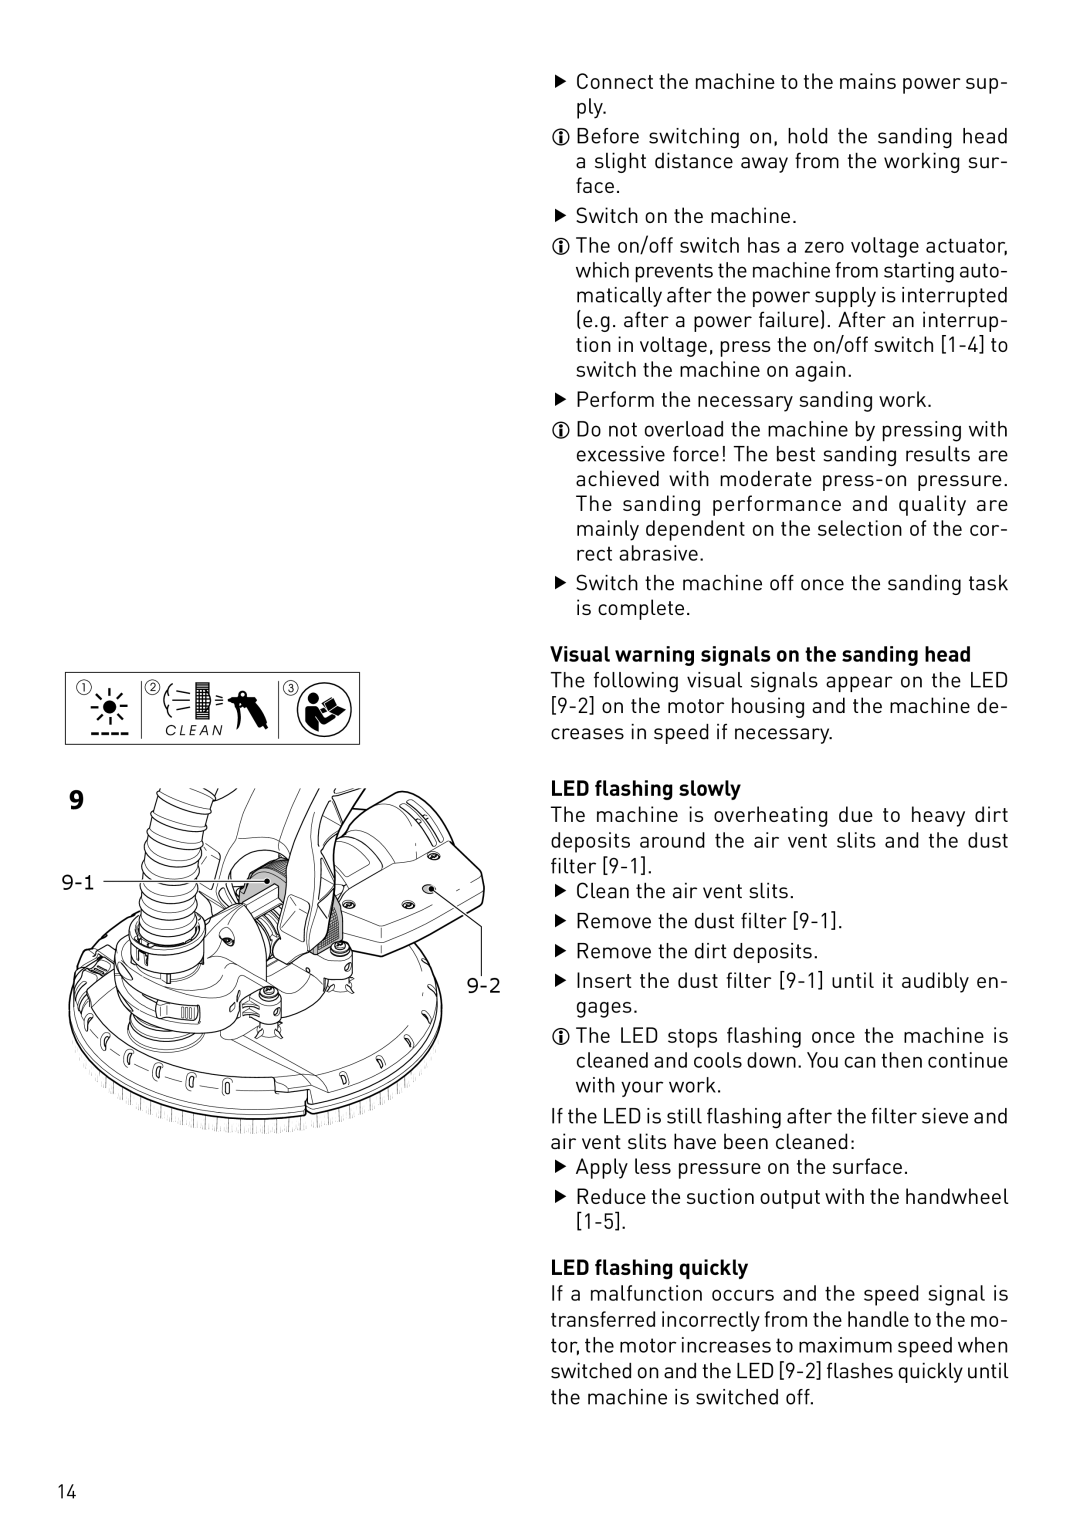
Visual warning signals on the sanding head The following visual signals appear on the LED
LED flashing slowly
The machine is overheating due to heavy dirt deposits around the air vent slits and the dust filter
f Clean the air vent slits.
f Remove the dust filter
The LED stops flashing once the machine is cleaned and cools down. You can then continue with your work.
If the LED is still flashing after the filter sieve and air vent slits have been cleaned:
f Apply less pressure on the surface.
fReduce the suction output with the handwheel
LED flashing quickly
If a malfunction occurs and the speed signal is transferred incorrectly from the handle to the mo- tor, the motor increases to maximum speed when switched on and the LED
14
