CAUTION

Do not use super glue or silicon caulk on or near the alarm! Fumes from these products can coat and permanently damage the sensor.

Installing a Battery (DC) Only Stand-Alone Alarm

Model COE-B (10200 Series)

1.Remove the mounting plate. Hold the alarm and turn the mounting plate clockwise to separate it from the back of the alarm.

2.Hold the mounting plate against the ceiling or wall in the desired position and use a pencil to trace the mounting holes.

3.Use a 3/16” (5mm) drill bit to drill through the center of the outlines you made in Step 2.

4.Insert screw anchors into the drilled holes. If necessary, gently tap anchors with a hammer until they are flush with the mounting surface.

5.Attach the mounting plate to the mounting surface with the mounting screws provided.

6.Position the alarm on the mounting plate and turn clockwise to lock it into place.

7.Pull out the battery activation strip. The alarm will respond with one yellow light flash.

8.Test the alarm. See “TESTING AND MAINTENANCE” for details.

Installing With a Junction Box

Models COE (10000 Series) and COEA (10400 Series)

DANGER

ELECTRICAL SHOCK HAZARD. Turn off power at the main fuse box or circuit breaker by removing the fuse or switching the circuit breaker to the OFF position.

WARNING

This CO alarm should be installed only by a qualified electrician. Carbon Monoxide alarm installation must be in accordance with the requirements of Article 760 of the National Electrical Code and any local codes that may apply.

Install CO alarm on any 4-inch or single gang junction box only.

1. From box of CO alarm, remove mounting plate.

2.Align recessed slots on plate with mounting holes of any 4-inch or single gang junction box.

3.Gently pull household wires through center hole of plate.

4.Secure plate to junction box using mounting screws.

5.With a small wire connector, connect white wire from connector plug to white household wire.

6.Connect black wire from connector plug to black household wire.

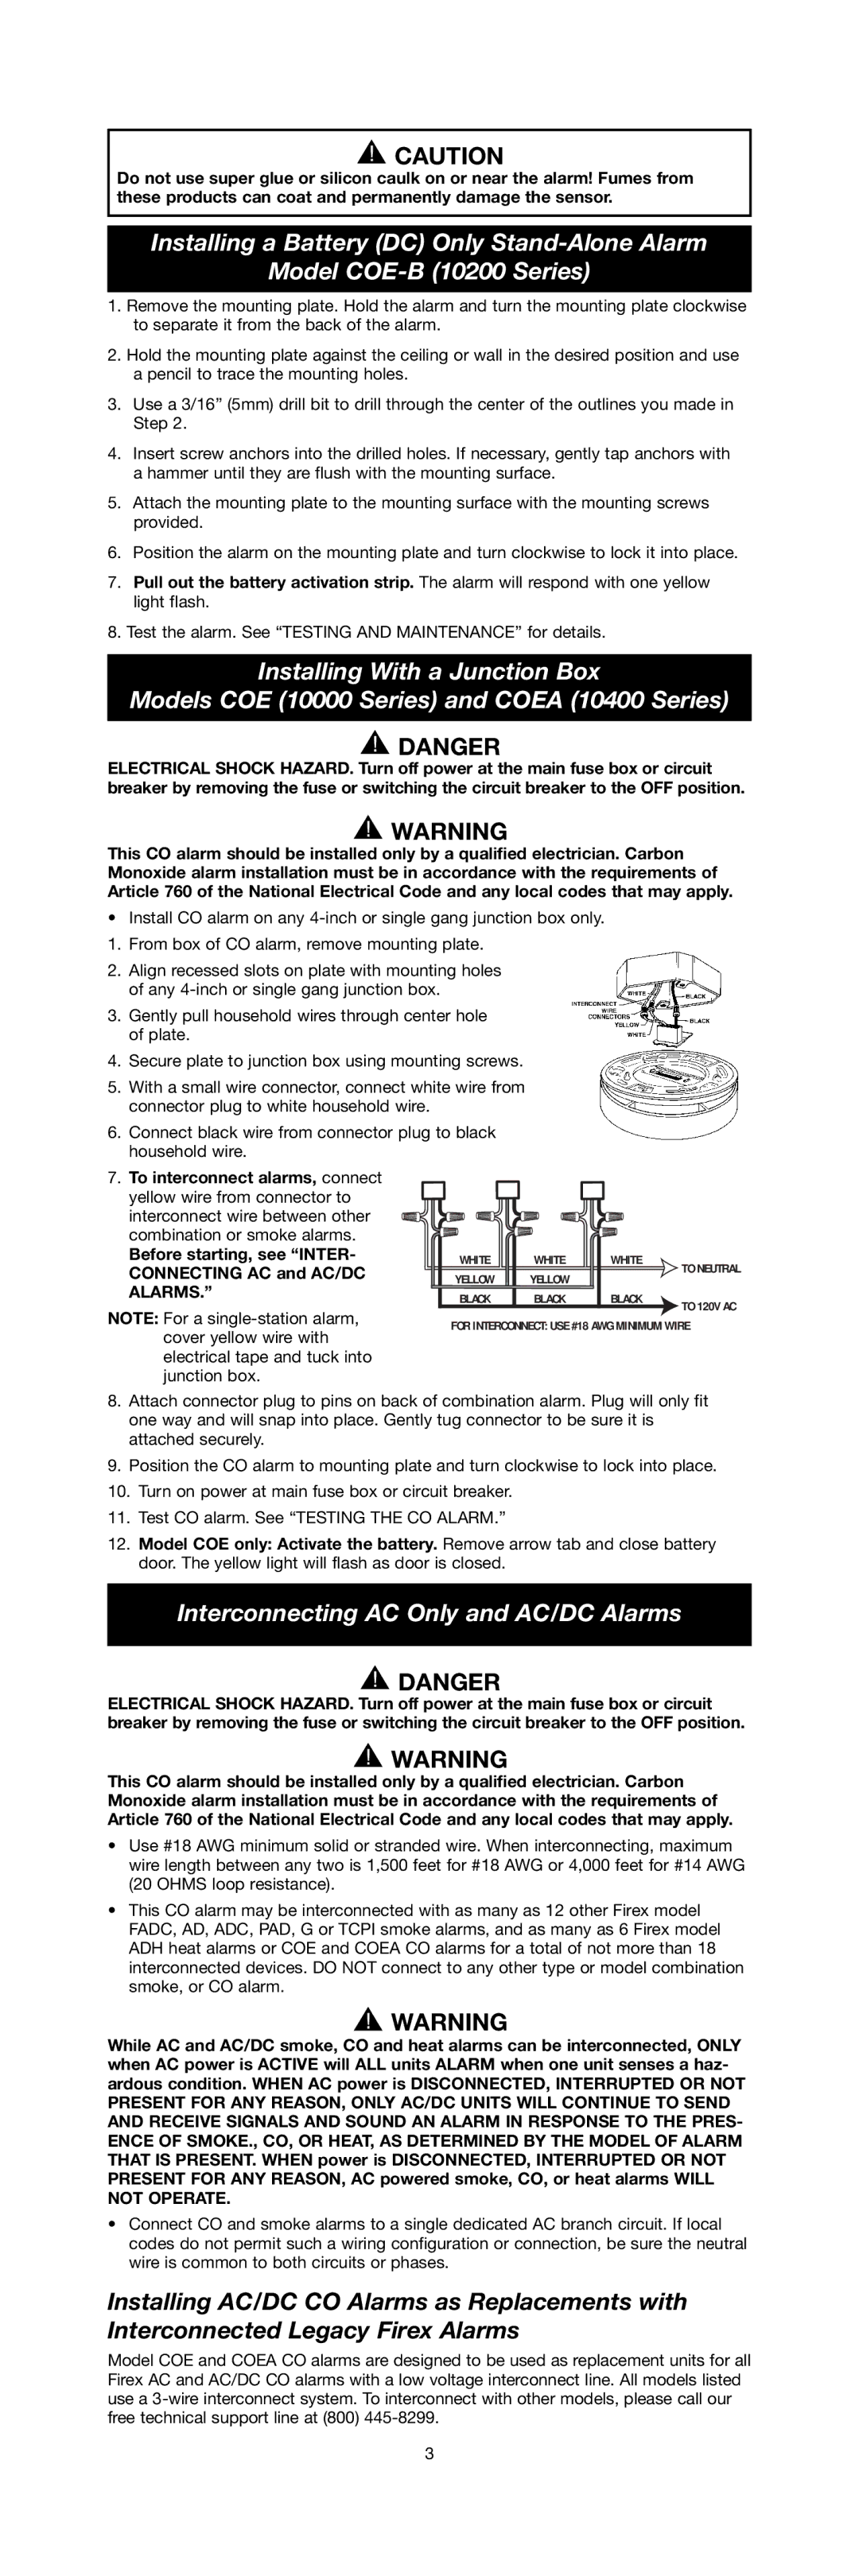
7.To interconnect alarms, connect yellow wire from connector to interconnect wire between other combination or smoke alarms.

Before starting, see “INTER- CONNECTING AC and AC/DC ALARMS.”

NOTE: For a single-station alarm, cover yellow wire with electrical tape and tuck into junction box.

WHITE

WHITE

WHITE

YELLOW

YELLOW

TO NEUTRAL


BLACK

BLACK

BLACK


TO 120V AC

FOR INTERCONNECT: USE #18 AWG MINIMUM WIRE

8.Attach connector plug to pins on back of combination alarm. Plug will only fit one way and will snap into place. Gently tug connector to be sure it is attached securely.

9.Position the CO alarm to mounting plate and turn clockwise to lock into place.

10.Turn on power at main fuse box or circuit breaker.

11.Test CO alarm. See “TESTING THE CO ALARM.”

12.Model COE only: Activate the battery. Remove arrow tab and close battery door. The yellow light will flash as door is closed.

Interconnecting AC Only and AC/DC Alarms

DANGER

ELECTRICAL SHOCK HAZARD. Turn off power at the main fuse box or circuit breaker by removing the fuse or switching the circuit breaker to the OFF position.

WARNING

This CO alarm should be installed only by a qualified electrician. Carbon Monoxide alarm installation must be in accordance with the requirements of Article 760 of the National Electrical Code and any local codes that may apply.

Use #18 AWG minimum solid or stranded wire. When interconnecting, maximum wire length between any two is 1,500 feet for #18 AWG or 4,000 feet for #14 AWG (20 OHMS loop resistance).

This CO alarm may be interconnected with as many as 12 other Firex model FADC, AD, ADC, PAD, G or TCPI smoke alarms, and as many as 6 Firex model ADH heat alarms or COE and COEA CO alarms for a total of not more than 18 interconnected devices. DO NOT connect to any other type or model combination smoke, or CO alarm.

WARNING

While AC and AC/DC smoke, CO and heat alarms can be interconnected, ONLY when AC power is ACTIVE will ALL units ALARM when one unit senses a haz- ardous condition. WHEN AC power is DISCONNECTED, INTERRUPTED OR NOT PRESENT FOR ANY REASON, ONLY AC/DC UNITS WILL CONTINUE TO SEND AND RECEIVE SIGNALS AND SOUND AN ALARM IN RESPONSE TO THE PRES- ENCE OF SMOKE., CO, OR HEAT, AS DETERMINED BY THE MODEL OF ALARM THAT IS PRESENT. WHEN power is DISCONNECTED, INTERRUPTED OR NOT PRESENT FOR ANY REASON, AC powered smoke, CO, or heat alarms WILL NOT OPERATE.

Connect CO and smoke alarms to a single dedicated AC branch circuit. If local codes do not permit such a wiring configuration or connection, be sure the neutral wire is common to both circuits or phases.

Installing AC/DC CO Alarms as Replacements with Interconnected Legacy Firex Alarms

Model COE and COEA CO alarms are designed to be used as replacement units for all Firex AC and AC/DC CO alarms with a low voltage interconnect line. All models listed use a 3-wire interconnect system. To interconnect with other models, please call our free technical support line at (800) 445-8299.

3

Page 3
Image 3
Firex SERIES 10000 specifications Interconnecting AC Only and AC/DC Alarms

SERIES 10000 specifications

The Firex SERIES 10000 represents a cutting-edge advancement in fire safety technology, designed to enhance both efficiency and reliability in protecting residential and commercial environments from fire hazards. This innovative series is equipped with a range of features that set it apart in the realm of fire detection and alarm systems.

One of the standout characteristics of the Firex SERIES 10000 is its advanced sensing technology. The system utilizes a dual-sensor mechanism that combines both photoelectric and ionization detection. This hybrid approach ensures comprehensive coverage by being able to detect smoldering and fast-flaming fires, significantly reducing the risk of false alarms while maintaining a rapid response time.

The Firex SERIES 10000 is engineered with smart connectivity features, allowing it to integrate seamlessly with existing home automation systems. Through Wi-Fi connectivity, users can monitor their fire alarm systems remotely via a smartphone application. This feature not only provides real-time notifications about potential threats but also allows users to check the status of their alarms from anywhere, offering peace of mind even when away from home.

Energy efficiency is another key attribute, with the SERIES 10000 designed to consume minimal power while maintaining peak performance. The system employs a low-energy standby mode, ensuring that battery life is prolonged without sacrificing reliability. This design consideration translates to reduced operational costs and environmental benefits.

Moreover, the Firex SERIES 10000 is built with durability in mind, featuring a weather-resistant enclosure suitable for installation even in challenging environments. This durability ensures long-lasting performance, making it an ideal choice for various applications, from residential settings to commercial buildings and industrial facilities.

The user-friendly interface is enhanced with intuitive controls, allowing for easy installation and maintenance. Clear visual indicators and audible alerts facilitate straightforward operation, ensuring that users can quickly understand the system’s status and respond appropriately in case of an emergency.

In summary, the Firex SERIES 10000 is a top-tier fire detection system that combines advanced technology, smart connectivity, energy efficiency, and user-centric design. Its robust features cater to the evolving needs of modern fire safety, making it an indispensable tool in safeguarding lives and properties from fire emergencies.