BEFORE YOU START
PAGE 2 OF 8
It is the customers responsibility to ensure that the product is electrically
connected by a qualified electrical installer and conforms with all local electrical codes.
Failure to install the product correctly could invalidate any warranty or liability claims and lead to prosecution. |
|
Make sure that the oven is located away from any strong and/or hot drafts of air. |
|
The cabinet opening dimensions specified are the absolute minimum. These dimensions allow a clearance of up to 6mm. |
|
The product must be electrically grounded. |
|
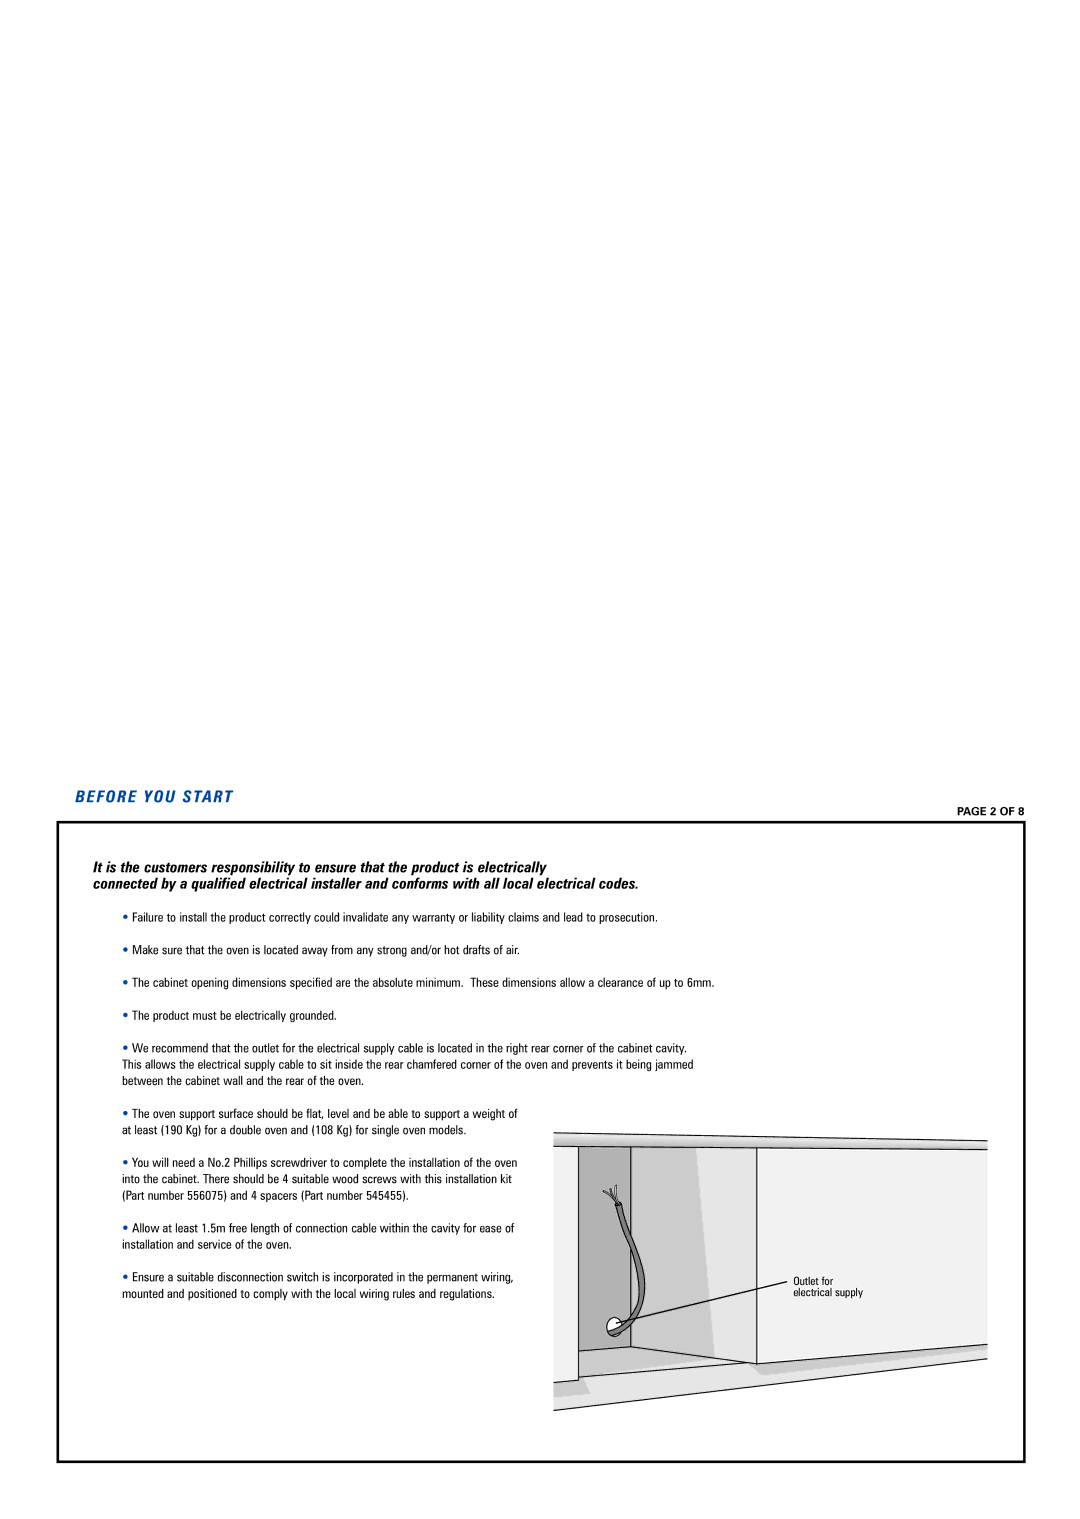
We recommend that the outlet for the electrical supply cable is located in the right rear corner of the cabinet cavity. |
|
This allows the electrical supply cable to sit inside the rear chamfered corner of the oven and prevents it being jammed |
|
between the cabinet wall and the rear of the oven. |
|
The oven support surface should be flat, level and be able to support a weight of |
|
at least (190 Kg) for a double oven and (108 Kg) for single oven models. |
|
You will need a No.2 Phillips screwdriver to complete the installation of the oven |
|
into the cabinet. There should be 4 suitable wood screws with this installation kit |
|
(Part number 556075) and 4 spacers (Part number 545455). |
|
Allow at least 1.5m free length of connection cable within the cavity for ease of |
|
installation and service of the oven. |
|
Ensure a suitable disconnection switch is incorporated in the permanent wiring, | Outlet for |
mounted and positioned to comply with the local wiring rules and regulations. | electrical supply |
