Installation
STEP 2 Mounting Installation of Chassis
The lower rear corners of the cabinet need to provide proper support to the back of the Warming Drawer and the anti-tip mounting clips. A 120 volt AC outlet should be located no further than 36 inches from the back right corner of the Warming Drawer.
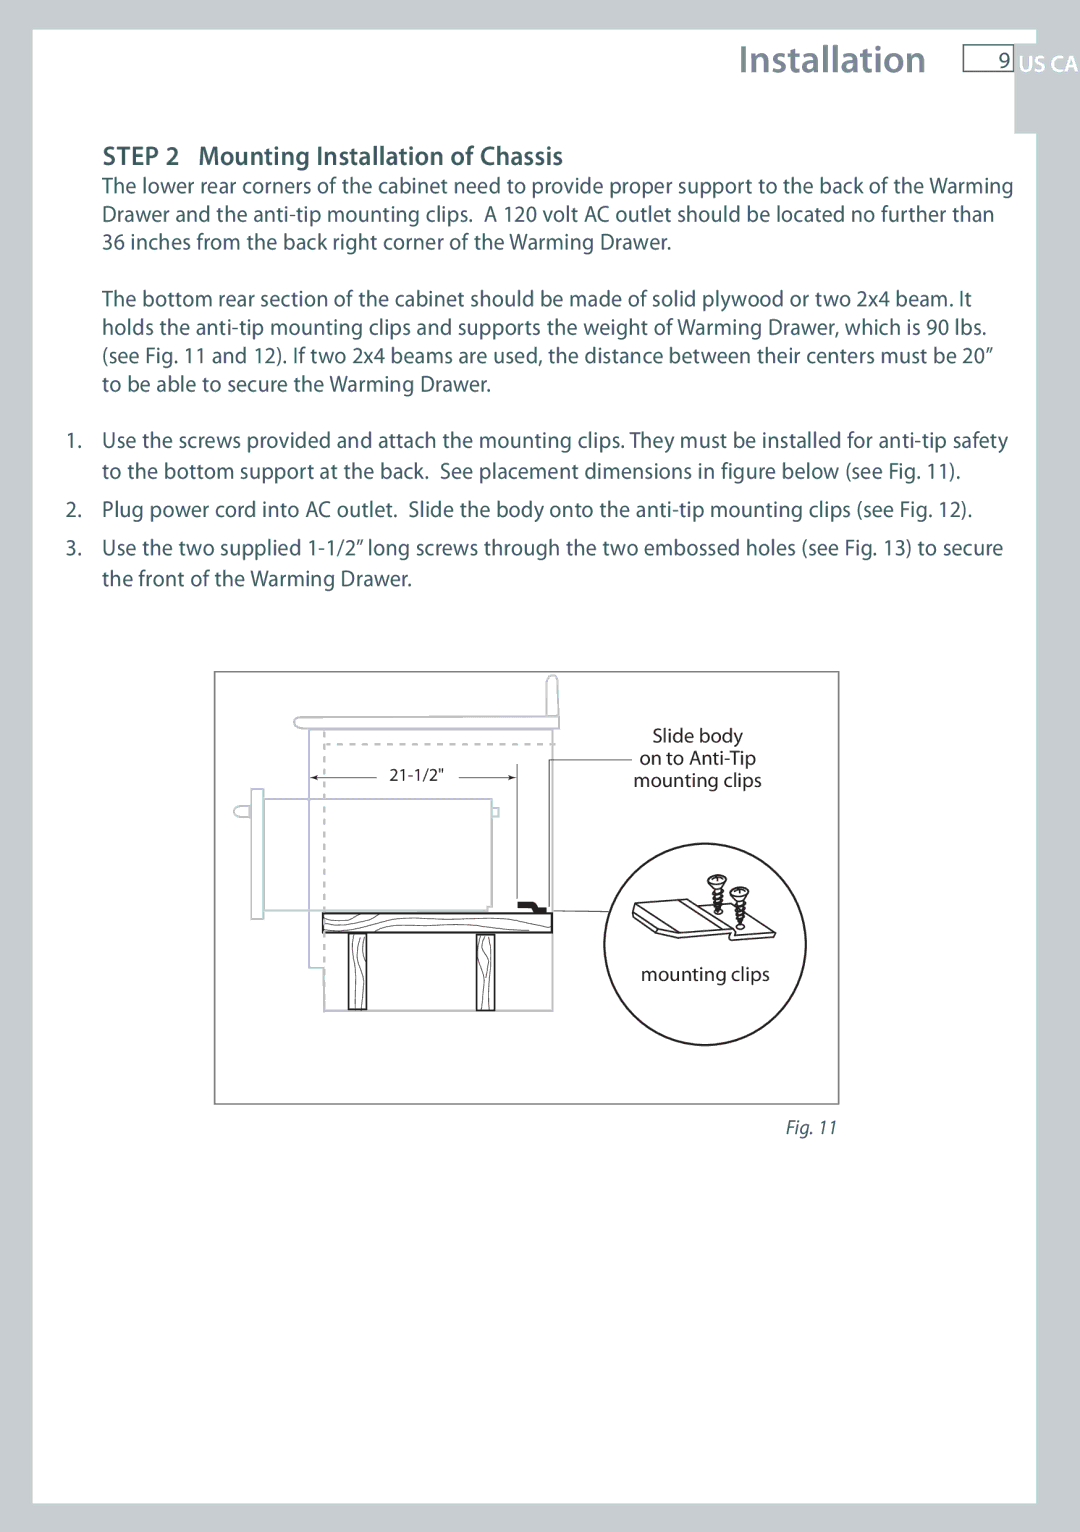
The bottom rear section of the cabinet should be made of solid plywood or two 2x4 beam. It holds the anti-tip mounting clips and supports the weight of Warming Drawer, which is 90 lbs. (see Fig. 11 and 12). If two 2x4 beams are used, the distance between their centers must be 20” to be able to secure the Warming Drawer.
1.Use the screws provided and attach the mounting clips. They must be installed for anti-tip safety to the bottom support at the back. See placement dimensions in figure below (see Fig. 11).
2.Plug power cord into AC outlet. Slide the body onto the anti-tip mounting clips (see Fig. 12).
3.Use the two supplied 1-1/2” long screws through the two embossed holes (see Fig. 13) to secure the front of the Warming Drawer.
| Slide body |
21-1/2" | on to Anti-Tip |
mounting clips |
| mounting clips |
Fig. 11