US12, US10, US08, US10, US12 specifications
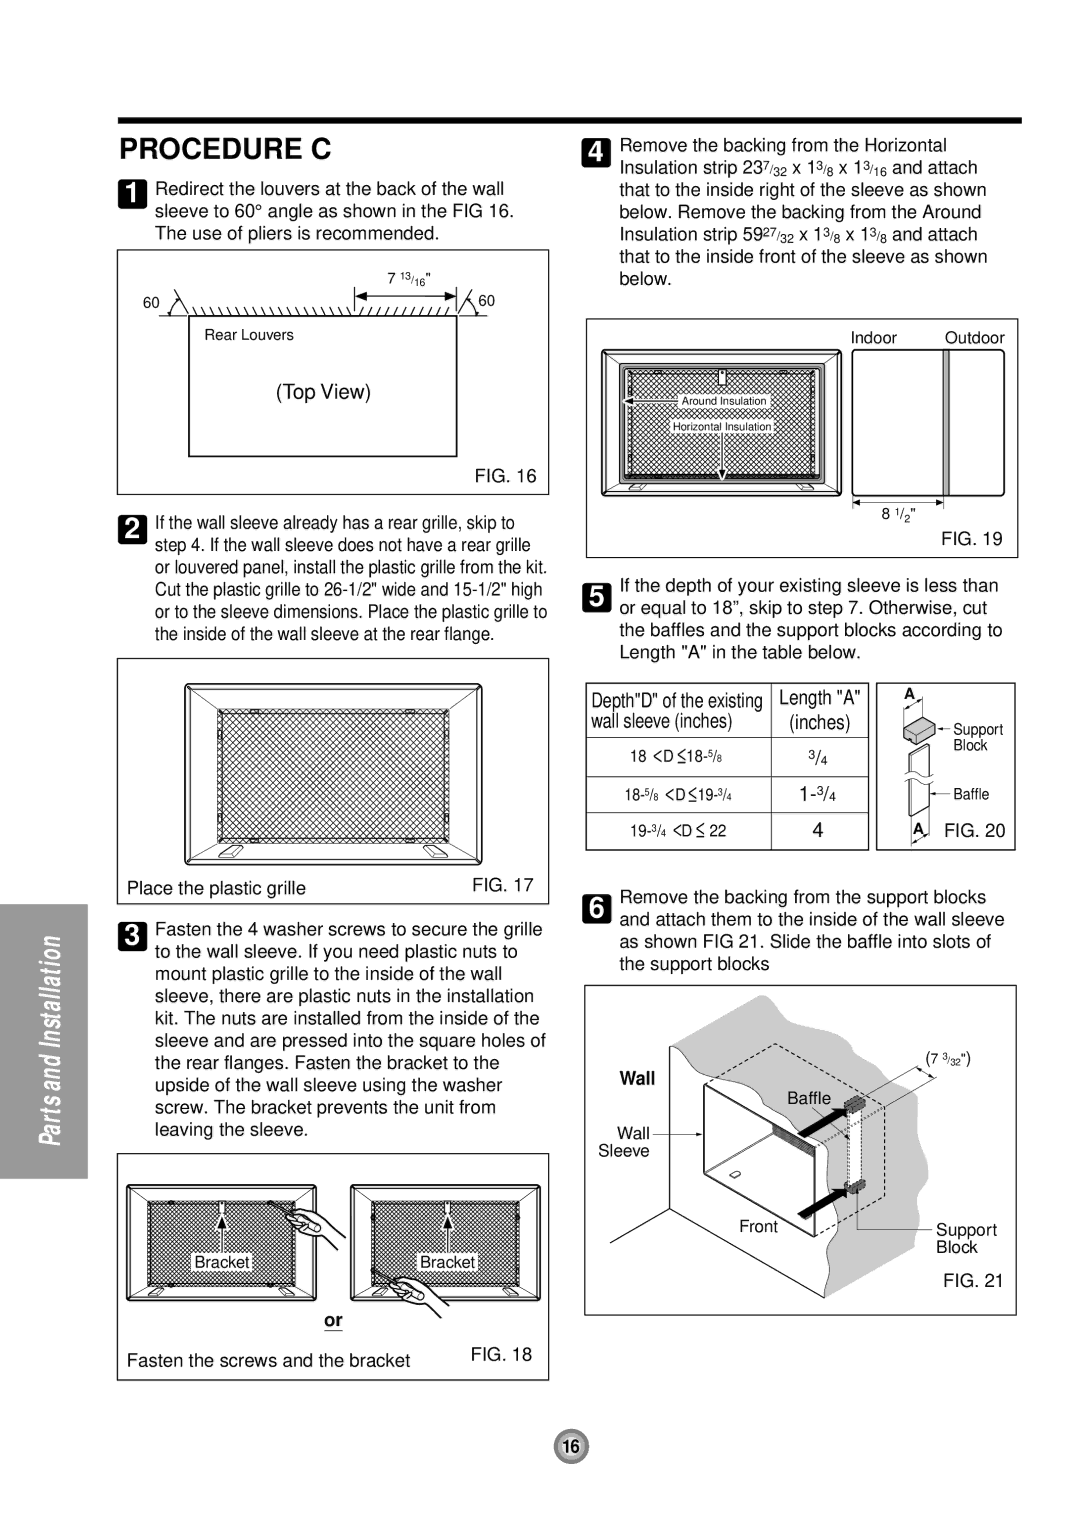
Friedrich, a renowned name in premium cooling and heating solutions, offers a diverse range of products designed for residential and commercial applications. Among its standout offerings are the Friedrich US10, US12, and US08 window air conditioners, each boasting unique features and advanced technologies tailored to meet varying climate control needs.The Friedrich US10 air conditioner is celebrated for its efficiency and robust performance. With a cooling capacity of up to 10,000 BTU, it is ideal for medium-sized rooms. This model incorporates an energy-efficient compressor and a high-performance fan, ensuring that spaces achieve optimal temperatures quickly and quietly. The US10 also features a programmable thermostat, remote control, and energy-saving modes, allowing users to customize their cooling experience while keeping electricity costs in check.
Moving to the Friedrich US12, this model takes performance a step further with a larger cooling capacity of up to 12,000 BTU, making it perfect for larger spaces or open floor plans. The US12 is equipped with the same energy-efficient technologies as the US10 but includes additional features like a 3-speed fan, which allows for greater airflow control. This model also integrates smart technology, enabling users to adjust settings via a mobile app or smart home devices for added convenience.
The US08 air conditioner, while compact with a cooling capacity of up to 8,000 BTU, does not compromise on efficiency or features. Designed for smaller rooms, it's an excellent choice for bedrooms or home offices. The US08 includes a quiet operation mode, making it an unobtrusive option for sleeping or working environments. Its easy-installation design and user-friendly interface further enhance the overall user experience.
All models in the Friedrich US series come with enhanced filtration systems that help improve indoor air quality by capturing dust and allergens. Additionally, their durable build and stylish design ensure that they not only perform well but also fit seamlessly into various décors.
In summary, the Friedrich US10, US12, and US08 window air conditioners offer a blend of efficiency, technology, and style. With their varying capacities and features, they cater to a wide range of cooling requirements, making them ideal choices for consumers seeking reliable air conditioning solutions. With Friedrich’s commitment to quality and innovation, these models stand out as leaders in the air conditioning market.

