Installation Instructions (continued)

UNLOCK

LOCK

LOCKING THE FRONT ROLLERS (some of the 30” models only)

Oven Light

To level the range:

1.Use a 1-1/4” open end key or an adjustable wrench to equally unscrew the four leveling legs two to three turns each.

2.Install an oven rack in the center of the oven.

3.Move the range to its final position, then put a spirit level on the rack to check for levelness. Take two readings, one with the level placed diagonally first in one direction, and then the other.

4.Use the 1-1/4” key or wrench to adjust the leveling legs. Turn each one until the range stands firm without wobbling.

5.Some models are supported by smooth glide rollers to facilitate moving.

If floor is flat and level, open the drawer and lower the front roller locking levers (some models) to prevent the range from moving.

If floor is not flat or level or if this model has rollers without locking levers, use the 4 leveling legs to level, support and prevent the range from moving.

Do not turn the oven light on during the self-cleaning cycle. High temperature will reduce lamp life.

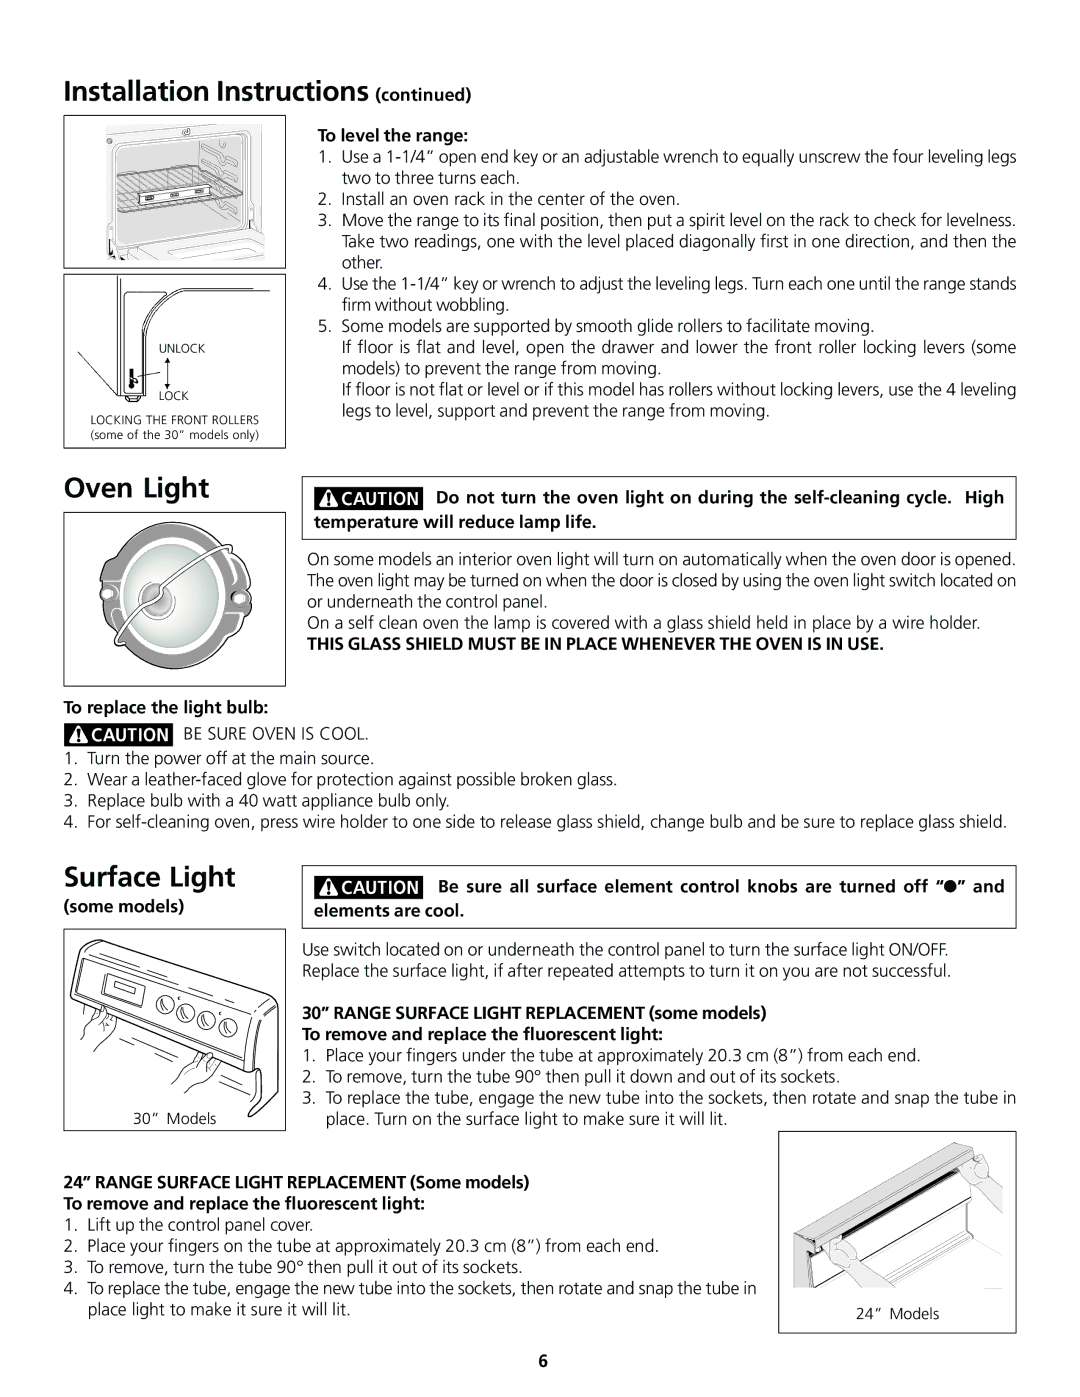
On some models an interior oven light will turn on automatically when the oven door is opened. The oven light may be turned on when the door is closed by using the oven light switch located on or underneath the control panel.

On a self clean oven the lamp is covered with a glass shield held in place by a wire holder.

THIS GLASS SHIELD MUST BE IN PLACE WHENEVER THE OVEN IS IN USE.

To replace the light bulb:

BE SURE OVEN IS COOL.

1.Turn the power off at the main source.

2.Wear a leather-faced glove for protection against possible broken glass.

3.Replace bulb with a 40 watt appliance bulb only.

4.For self-cleaning oven, press wire holder to one side to release glass shield, change bulb and be sure to replace glass shield.

Surface Light

(some models)

Be sure all surface element control knobs are turned off “” and elements are cool.


Use switch located on or underneath the control panel to turn the surface light ON/OFF.


Replace the surface light, if after repeated attempts to turn it on you are not successful.


30” RANGE SURFACE LIGHT REPLACEMENT (some models)


To remove and replace the fluorescent light:


1. Place your fingers under the tube at approximately 20.3 cm (8”) from each end.


2. To remove, turn the tube 90° then pull it down and out of its sockets.


3. To replace the tube, engage the new tube into the sockets, then rotate and snap the tube in


30” Models

place. Turn on the surface light to make sure it will lit.


24” RANGE SURFACE LIGHT REPLACEMENT (Some models)


To remove and replace the fluorescent light:


1.

Lift up the control panel cover.


2.

Place your fingers on the tube at approximately 20.3 cm (8”) from each end.


3.

To remove, turn the tube 90° then pull it out of its sockets.


4.

To replace the tube, engage the new tube into the sockets, then rotate and snap the tube in


place light to make it sure it will lit.

24” Models

6

Page 6
Image 6
Frigidaire 318200413 important safety instructions Oven Light, Surface Light, To level the range, To replace the light bulb

318200413 specifications

The Frigidaire 318200413 is a highly versatile and reliable replacement oven range heating element designed for various Frigidaire models. This essential component ensures that your cooking appliances function efficiently, delivering consistent baking and cooking results. Its robust design and cutting-edge technology make it a popular choice among homeowners and professional cooks alike.

One of the standout features of the Frigidaire 318200413 is its compatibility with numerous Frigidaire ranges, specifically designed to fit various models. This ensures that you can easily replace a worn-out heating element without the need for additional modifications. This level of compatibility simplifies maintenance and enhances the longevity of your kitchen equipment.

The heating element's powerful performance is another key characteristic. The Frigidaire 318200413 features an impressive wattage, allowing it to reach high temperatures quickly, which is ideal for baking and broiling. This means shorter preheat times and faster cooking, making it an essential tool for busy kitchens where time efficiency is paramount.

In addition, the Frigidaire 318200413 utilizes advanced technology to offer even heat distribution. This feature is crucial for achieving consistent cooking results, preventing hot spots that can lead to uneven baking or roasting. The high-quality construction of the heating element ensures durability and resilience under high heat, reducing the risk of burnout and prolonging its lifespan.

Safety is also a critical consideration in the design of the Frigidaire 318200413. It is engineered with built-in protections to prevent overheating and other potential hazards, ensuring that your cooking experience is not only efficient but also safe.

Installation of the Frigidaire 318200413 is straightforward. It requires minimal tools and can typically be completed in a matter of minutes, making it a convenient solution for those looking to restore their oven's functionality. Users can follow simple manufacturer instructions, which enhances accessibility for DIY enthusiasts.

Ultimately, the Frigidaire 318200413 heating element embodies reliability, efficiency, and user-friendliness. Its features, including compatibility, powerful performance, even heat distribution, and safety enhancements, make it an invaluable component for maintaining optimal cooking performance. Whether for everyday cooking or special occasions, this heating element ensures that your meals are cooked to perfection.