Actions (for Windows Users)
160
3. Change the settings for [Scan to SharePoint] (If you do not want to
change any settings, go to step 4.).
1. Move the mouse cursor to the mark on the [Scan to SharePoint] icon , and
then select the [Settings] menu.
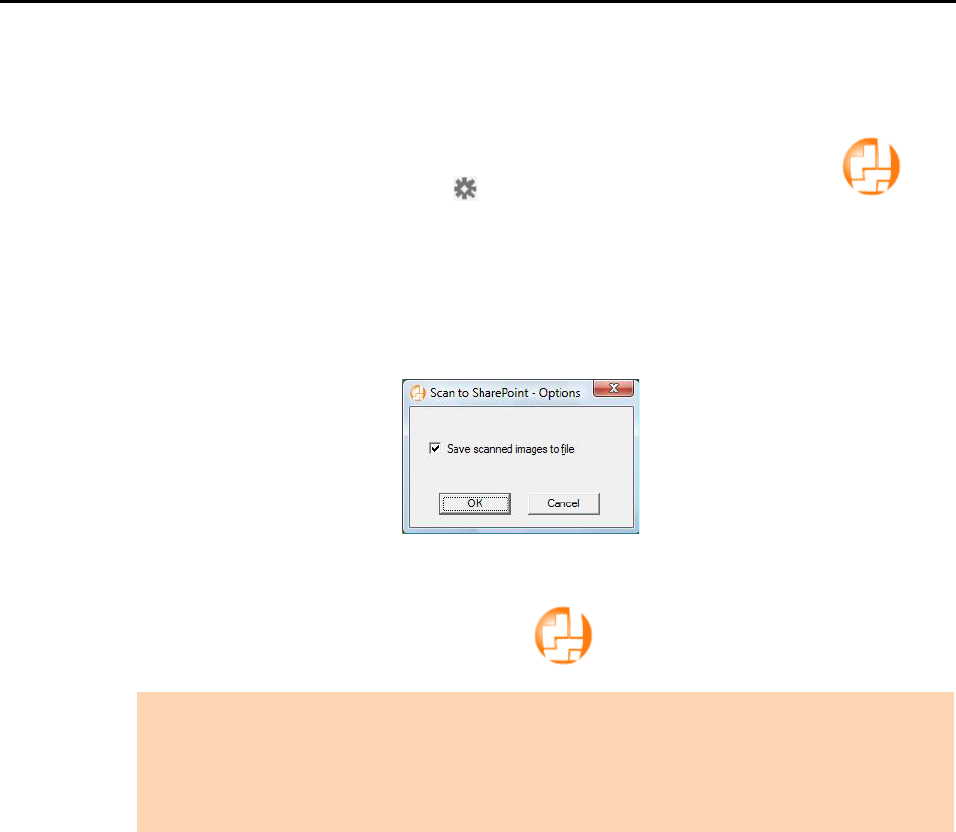
DThe [Scan to SharePoint - Options] dialog box appears.
2. Change the settings.
For details about the [Scan to SharePoint - Options] dialog box, refer to the
ScanSnap Manager Help.
3. Click the [OK] button to close the [Scan to SharePoint - Options] dialog box.
4. Click the [Scan to SharePoint] icon .
DScan to Microsoft SharePoint starts up.
ATTENTION
zYou cannot start scanning when the Quick Menu is displayed. Wait until ScanSnap Manager links
with Microsoft SharePoint before scanning another document.
zDo not move, delete, or rename the scanned image in other applications when the Quick Menu is
displayed.