MFD8/12/BB specifications
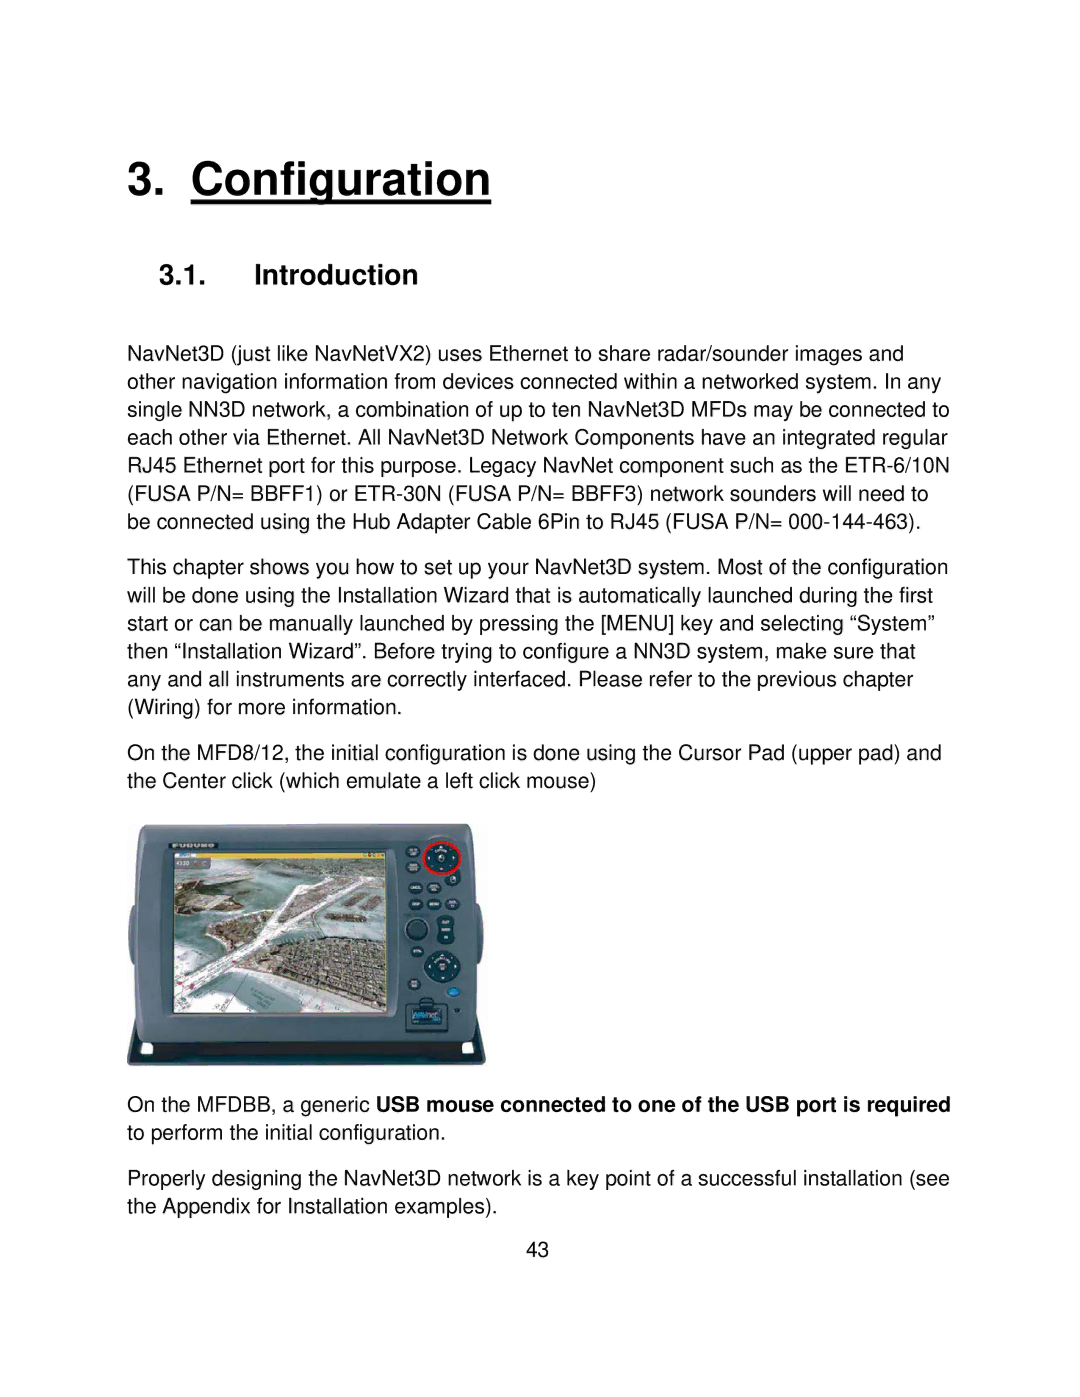
Furuno MFD8/12/BB is an advanced multi-function display (MFD) designed for marine navigation and on-board management. Its compact and versatile design makes it an ideal choice for both leisure boats and commercial vessels. The MFD series, consisting of the 8-inch (MFD8) and 12-inch (MFD12) displays, is characterized by its high-resolution screens, clear user interface, and robust performance in various marine conditions.One of the standout features of the MFD8/12/BB is its powerful chart plotting capabilities. Equipped with Furuno's proprietary NavNet 3D technology, users can access detailed nautical charts, radar data, and fish-finding information all in one device. The intuitive touch screen interface allows for easy zooming, panning, and point-and-click navigation, enhancing the user experience and providing quick access to essential information.
In terms of connectivity, the MFD8/12/BB supports a range of NMEA 2000 devices, allowing for seamless integration with other onboard systems such as radar, AIS, and autopilot. Furthermore, it has built-in Wi-Fi functionality, which enables users to connect their tablets and smartphones for remote viewing and control, enhancing accessibility while on the move.
The Furuno MFD series also features a powerful Auto Guidance function that offers navigational assistance by suggesting the safest and most efficient routes based on the vessel's dimensions and draft. This feature is invaluable for skippers navigating busy waterways or unfamiliar locations.
Another distinguishing characteristic is the radar overlay capability. By integrating radar data over chart screens, operators gain an enhanced situational awareness, enabling them to make informed decisions even in challenging weather conditions.
Durability is key for marine electronics, and the MFD8/12/BB delivers with its rugged, water-resistant design built to withstand harsh marine environments. It also comes with a customizable interface, providing users the ability to tailor the display for their specific needs, further enhancing usability.
In summary, the Furuno MFD8/12/BB represents a cutting-edge solution for marine navigation, packed with advanced features and technologies designed to improve safety and reliability on the water. With its blend of flexibility, integration, and user-friendly operation, it stands out as a top choice for both recreational and professional mariners.

