G
6.Labelling Irrigation Valves and Radio Switch
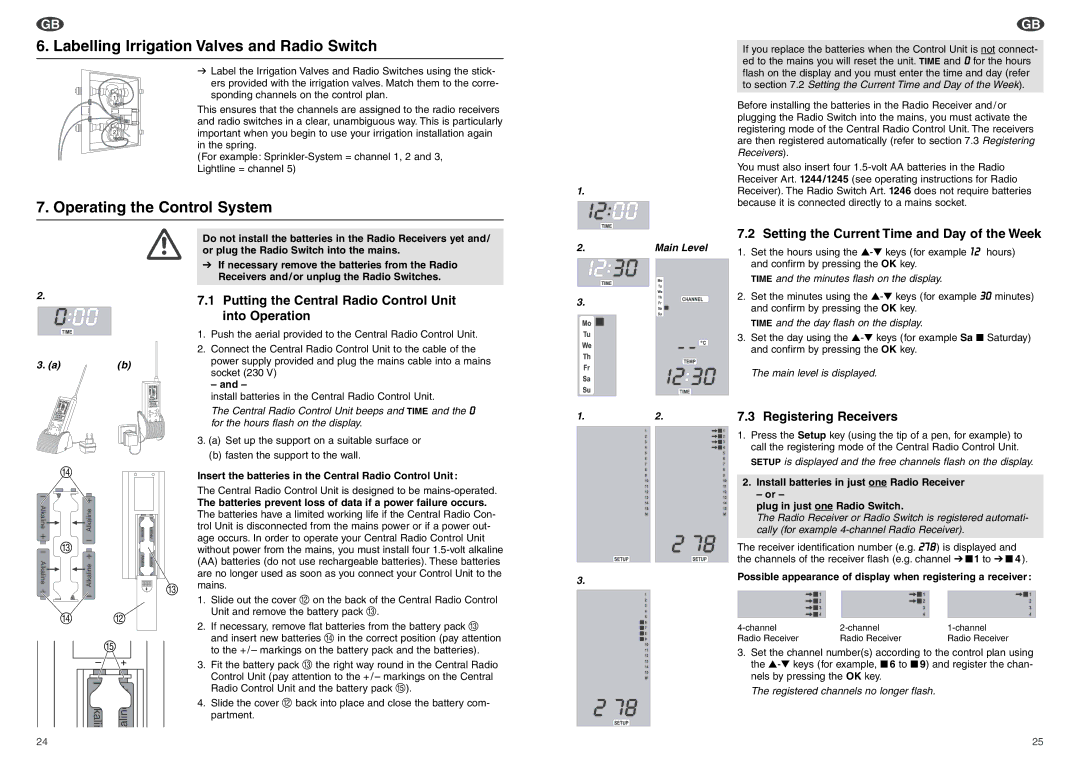
v Label the Irrigation Valves and Radio Switches using the stick- ers provided with the irrigation valves. Match them to the corre-
sponding channels on the control plan.
This ensures that the channels are assigned to the radio receivers and radio switches in a clear, unambiguous way. This is particularly important when you begin to use your irrigation installation again in the spring.
(For example:
7. Operating the Control System
1.
G
If you replace the batteries when the Control Unit is not connect- ed to the mains you will reset the unit. TIME and 0 for the hours flash on the display and you must enter the time and day (refer to section 7.2 Setting the Current Time and Day of the Week).
Before installing the batteries in the Radio Receiver and/or plugging the Radio Switch into the mains, you must activate the registering mode of the Central Radio Control Unit. The receivers are then registered automatically (refer to section 7.3 Registering Receivers).
You must also insert four
2.
3. (a) | (b) |
D |
C
D | B |
| E |
– | + |
24
Do not install the batteries in the Radio Receivers yet and/ or plug the Radio Switch into the mains.
VIf necessary remove the batteries from the Radio Receivers and/or unplug the Radio Switches.
7.1Putting the Central Radio Control Unit into Operation
1.Push the aerial provided to the Central Radio Control Unit.
2.Connect the Central Radio Control Unit to the cable of the power supply provided and plug the mains cable into a mains
socket (230 V)
– and –
install batteries in the Central Radio Control Unit.
The Central Radio Control Unit beeps and TIME and the 0 for the hours flash on the display.
3.(a) Set up the support on a suitable surface or
(b)fasten the support to the wall.
Insert the batteries in the Central Radio Control Unit:
The Central Radio Control Unit is designed to be mains-operated.
The batteries prevent loss of data if a power failure occurs. The batteries have a limited working life if the Central Radio Con- trol Unit is disconnected from the mains power or if a power out- age occurs. In order to operate your Central Radio Control Unit without power from the mains, you must install four
| (AA) batteries (do not use rechargeable batteries). These batteries | |
| are no longer used as soon as you connect your Control Unit to the | |
C | mains. | |
| 1. | Slide out the cover B on the back of the Central Radio Control |
|
| Unit and remove the battery pack C. |
| 2. | If necessary, remove flat batteries from the battery pack C |
|
| and insert new batteries D in the correct position (pay attention |
|
| to the +/ – markings on the battery pack and the batteries). |
| 3. | Fit the battery pack C the right way round in the Central Radio |
|
| Control Unit (pay attention to the +/ – markings on the Central |
|
| Radio Control Unit and the battery pack E). |
| 4. | Slide the cover B back into place and close the battery com- |
|
| partment. |
2.Main Level
3.
1.2.
3.
7.2 Setting the Current Time and Day of the Week
1.Set the hours using the
TIME and the minutes flash on the display.
2.Set the minutes using the
TIME and the day flash on the display.
3.Set the day using the
The main level is displayed.
7.3 Registering Receivers
1.Press the Setup key (using the tip of a pen, for example) to call the registering mode of the Central Radio Control Unit.
SETUP is displayed and the free channels flash on the display.
2.Install batteries in just one Radio Receiver
– or –
plug in just one Radio Switch.
The Radio Receiver or Radio Switch is registered automati- cally (for example
The receiver identification number (e.g. 278 ) is displayed and the channels of the receiver flash (e.g. channel V ■ 1 to V ■ 4 ).
Possible appearance of display when registering a receiver:
Radio Receiver | Radio Receiver | Radio Receiver |
3.Set the channel number(s) according to the control plan using the
The registered channels no longer flash.
25