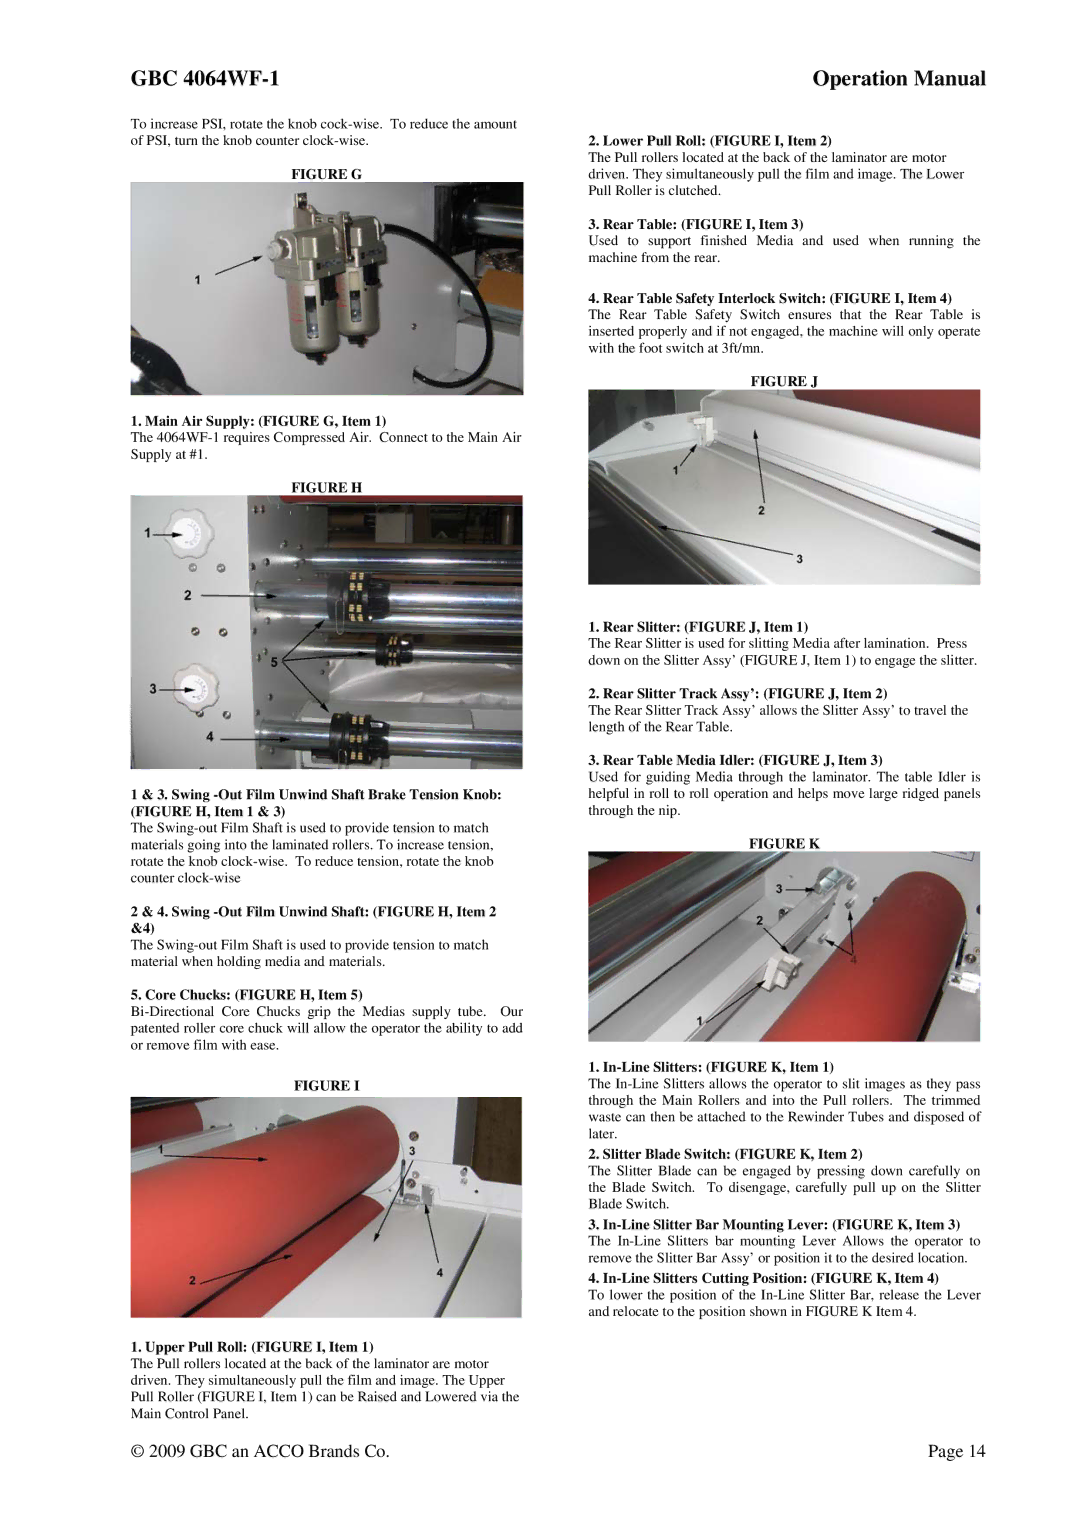
4064WF-1 specifications
The GBC 4064WF-1 is an advanced, high-performance wide format printer designed to meet the specific needs of industrial and commercial printing environments. Engineered for versatility and efficiency, this printer is ideal for producing a variety of print applications, including posters, banners, and other large-format graphics.One of the most notable features of the GBC 4064WF-1 is its impressive print resolution. With a maximum resolution of up to 1200 x 1200 dpi, this printer ensures sharp, vibrant images that capture attention. The incorporation of advanced inkjet technology allows for a broader color gamut and more detailed reproductions. This precision is particularly advantageous for businesses requiring high-quality output for marketing materials or fine art reproductions.
The GBC 4064WF-1 supports various media types, including vinyl, paper, and canvas, offering users the flexibility to explore different substrates. Its roll-to-roll capability makes it convenient for continuous printing tasks without the need for constant media changes. The printer’s feed system is designed for enhanced media handling, reducing the risk of jams and ensuring consistent print quality throughout long runs.
Additionally, the GBC 4064WF-1 integrates seamlessly with existing workflows, thanks to its compatibility with industry-standard software and color profiles. This feature enables users to maintain color accuracy and consistency across multiple print jobs. The printer also incorporates advanced RIP software, providing fine control over print settings and media management.
Another key characteristic is its user-friendly interface. The touchscreen control panel allows operators to navigate settings easily, monitor print jobs in real-time, and perform maintenance tasks effortlessly. This intuitive design minimizes downtime, helping businesses maintain productivity.
Energy efficiency is also a crucial aspect of the GBC 4064WF-1. With its eco-friendly technologies, this printer reduces power consumption during operation, making it a sustainable choice for environmentally-conscious businesses.
In summary, the GBC 4064WF-1 stands out with its exceptional print quality, versatile media handling, comprehensive software compatibility, user-friendly operation, and energy efficiency. These features make it an ideal choice for businesses looking to enhance their printing capabilities and deliver high-quality results consistently.

