I
ASSEMBLY - SET UP
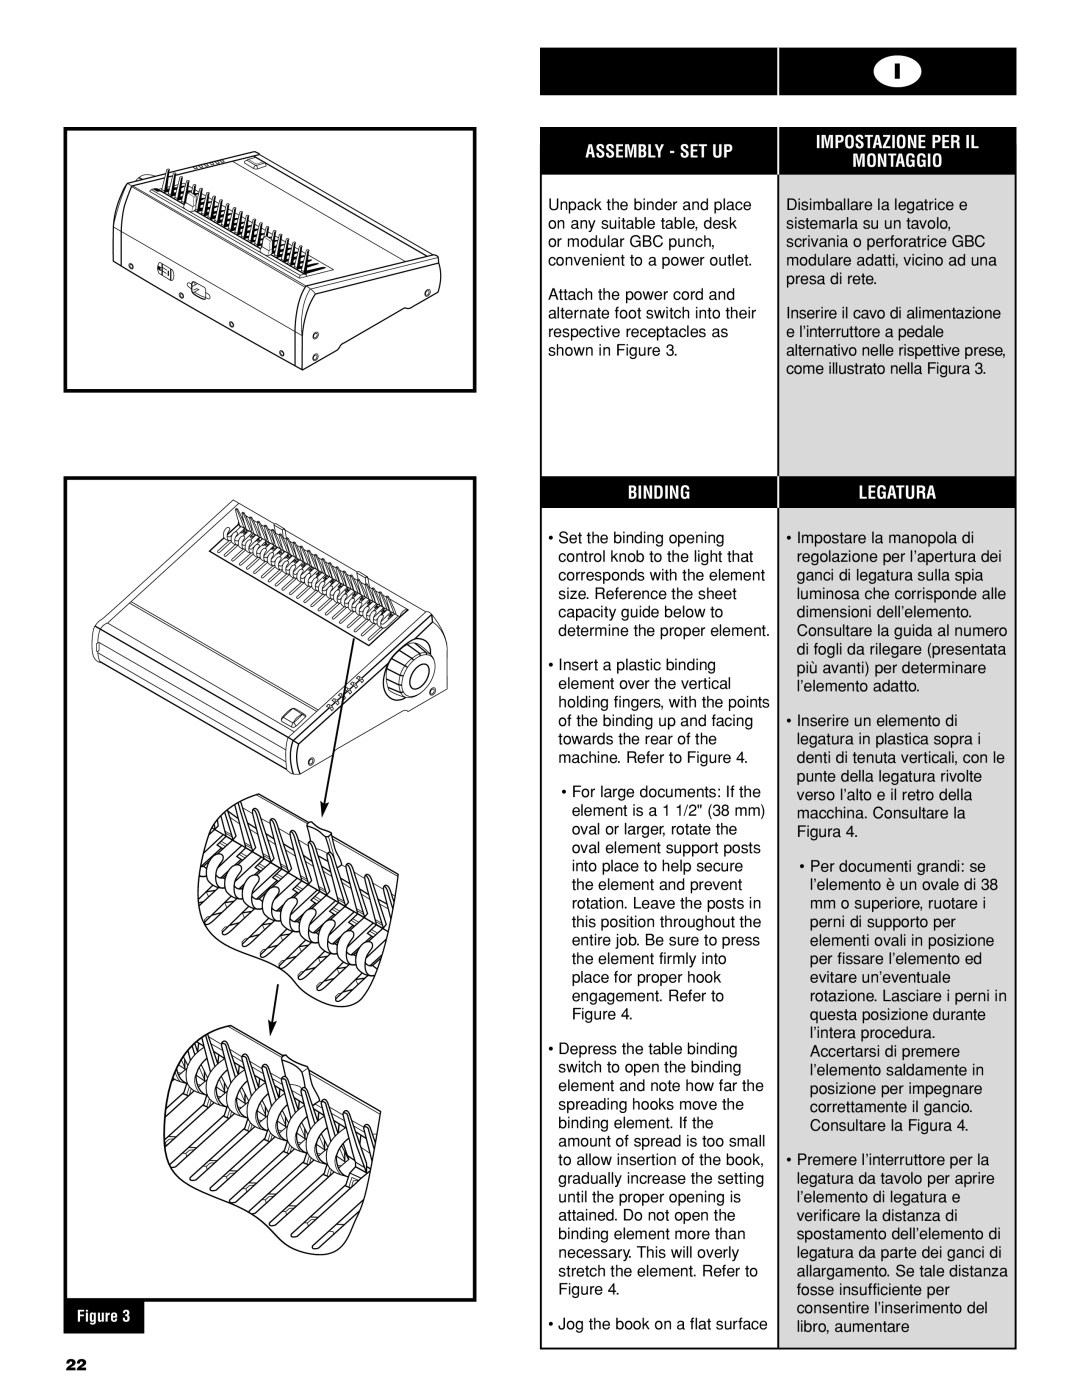
Unpack the binder and place on any suitable table, desk or modular GBC punch, convenient to a power outlet.
Attach the power cord and alternate foot switch into their respective receptacles as shown in Figure 3.
IMPOSTAZIONE PER IL
MONTAGGIO
Disimballare la legatrice e sistemarla su un tavolo, scrivania o perforatrice GBC modulare adatti, vicino ad una presa di rete.
Inserire il cavo di alimentazione e l’interruttore a pedale alternativo nelle rispettive prese, come illustrato nella Figura 3.
BINDING | LEGATURA |
|
|
Figure 3
•Set the binding opening control knob to the light that corresponds with the element size. Reference the sheet capacity guide below to determine the proper element.
•Insert a plastic binding element over the vertical holding fingers, with the points of the binding up and facing towards the rear of the machine. Refer to Figure 4.
•For large documents: If the element is a 1 1/2" (38 mm) oval or larger, rotate the oval element support posts into place to help secure the element and prevent rotation. Leave the posts in this position throughout the entire job. Be sure to press the element firmly into place for proper hook engagement. Refer to Figure 4.
•Depress the table binding switch to open the binding element and note how far the spreading hooks move the binding element. If the amount of spread is too small to allow insertion of the book, gradually increase the setting until the proper opening is attained. Do not open the binding element more than necessary. This will overly stretch the element. Refer to Figure 4.
•Jog the book on a flat surface
•Impostare la manopola di regolazione per l’apertura dei ganci di legatura sulla spia luminosa che corrisponde alle dimensioni dell’elemento. Consultare la guida al numero di fogli da rilegare (presentata più avanti) per determinare l’elemento adatto.
•Inserire un elemento di legatura in plastica sopra i denti di tenuta verticali, con le punte della legatura rivolte verso l’alto e il retro della macchina. Consultare la Figura 4.
•Per documenti grandi: se
l’elemento è un ovale di 38 mm o superiore, ruotare i perni di supporto per elementi ovali in posizione per fissare l’elemento ed evitare un’eventuale rotazione. Lasciare i perni in questa posizione durante l’intera procedura. Accertarsi di premere l’elemento saldamente in posizione per impegnare correttamente il gancio. Consultare la Figura 4.
•Premere l’interruttore per la legatura da tavolo per aprire l’elemento di legatura e verificare la distanza di spostamento dell’elemento di legatura da parte dei ganci di allargamento. Se tale distanza fosse insufficiente per consentire l’inserimento del libro, aumentare
22