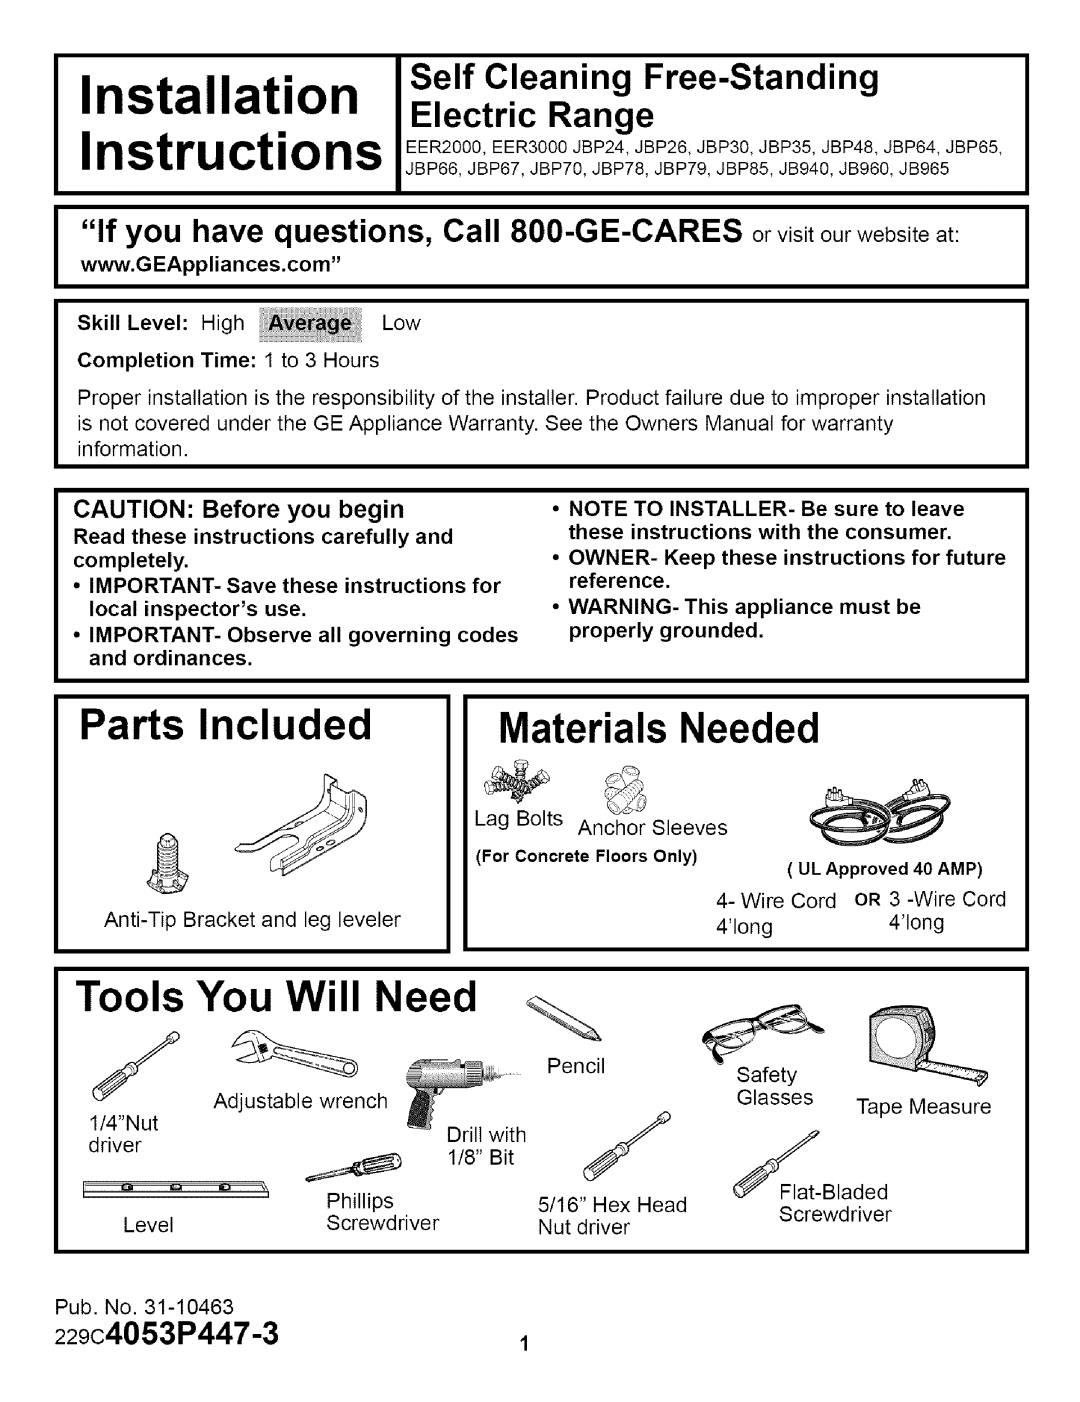
JBP79 specifications
The GE JBP79 is a versatile and efficient kitchen appliance that combines multiple cooking functions to meet the demands of modern culinary enthusiasts. This range is particularly known for its combination of a powerful oven and a comprehensive cooktop, giving users the flexibility to prepare a wide variety of dishes seamlessly.One of the standout features of the GE JBP79 is its **range design**. This model typically includes a self-cleaning oven, which saves time and effort in maintaining cleanliness. The self-cleaning feature employs high temperatures to burn away residues, allowing for a hassle-free cleanup process, preserving the appliance's longevity and ensuring hygienic cooking conditions.
The oven of the GE JBP79 is equipped with **advanced cooking technologies** that enhance its functionality. With a convection cooking option, hot air is evenly circulated around the food, guaranteeing thorough cooking and browning. This feature is particularly beneficial for baking, resulting in perfectly baked goods that are evenly cooked on all sides.
The cooktop includes all the essential heating elements, usually featuring both standard burners and a powerful high-output burner that enables rapid heating for boiling and frying. This versatility makes the JBP79 suitable for various cooking techniques, from simmering sauces to searing meats. The durable design of the cooktop is meant to withstand the rigors of daily cooking, adding a layer of practicality to the appliance.
In terms of **user-friendly controls**, the GE JBP79 comes with intuitive knobs and digital displays that allow users to select cooking settings easily. Features like timed cooking and delayed start further enhance the user experience, making it possible to prepare meals even when away from the kitchen.
Safety is also a priority with the GE JBP79. With features such as an automatic shut-off function and control lock, users can cook securely, knowing that their appliance will operate safely even in busy kitchens.
Overall, the GE JBP79 is an excellent choice for individuals seeking a reliable, efficient, and user-friendly kitchen range. Its blend of traditional cooking methods with modern technology makes it a valuable addition to any culinary setup, ensuring delicious meals with ease. Whether for daily cooking or special occasions, the GE JBP79 stands out as a robust and functional appliance designed for today’s home chefs.