OPEMmG ~ SELF-CL~G OWN
Right Oven on Model JCP67
Before a Clean Cycle
The range must be completely cool in order to set the
1.Remove the brofler pan, broiler rack, dl cookware and any rdurninum foil from the
NO~: The oven shelves maybe cleaned in
the
2.Wipe up heavy soil on the oven bottom. H you use soap, rinse thorou@y before seU+leaning to prevent staining.
NOTB: Do not clean the bake element or broil element. Any soil will burn off when the elements are heated. The bake element can be lifted gendy to clean the oven floor. H spillovers, residue or ash accumdate around the bake element, gently wipe around the element with warm water.
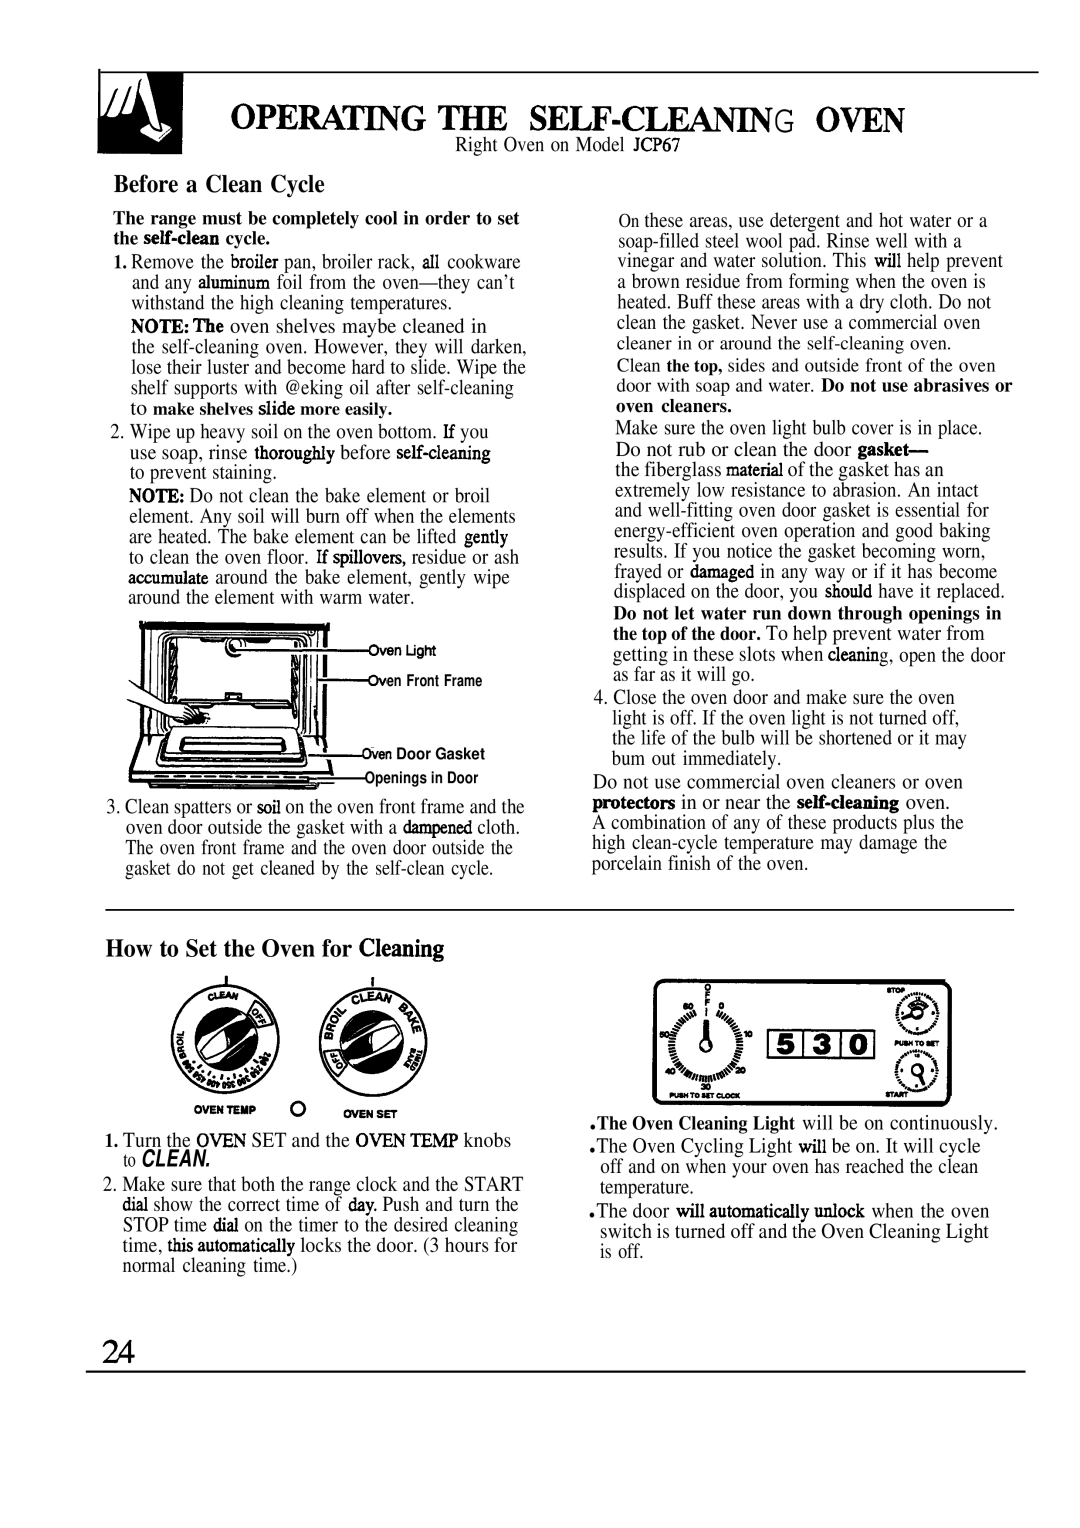
Flr enugm
iJ~en Door Gasket
- Openings in Door
3.Clean spatters or sofi on the oven front frame and the oven door outside the gasket with a dampend cloth. The oven front frame and the oven door outside the gasket do not get cleaned by the
On these areas, use detergent and hot water or a
cleaner in or around the
oven cleaners.
Make sure the oven light bulb cover is in place. Do not rub or clean the door gasket—
the fiberglass matend of the gasket has an extremely low resistance to abrasion. An intact and
Do not let water run down through openings in the top of the door. To help prevent water from getting in these slots when cleanin g, open the door as far as it will go.
4.Close the oven door and make sure the oven light is off. If the oven light is not turned off, the life of the bulb will be shortened or it may bum out immediately.
Do not use commercial oven cleaners or oven protectom in or near the
How to Set the Oven for Cleantig
@@
1.Turn the OWN SET and the OWN ~MP knobs to CLEAN.
2.Make sure that both the range clock and the START dird show the correct time of &y. Push and turn the STOP time did on the timer to the desired cleaning time, MS autornatidly locks the door. (3 hours for normal cleaning time.)
●The Oven Cleaning Light will be on continuously.
●The Oven Cycling Light til be on. It will cycle off and on when your oven has reached the clean temperature.
●The door til automaticrdly urdock when the oven switch is turned off and the Oven Cleaning Light is off.